Page 33
r-J
CAPACITOR
Detail 4-5F
LUG
,
6-32
NUT
Detail 4-5G
(d
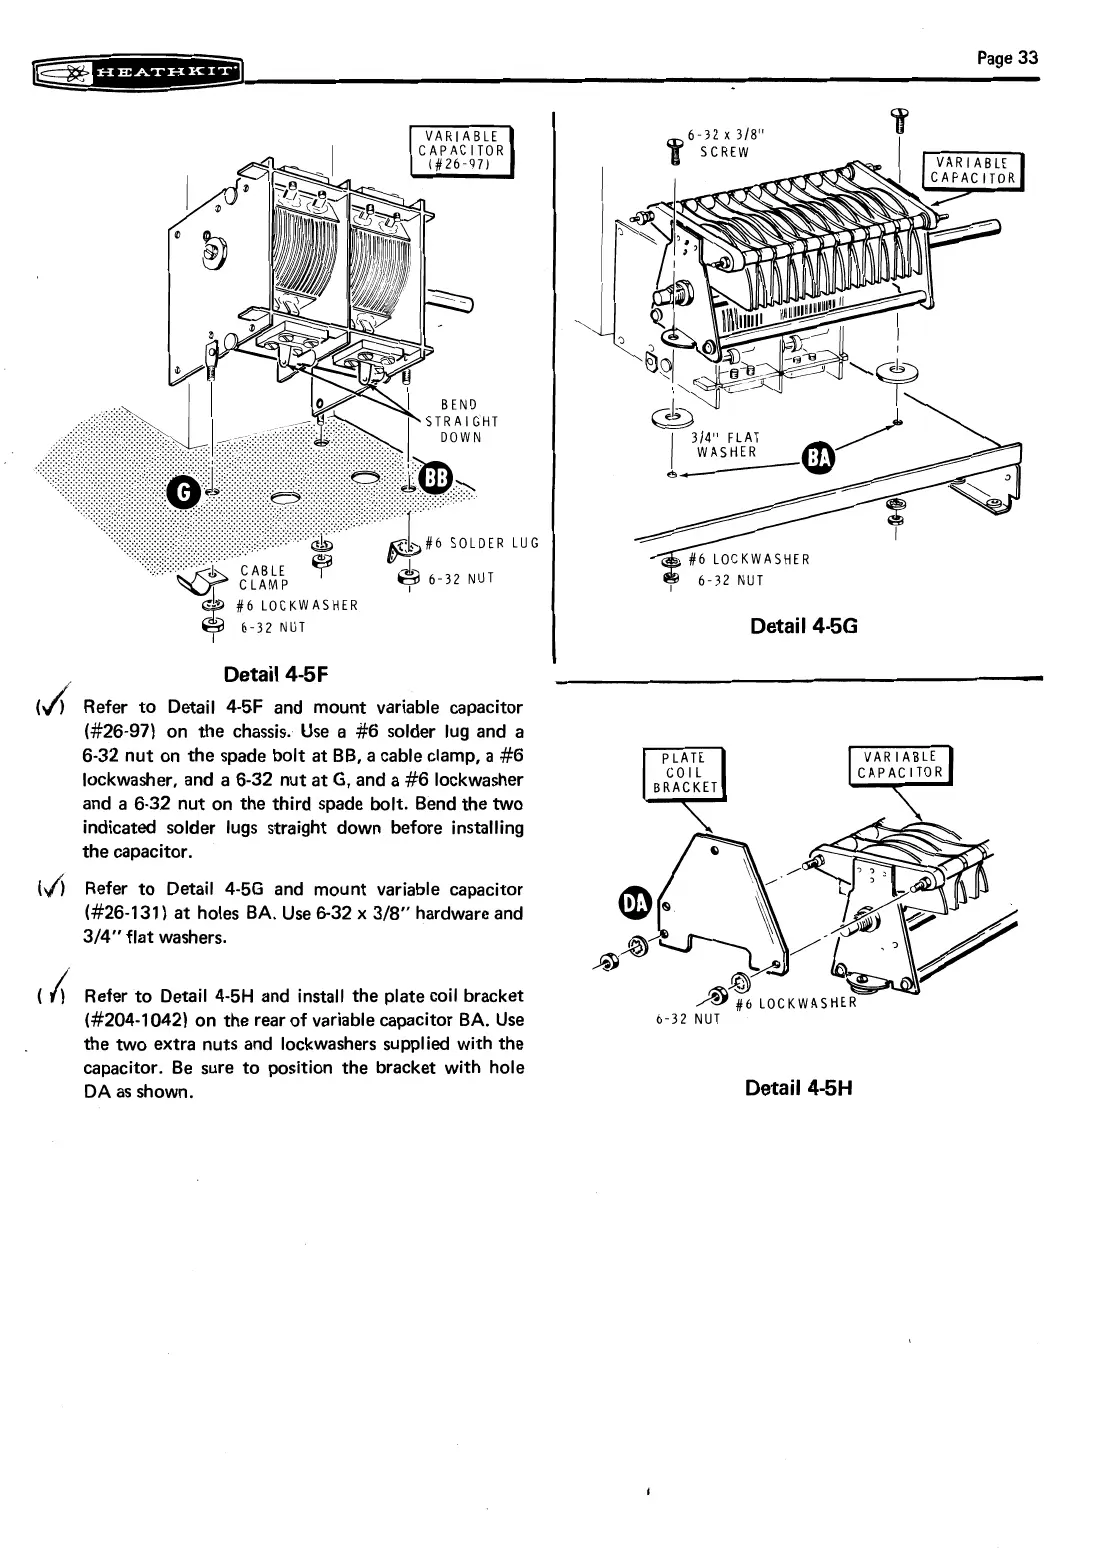
Refer to Detail 4-5F and mount variable capacitor
(#26-97) on the chassis. Use
a
#6
solder lug and a
6-32 nut on the spade bolt at BB, a cable clamp,
a
#6
lockwasher, and a 6-32 nut at
G,
and a #6 lockwasher
CAPACITOR
BRACKET
and a 6-32 nut on the third made bolt. Bend the two
indicated solder lugs straight down before installing
the capacitor.
Refer to Detail 4-5G and mount variable capacitor
(#26-131) at holes BA. Use 6-32
x
318" hardware and
314" flat washers.
Refer to Detail 4-5H and install the plate coil bracket
(#204-1042) on the rear of variable capacitor BA. Use
the two extra nuts and lockwashers supplied with the
capacitor. Be sure to position the bracket with hole
DA as shown.
6-32
NUT
Detail 4-5H