ENDE
Operating Instructions • Overhead Suspension AT2000 CPK • 03/2020 • 106-29021
Installation and initial operation
9
5.3 Suitable workplace
To ensure flawless operation of the overhead
suspension, the workplace must be prepared and
arranged as follows.
f The workplace must have sufficient lighting.
f The workplace has a suitable ceiling, supporting
structure, or a rail system with an installation height
of max. 280cm.
f The overhead suspension is not impeded by other
objects, e.g. by hanging lamps, within the work area.
5.4 Installing the overhead suspension at the
workplace
1 Check the workplace at the operation site.
f Observe the requirements for a suitable workplace.
à„Suitable workplace“ on page 9
f Observe the technical data of the overhead
suspension in terms of the dimensions and the
weights. à„Technical data“ on page 15
2 Properly install the pre-assembled overhead
suspension.
f Hook a suitable mounting bracket into the two holes
in the rail runner.
f Check the overhead suspension is fastened tightly.
; The overhead suspension is installed at the workplace.
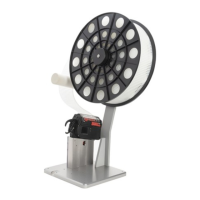
5.5 Using the tool
4
5
3 2 1
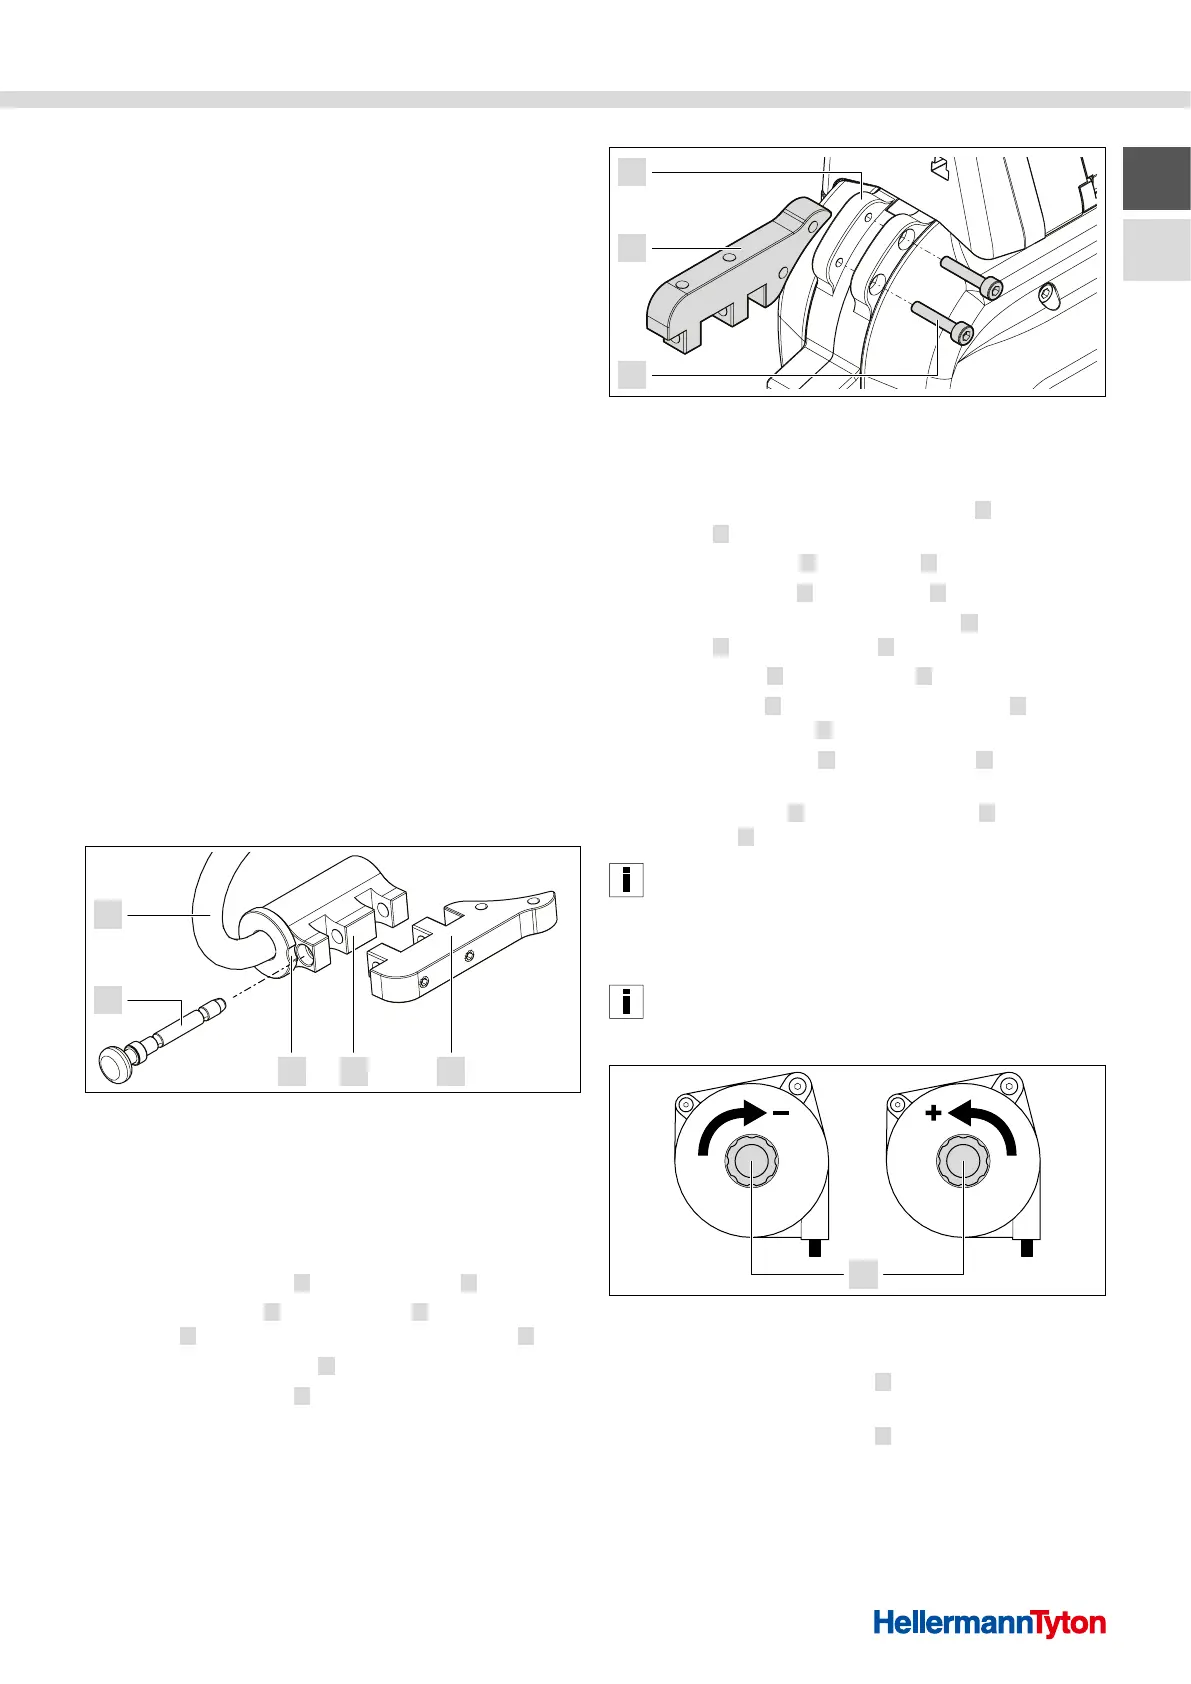
Removing the adapter from the hanger
1 Adapter
2 Adapter retainer
3 Groove
4 Locking pin
5 Hanger
1 Remove the adapter 1 from the hanger 5 .
f Turn the adapter
1 on the hanger 5 until the
groove 3 on the collar releases the locking pin 4 .
f Pull out the locking pin
4 .
f Remove the adapter
1 .
7
6
1
Installing the adapter on the tool
6 Fixing screws (adapter)
7 Tool
2 Loosen the two fixing screws (adapter) 6 on
the tool 7 and remove them.
3 Install the adapter
1 on the tool 7 .
f Insert the adapter
1 into the tool 7 .
f Insert the two fixing screws (adapter)
6 through
the tool 7 into the adapter 1 and tighten by hand.
4 Install the tool
7 on the hanger 5 .
f Insert the tool
7 with the installed adapter 1 in
the adapter retainer 2 .
f Push the locking pin
4 into the groove 3 up to
the stop.
f Turn the adapter
1 along with the tool 7 until
the groove 3 on the collar is closed again.
The groove on the collar prevents the locking pin from
accidentally slipping out when in operating state.
; The tool is inserted in the overhead suspension.
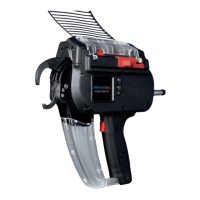
5.5.1 Adjusting the balancer (cable pull)
The tension force of the balancer must be adjusted so that
the tool is held up on its own and can be pulled down for
operation without excessive force.
1
Adjusting the balancer (cable pull)
1 Adjustment wheel
1 Turn the adjustment wheel 1 counterclockwise to
increase the tension force.
2 Turn the adjustment wheel
1 clockwise to reduce
decrease the tension force.
; The balancer (cable pull) is adjusted.