ITALIANO
DEUTSCH
ESPAÑOL
NEDERLANDS ENGLISH FRANÇAIS
User Manual – 3/26
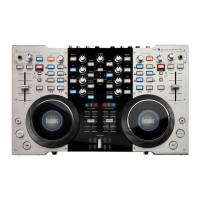
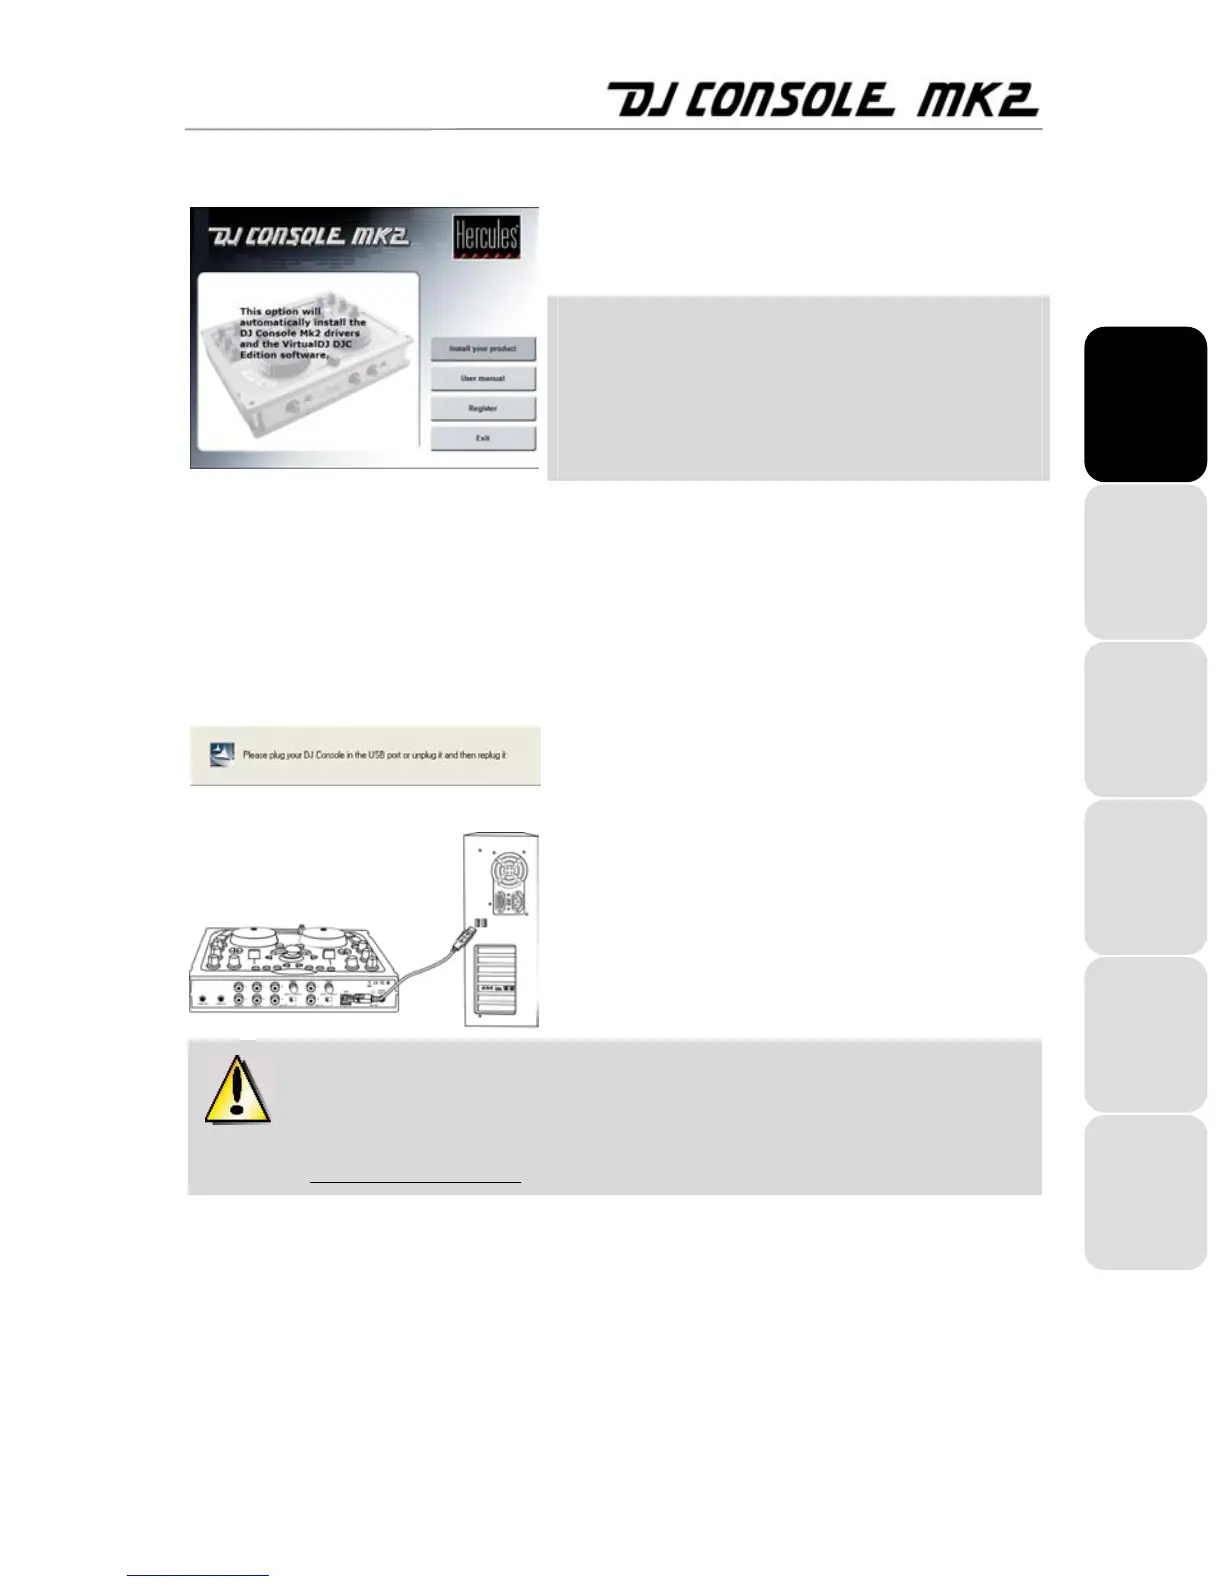
3.1.1. Installing drivers and software
- Insert the installation CD-ROM into your CD-ROM drive.
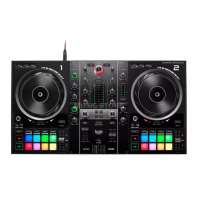
The DJ Console Mk2 installation menu automatically appears.
If the installation menu is not launched
automatically:
- Double-click My Computer.
- Double-click the CD-ROM icon.
- Double-click Setup.exe if necessary.
- Click Install your product.
- Follow the on-screen instructions.
Note: If you do not have the latest version of DirectX installed
on your system, you will be guided through the installation
procedure to install it. Once DirectX has been installed, you
will be prompted to restart your computer. Once your
computer has restarted, restart the installation procedure by
re-inserting the installation CD-ROM into your CD-ROM drive.
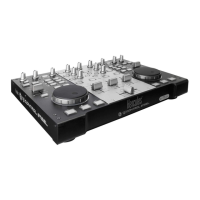
A dialog box appears, prompting you to connect the DJ
Console Mk2 to your computer’s USB port, or to disconnect
and then reconnect it.
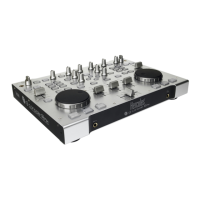
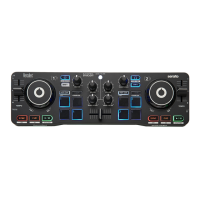
- Connect the DJ Console Mk2 to one of your computer’s USB
ports using the USB cable provided; or, if it is already
connected, disconnect and then reconnect it.
We recommend that you connect the DJ Console Mk2 to a USB port on your
computer or to a powered USB hub, or use an external power supply (not included). Please
see section 3.3. Power consumption.
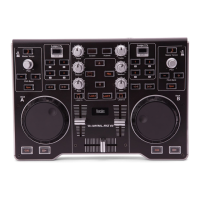
Windows automatically detects your DJ Console Mk2 and installs the required drivers.
A progress bar appears, depicting the progress of the installation. Please note that this may take up to 30
seconds, depending on your computer.
- Let the installation procedure run its course and do not do anything until you receive a message indicating
that the installation has completed.
- Click Finish.