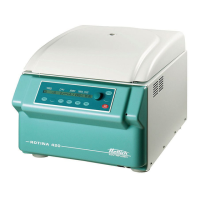
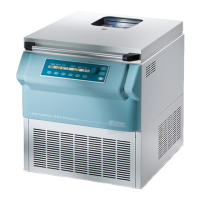
24/34
8.1 Speed sensor (Tacho) B3
• Remove the two fastening screw of the speed sensor.
• remove the speed sensor from the to of the motor
• Unplug the plug S502 from the power board
• remove the cable clip which fix the cable of the speed sensor on the motor.
• Exchange the speed sensor
8.2 Motor M1 / Rubber-metal bearing
• Remove the speed sensor, see section 8.1
• Unplug S401 from the power board
• Use a socket spanner to loosen and remove the three fastening nuts on lower end
plate of motor.
• Lift motor upwards out of centrifuge and unplug the ground wire.
• Before the motor is installed, the three rubber-metal bearings must be checked for
possible wear or cracks. These items must be replaced if necessary.
• Exchange the motor.
• Care must be taken of the anti-twist device when the rubber metal or motor being
installed.
8.3 Power board A1
• Unplug all plugs and cables from the power board.
• Remove the two fastening screws of the power board
• Exchange the power board.
• Before installation, it must be noted that there is a heat-conducting paste between
power board and centrifuge housing floor. Heat conduction from power board to
centrifuge housing floor must be ensured.
Heat conduction from power board to centrifuge housing floor must be ensured.
8.4 Control panel A3
• Remove the two fastening screws and lift up the control panel carefully.
• Unplug the flat ribbon cable from the power board.
• Exchange the control panel.
8.5 Brake resistor R1
• Remove the two fastening screws.
• Unplug the two cable from the brake resistor.
• Exchange the brake resistor.