55
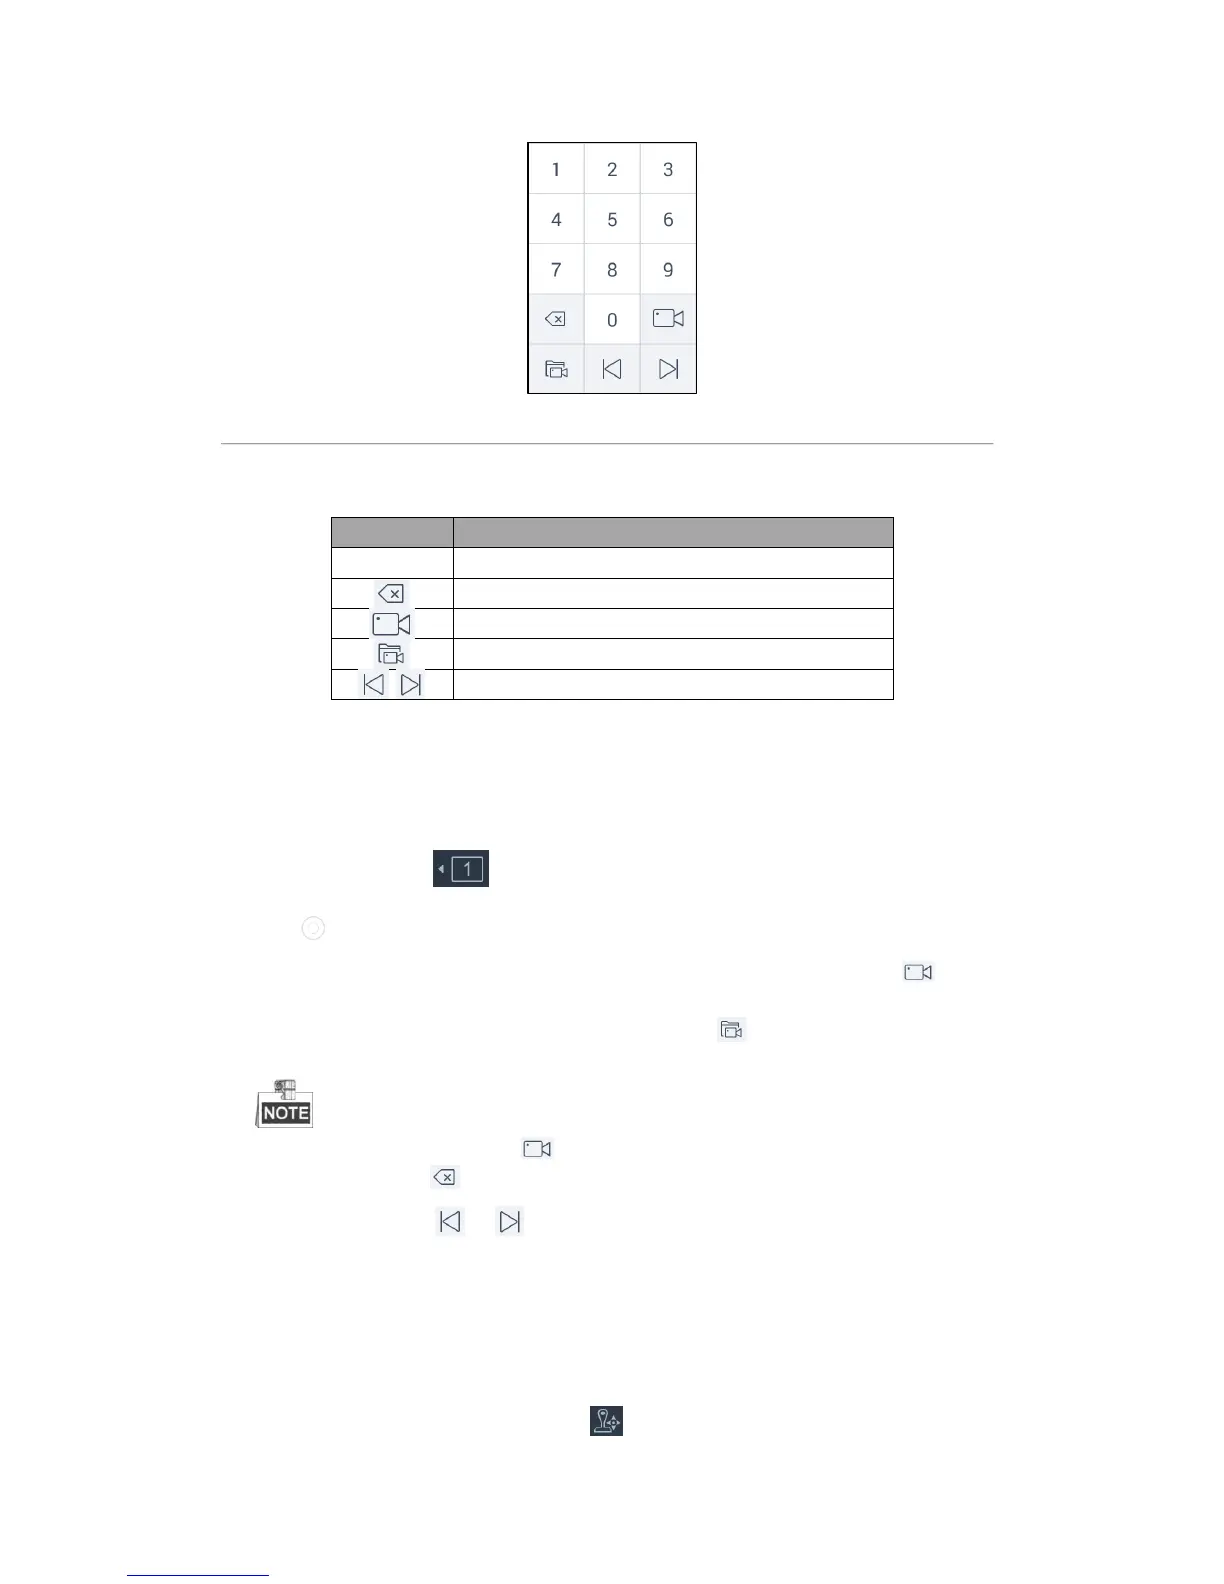
Figure 4.51 Live View Numeric Panel
Refer to Table 4.8 for the description of video wall numeric panel icons.
Table 4.8 Description of Video Wall Numeric Panel Icons
Starting Live View
Steps:
1. (Optional) You can click on the upper-left corner to set the video wall window division as desired.
Click to select the video wall window division mode.
2. Select one output window and enter the serial number in the numeric panel, and then click . The live
view of the corresponding cameras will be displayed on the selected window.
3. Select one output window and enter the serial number, then click . The live view of the corresponding
group will be displayed on the selected window.
For group, auto-switching is only supported in single-screen mode.
4. Enter 0 in the numeric panel and click . You can stop the live view of the corresponding camera.
5. (Optional) You can click to delete the entered information if you entered incorrectly.
6. (Optional) You can click or to display the video of the previous or next camera or group on the
video wall.
PTZ Control
In live view mode, select a playing window and click to activate PTZ control panel.

 Loading...