Installation Manual of Network Camera
© Hikvision Digital Technology Co., Ltd. All Rights Reserved.
directly. Please note that the wall on which the camera is fixed should be able to bear at least three
times the weight of the bracket and the camera.
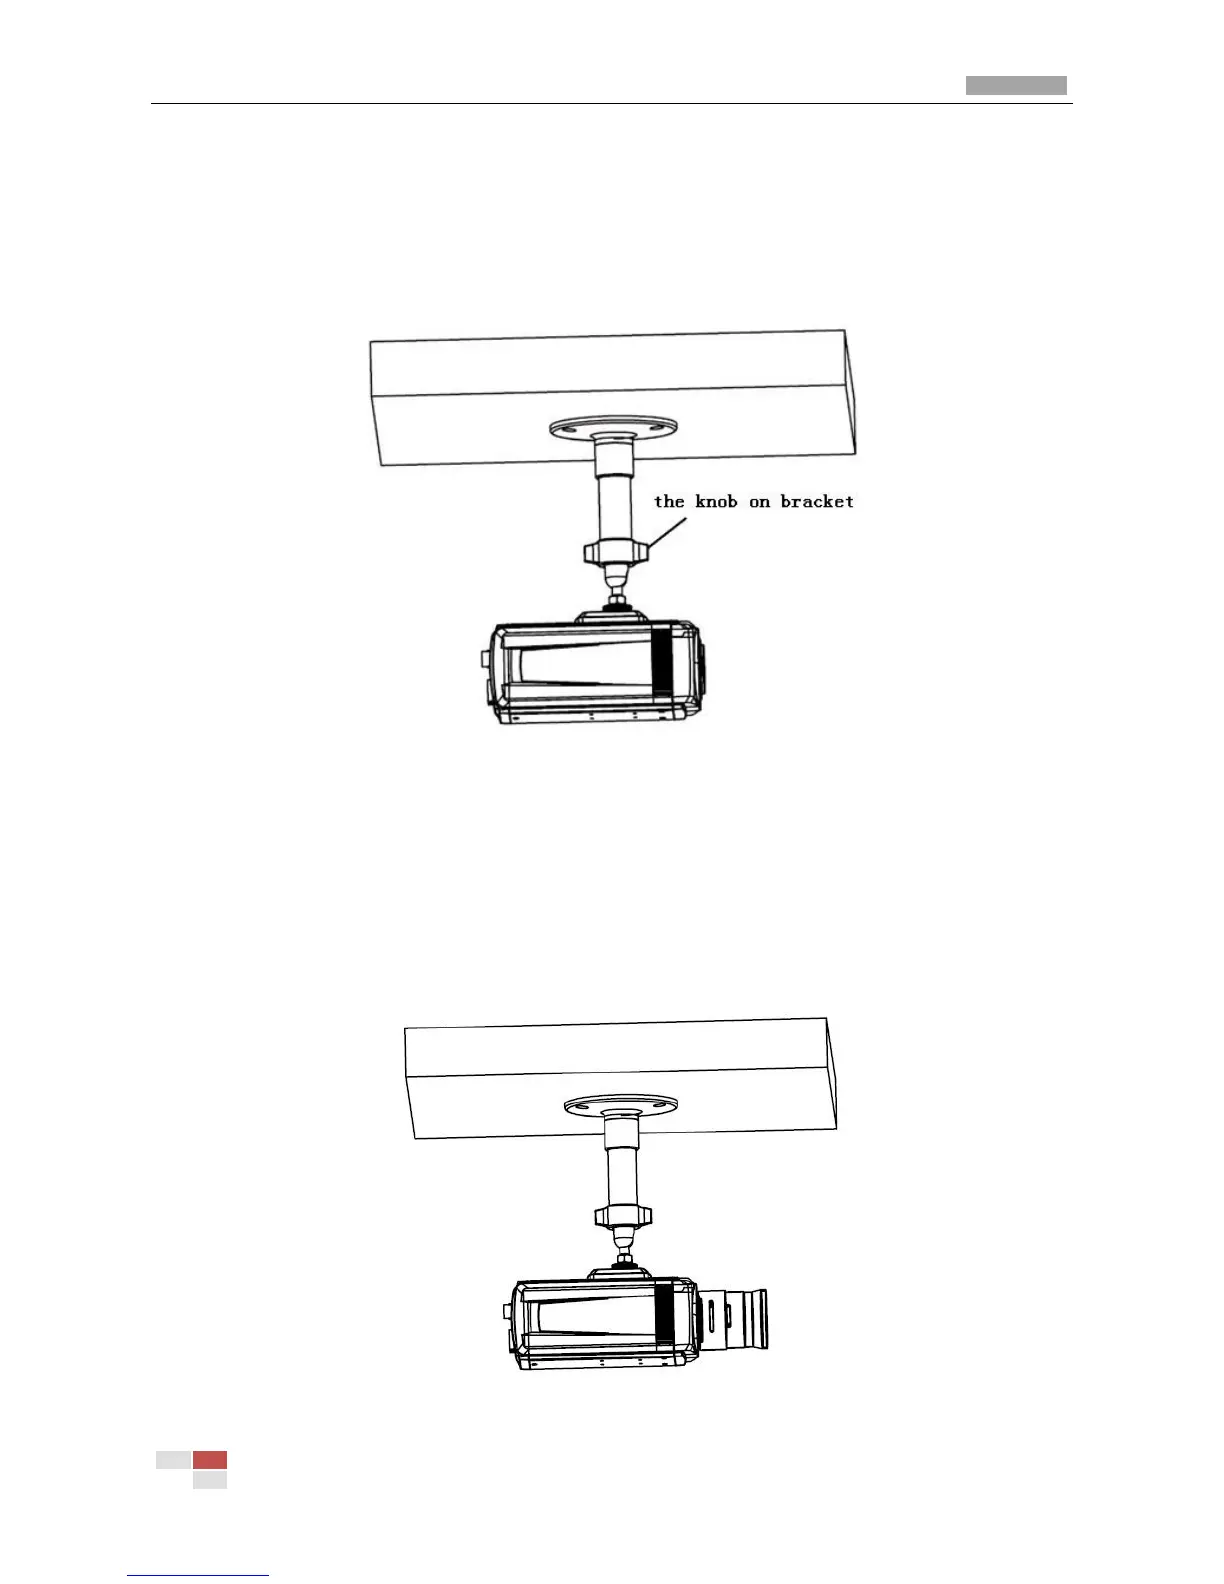
Step 2: Screw the camera’s mounting hole to the mounting bracket, and then adjust the camera to
the desired monitoring location and finally tighten the knob on bracket to secure the camera to the
ceiling.
Figure 3.1.2 Fix the Camera
Step 3: Mount the camera lens: connect the VIDEO OUT interface of the camera to the debugging
monitor, and adjust lens focus until you have obtained the clearest video images on the monitor,
and then lock the lens. If required, loosen the knob on the mounting bracket and adjust the camera
lens to the desired monitoring scene, and finally tighten the knob on bracket.
Figure 3.1.3 Mount and adjust Lens
 Loading...