Figure 2.5.2
Chapter 3 Installation
Note:
1. Please check if all the items on the package list have been included with your camera.
2. Read the following contents carefully before the installation.
3. Make sure that all the related equipment is power-off during the installation.
4. Check the power supply to prevent any damage caused by mismatching problems.
5. Do not place the camera in extremely hot or damp environment. To avoid heat
accumulation, good ventilation is required for a proper operating environment.
6. If the product does not operate properly, please contact your dealer or the nearest service
center. Never attempt to disassemble the camera yourself. Users are responsible for any
problem caused by modification or repairing without authorization.
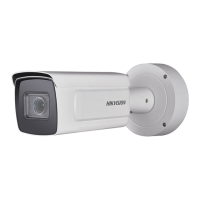
3.1 Box Camera Installation
Box camera Ⅰ, Ⅱ, Ⅲ can be fixed in both wall and ceiling, customers can choose different ways
to install the camera according to their specific needs. The following section introduces the ceiling
mounting, and the wall mounting follows the same way:
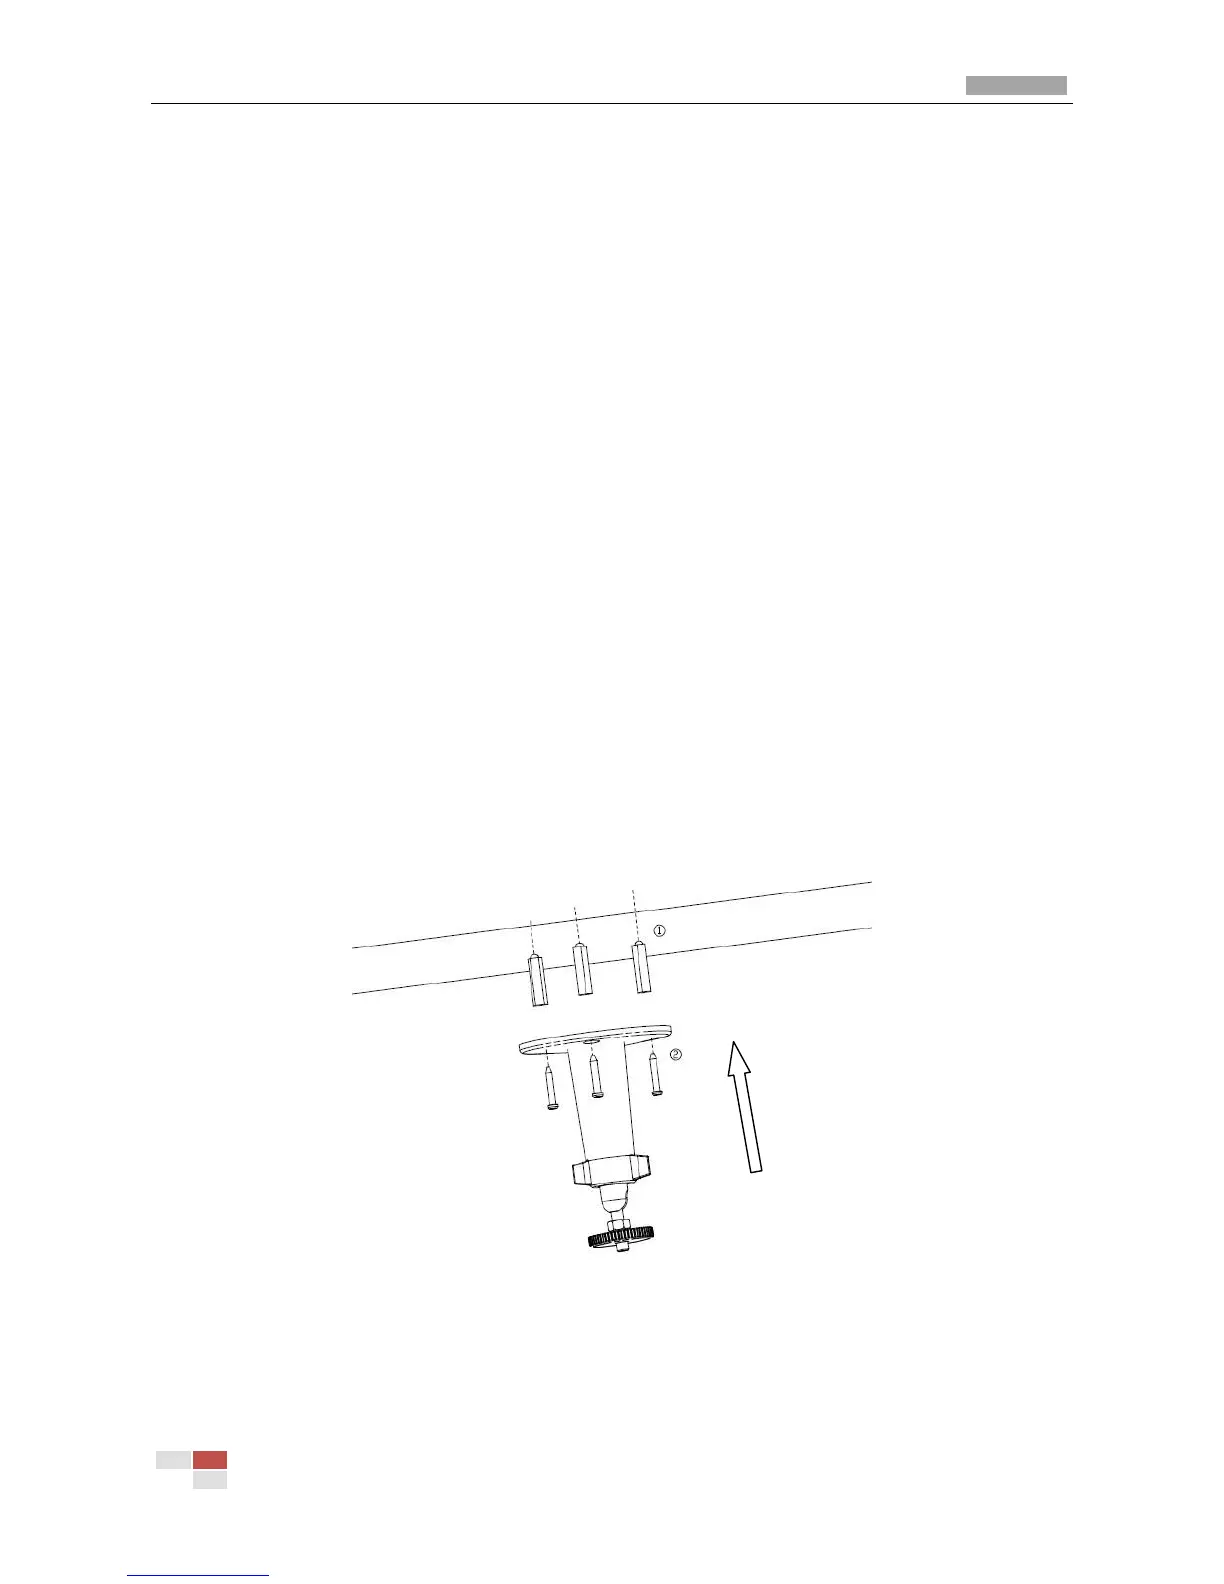
Step 1: Fix the mounting bracket to the ceiling.
Figure 3.1.1 Fix camera mounting bracket
Note:
If it is wall, you need to fix the expand bolt (note: the mounting hole of the expand bolt should align
with the bracket) before fixing the bracket, as step ① in Figure 3.1.1. If the wall surface is wooden,
the step ① in Figure 3.1.1 can be ignored and you can use the self-tapping screw to fix the bracket
 Loading...