User Manual of Network Video Recorder
32
2) Configure All Day or Customize Record:
If you want to configure the all-day recording, please check the All Day checkbox.
If you want to record in different time sections, check the Customize checkbox. Set the Start Time and
End Time.
Note: Up to 8 segments can be configured and each segment cannot be overlapped.
3) Select a Record Type. The record type can be Normal, Motion, Alarm, Motion & Alarm, and Motion |
Alarm.
Note: There five recording types supported, including “Normal”, “Motion Detection”, “Alarm”,
“Motion detection & Alarm”, “Motion detection | Alarm”. “&” means recording is triggered when two
situations happened together and “|” means recording is triggered when one of the situations happened.
4) Check the checkbox of Select All and click Copy to copy settings of this day to the whole week. You
can also check any of the checkboxes before the date and click Copy.
5) Click OK to save the settings and exit the Edit Schedule interface.
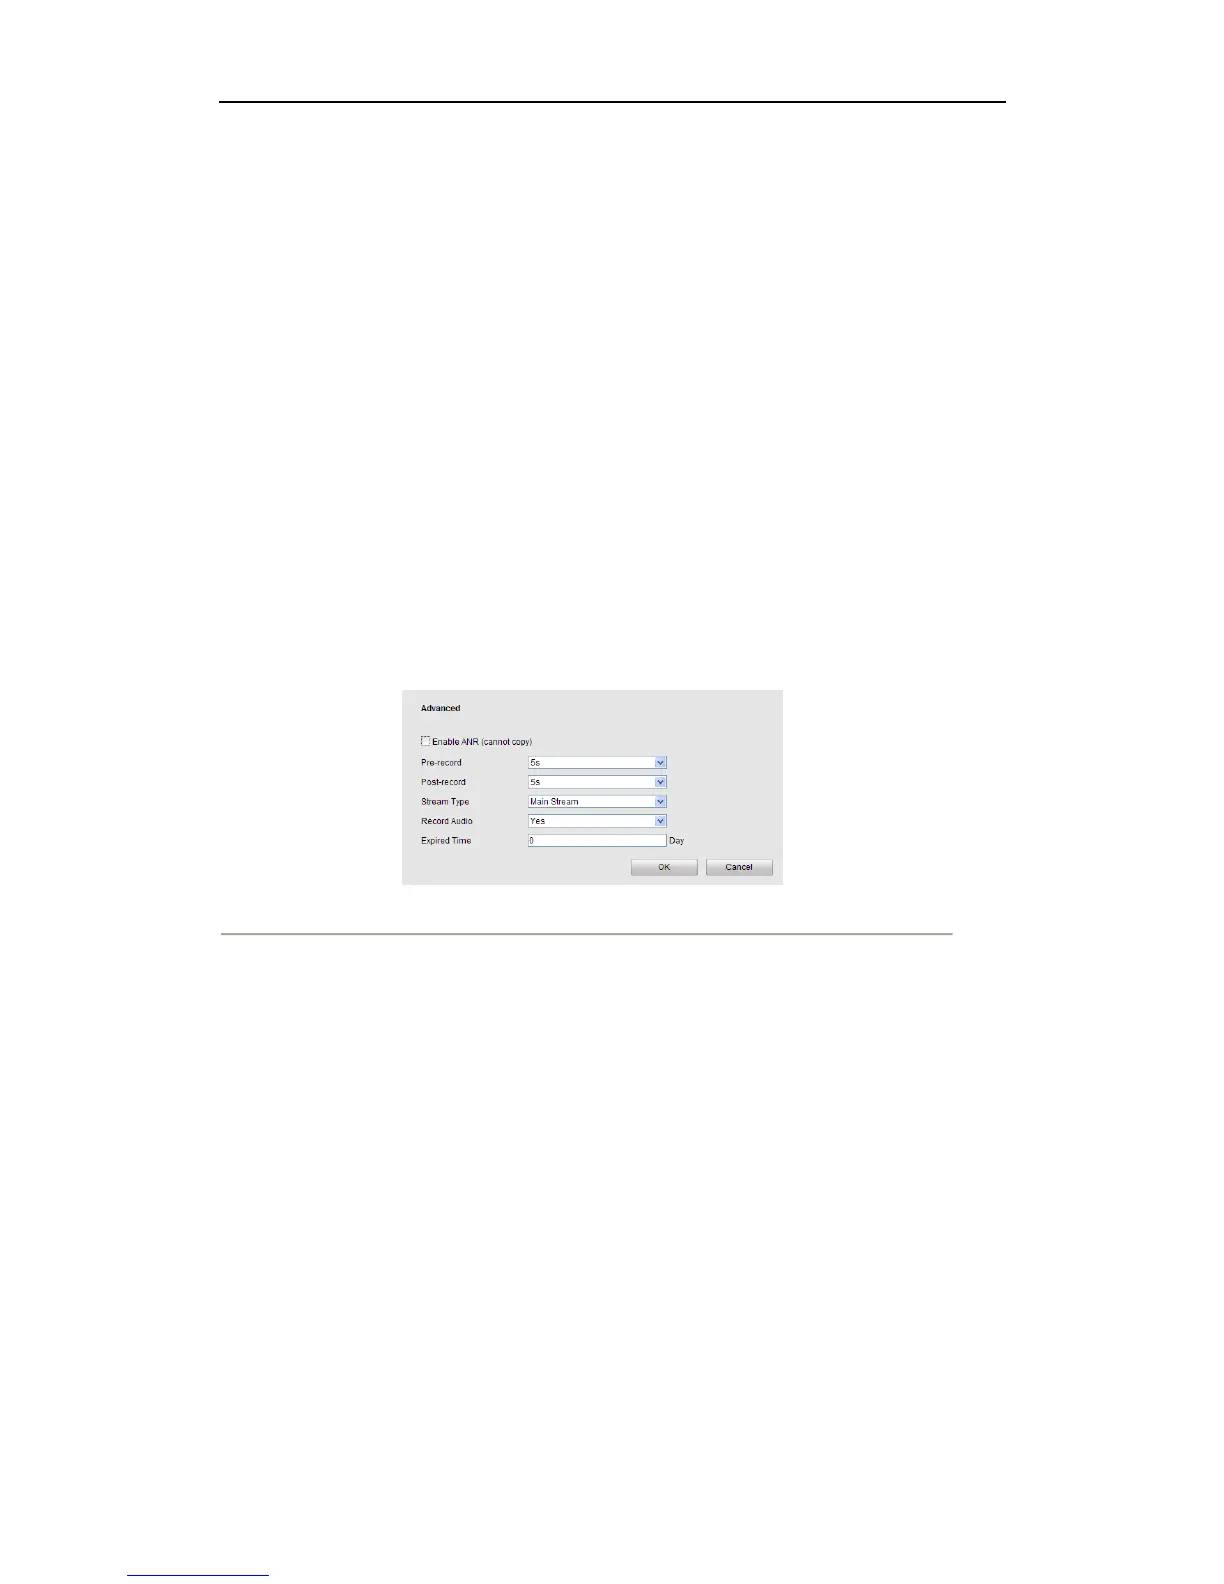
5. Click Advanced to configure advanced record parameters.
Configure the supported parameters which are listed below, and click OK button to save and return to the
previous interface.
Figure 6. 3 Advanced Parameters Configuration
• Enable ANR: Enable the ANR function to save the recording files in the IP camera when the
network is disconnected, and synchronize the files to the NVR when the network is resumed.
• Pre-record: The time you set to record before the scheduled time or event. For example, when an
alarm triggered the recording at 10:00, if you set the pre-record time as 5 seconds, the camera
records it at 9:59:55.
• Post-record: The time you set to record after the event or the scheduled time. For example, when
an alarm triggered the recording ends at 11:00, if you set the post-record time as 5 seconds, it
records till 11:00:05.
• Stream Type: Select the stream type of recording, Main Stream and Sub Stream are selectable.
• Record Audio: Select in the drop-down list to enable or disable audio recording.
• Expired Time: The expired time is the longest time for a record file to be kept in the HDD, if the
deadline is reached, the file will be deleted. You can set the expired time to 0, and then the file will
not be deleted. The actual keeping time for the file should be determined by the capacity of the
HDD.
6. Click Save to validate the above settings.
 Loading...