11 - 1
11
Maintenance
Repairs
Repairs and/or upgrades are not to be performed on this product. These services are to be performed only by an authorized
service center (see Customer Support on page 12-1).
Maintenance
Your device provides reliable and efficient operation with a minimum of care. Although specific maintenance is not required, the
following periodic checks ensure dependable operation:
Cleaning the Scanner
The scanner housing and window may be cleaned with a soft cloth or tissue dampened with water (or a mild detergent-
water solution.) If a detergent solution is used, rinse with a clean tissue dampened with water only.
Inspecting Cords and Connectors
Inspect the interface cable and connector for wear or other signs of damage. A badly worn cable or damaged connector
may interfere with scanner operation. Contact your distributor for information about cable replacement. Cable replacement
instructions are on page 11-1.
Replacing Cables in Corded Scanners
The standard interface cable is attached to the scanner with an 10-pin modular connector. When properly seated, the connec-
tor is held in the scanner’s handle by a flexible retention tab. The interface cable is designed to be field replaceable.
• Order replacement cables from Honeywell or from an authorized distributor.
• When ordering a replacement cable, specify the cable part number of the original interface cable.
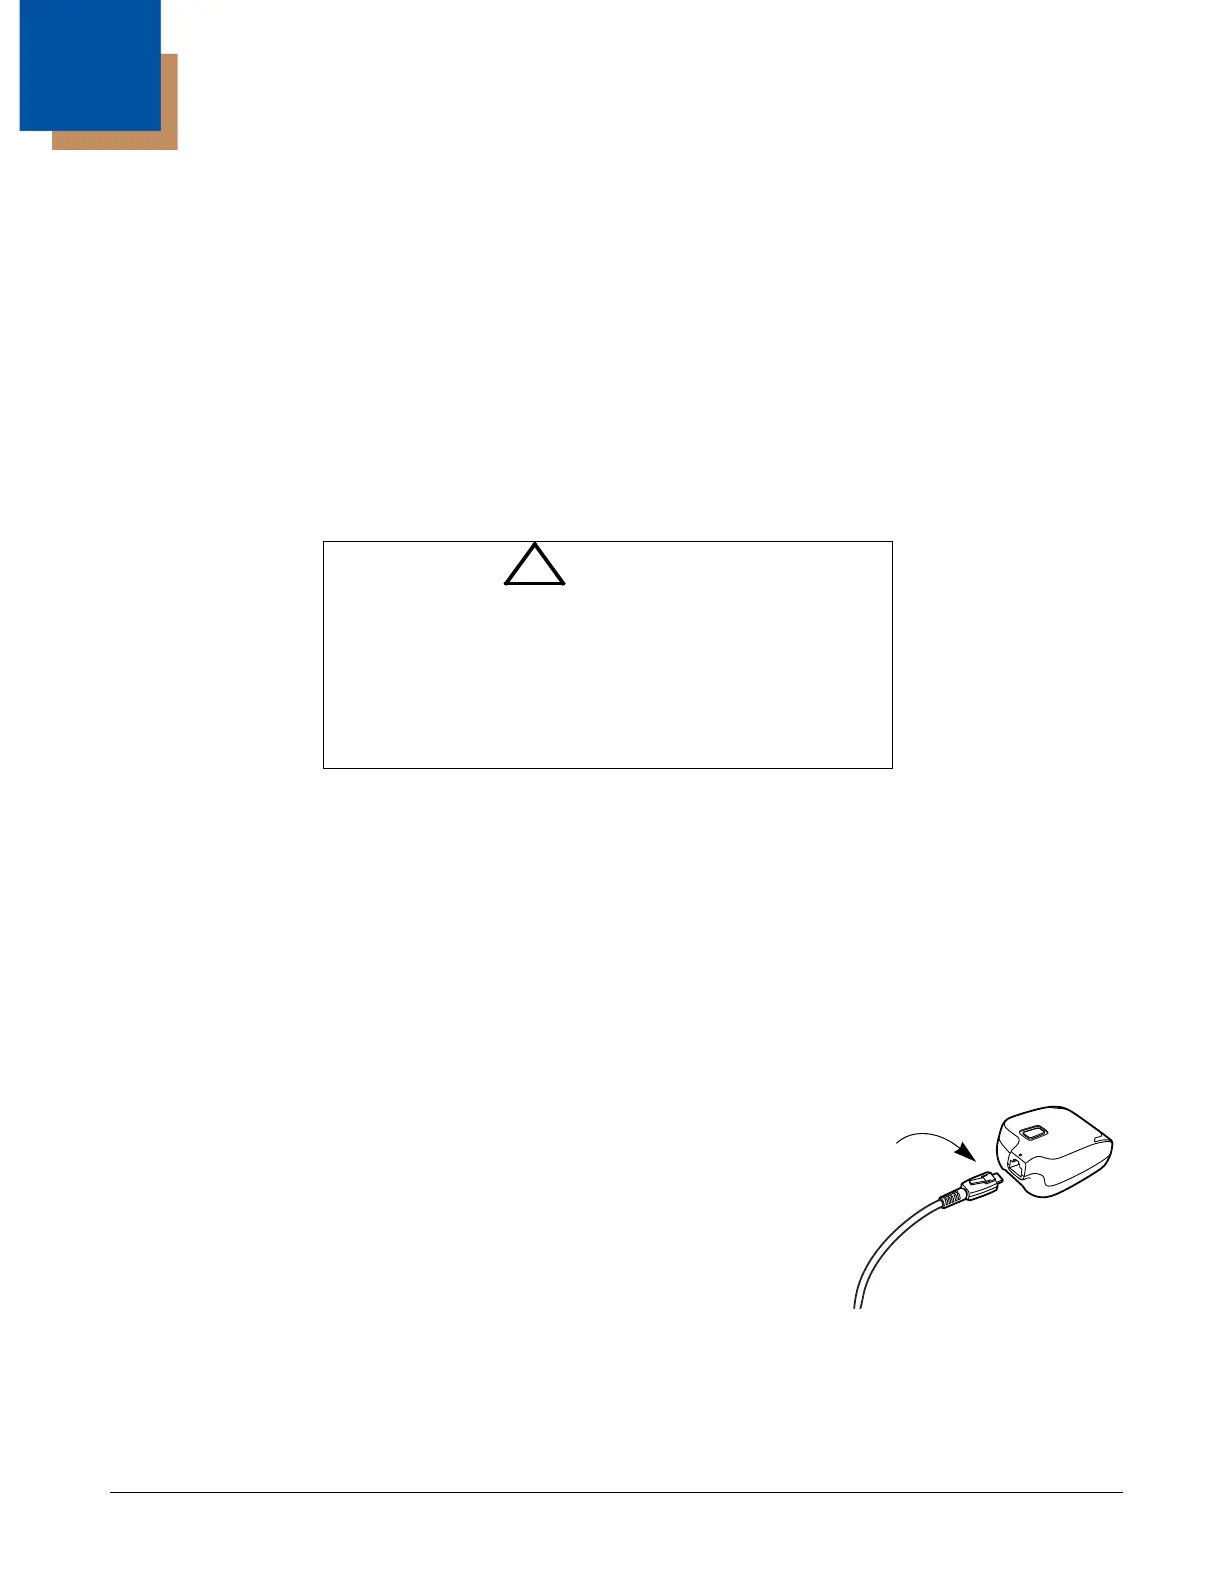
Replacing an Interface Cable
1. Turn the power to the host system OFF.
2. Disconnect the scanner’s cable from the terminal or computer.
3. Squeeze the retention tab and pull the cable from the scanner.
4. Replace with the new cable.
Insert the connector into the opening and press firmly. The connector is keyed
to go in only one way, and will click into place.
Troubleshooting a Scanner
The scanner automatically performs self-tests whenever you turn it on. If your
scanner is not functioning properly, review the following Troubleshooting Guide to try to isolate the problem.
Is the power on? Is the aimer on?
If the aimer isn’t illuminated, check that:
• The cable is connected properly.
Do not submerge the scanner in water. The scanner’s
housing is not watertight.
Do not use abrasive wipes or tissues on the scanner’s
window – abrasive wipes may scratch the window. Never
use solvents (e.g., acetone) on the housing or window –
solvents may damage the finish or the window.
!
Caution:
Do not submerge the scanner in water. The scanner’s
housing is not watertight.
Do not use abrasive wipes or tissues on the scanner’s
window – abrasive wipes may scratch the window. Never
use solvents (e.g., acetone) on the housing or window –
solvents may damage the finish or the window.

 Loading...