ES-50X Series Manual — P/N LS10129-000FL-E:E 5/23/2022 69
Master Programming Level Programming
Description
The Description selection allows the programmer to enter additional information about the control module cur-
rently being programmed. This information will be displayed as part of the device label on the display. Pressing
2 while viewing Edit Control Screen #4 will cause the following screen to be displayed:
A flashing cursor will appear at the first asterisk to the left. The programmer can enter additional descriptive information about the device
being programmed. This information will appear on the display along with the standard device label information.
A maximum of 20 characters (including spaces) can be entered. To enter alphanumeric characters from the keypad, repeatedly press the
appropriate key until the desired character is displayed in the first position. For example, to enter the letter B, press the 2 (ABC) key three
times to toggle through the characters 1, A, and B. Press the right arrow key to move the cursor one position to the right and repeat the pro-
cess to enter the next character. To enter a space, press the * (QZ) key four times until a blank appears in the desired position. When all char-
acters have been entered, press the Enter key to store the information. The display will return to the Edit Control Screen #4, displaying the
new information at the bottom of the screen.
Control Module Delay
The control module delay feature, if enabled, will delay activation after being triggered by an alarm condition.
Pressing 2 while viewing Edit Control Screen #5 will cause the display to change from the factory default of
Ctrl Mod Dly No to Ctrl Mod Dly Yes. Each press of the 1 key will cause the display to toggle between the two
options. Delay time varies from 0-180 seconds. See “Control Module Delay” on page 76 to set the delay time.
The control module must first be set to Silenceable No to enable the Delay Timer.
Wireless
The Wireless selection will update automatically if the system recognizes a wireless device. If the module is
wireless, the display reads Wireless Yes. If the module is wired, the display will read Wireless No.
3.5.3 Zone Setup
Pressing 3 while viewing Programming Screen #2 will access the Zone Setup screens as illustrated below:
Enable
Pressing 1 for Enable, while viewing Zone Setup Screen #1, will display the following screen:
This screens allows the programmer to enable zones, one at a time. A flashing cursor appears next to the Z, prompting the programmer to
enter a three digit zone number (001 - 049). When the third digit is entered, the zone will be enabled and the cursor returns to the original
position next to the Z. Another zone can then be enabled.
Disable
Pressing 2 for Disable, while viewing Zone Setup Screen #1, displays the following:
This screen allows the programmer to disable zones, one at a time. A flashing cursor appears next to the Z, prompting the programmer to
enter a three digit zone number (001 - 049). When the third digit is entered, the zone will be disabled and the cursor will return to the original
position next to the Z. Another zone can then be disabled.
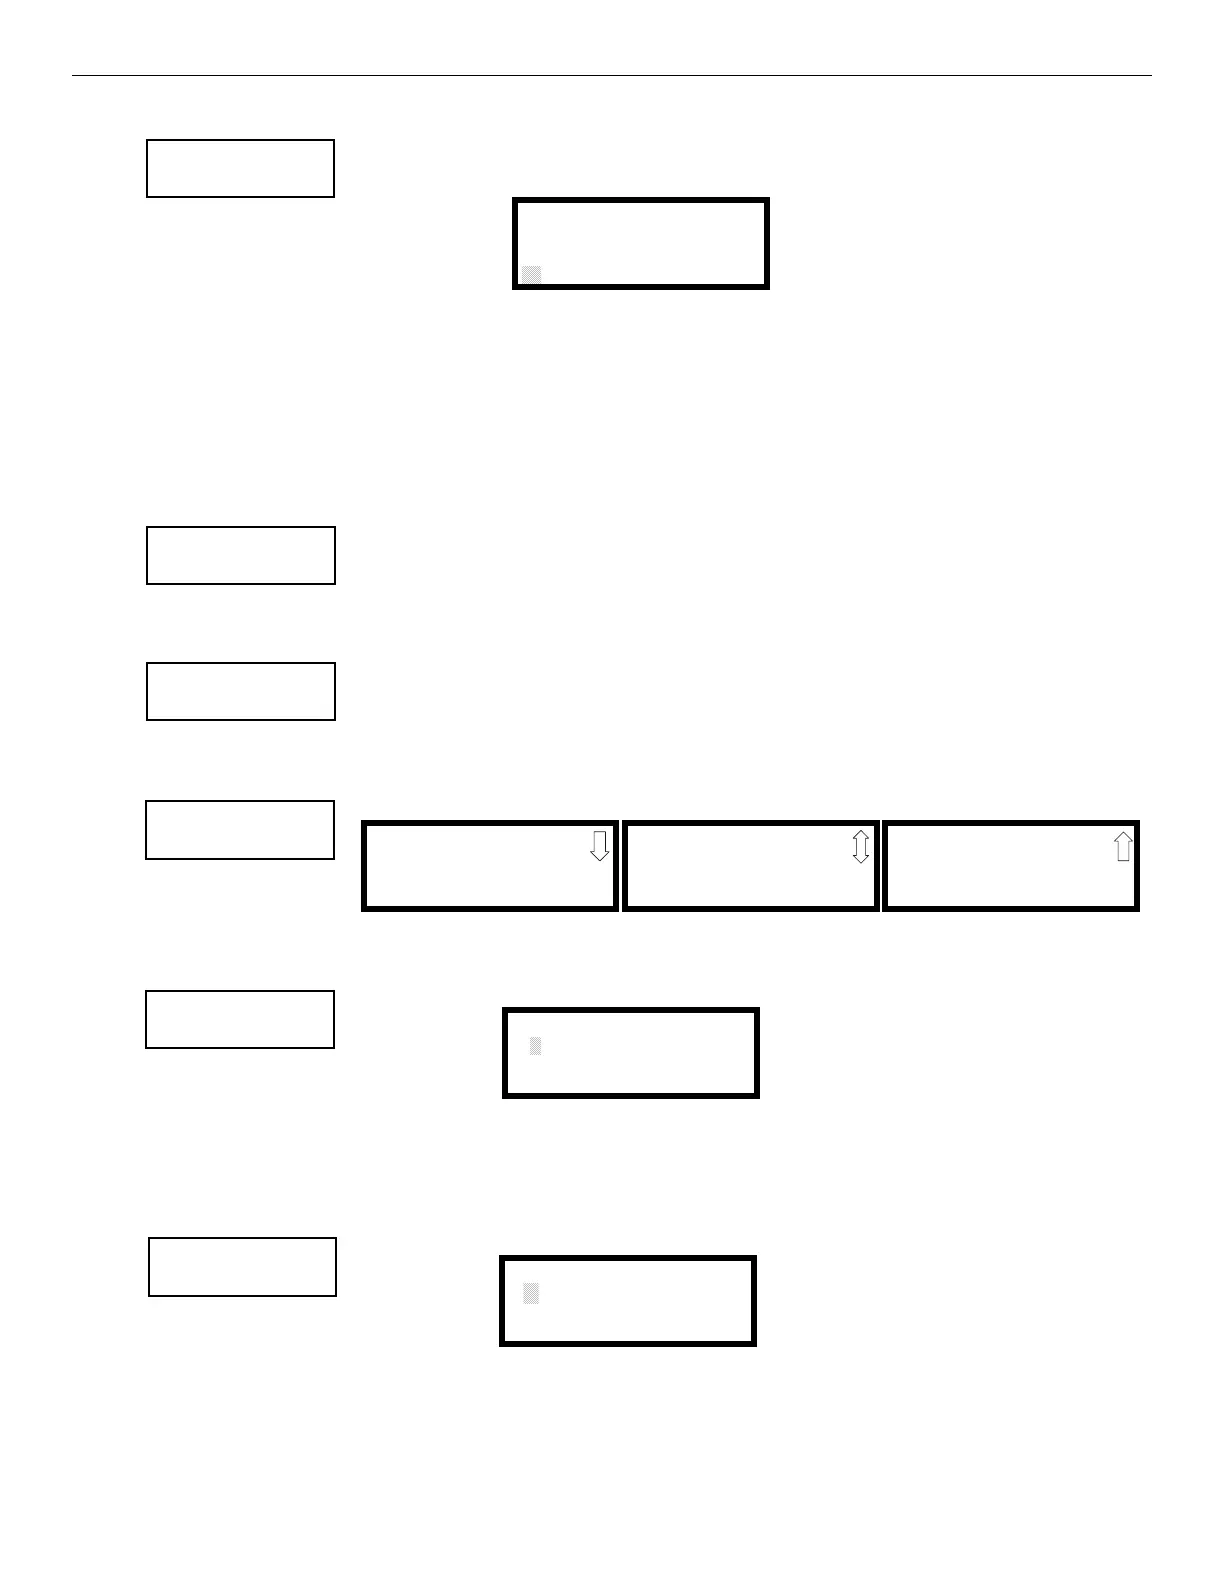
EDIT CONTROL
1=ADJECTIVE/NOUN
2=DESCRIPTION
Edit Control Screen #4
DESCRIPTION 1M002
NOUN/ADJECTIVE
44444444444444444444
Adjective/Noun Screen
EDIT CONTROL
1=CTRL MOD DLY NO
WIRELESS NO
Edit Control Screen #5
EDIT CONTROL
1=CTRL MOD DLY NO
WIRELESS NO
Edit Control Screen #5
PROGRAMMING
1=AUTOPROGRAM
2=POINT PROGRAM
3=ZONE SETUP
Programming Screen #2
ZONE SETUP
1=ENABLE
2=DISABLE
3=SPECIAL PURPOSE
Zone Setup Screen #1
ZONE SETUP
1=ZONES INSTALLED
2=ZONES ENABLED
3=ZONES DISABLED
Zone Setup Screen #2
ZONE SETUP
1=ZONE TYPES
2=ZONES AVAILABLE
Zone Setup Screen #3
ZONE SETUP
1=ENABLE
2=DISABLE
3=SPECIAL PURPOSE
Zone Setup Screen #1
Enable Screen
ZONE TO ENABLE
Z444
ZONE SETUP
1=ENABLE
2=DISABLE
3=SPECIAL PURPOSE
Zone Setup Screen #1
ZONE TO DISABLE
Z444
Disable Screen
 Loading...