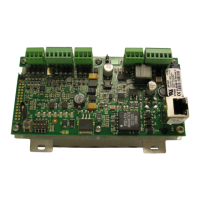
PW-7000 (PW7K1IC) Installation and Configuration Guide, Document 800-25673V1 19
Bulk Erase Configuration Memory
The bulk erase function can be used for the following purpose:
• Erase all configuration and cardholder database (sanitize boards, less third
party applications)
• Update the OEM default parameters after OEM code is changed.
• To recover from the database corruption and to avoid PW7000 board to reboot
continuously.
Note: If clearing the memory does not correct the initializing problem, contact technical
support.
Bulk Erase
Note: Do not remove power during steps 1-8.
Step 1. Set S1 DIP switches to 1 & 2 “ON” and, 3 & 4 “OFF”.
Step 2. Apply power to the PW7K1IC board. LED 1 ON for about 15 seconds while
PW7K1IC boots up.
Step 3. After the PW7K1IC boots up, watch for LEDs 1& 2 and 3 & 4 to alternately
flash at a 0.5 second rate.
Step 4. Within 10 seconds after the above patterns starts, change switches 1 or
2 to “OFF”. If these switches are not changed, then PW7K1IC board will
power up using the OEM default communication parameters.
Step 5. LED 2 will flash indicating that the configuration memory is being
erased.
Step 6. Full memory erase will take up to 60 seconds, usually a lot less.
Step 7. Once complete. only LED’s 1 & 4 will flash for 3 seconds.
Step 8. The PW7K1IC board will complete its initialization in 2 seconds after
LEDs 1 & 4 stop flashing.

 Loading...


