28
4. Apply the epoxy-based adhesive on the flat face of the adhesive
mount adapter (epoxy compatible).
Figure 5-5: Applying adhesive on the flat face of the Adhesive Mount
Adapter (Epoxy compatible)
5. Stick the flat face of the adapter on which epoxy-based adhesive
is applied, to the target structure, and secure it until the adhesive
sets.
NOTE: Once you are done using the epoxy-based adhesive,
remove the cartridge from the Epoxy Applicator, screw on
the cap, and store the cartridge in an upright position.
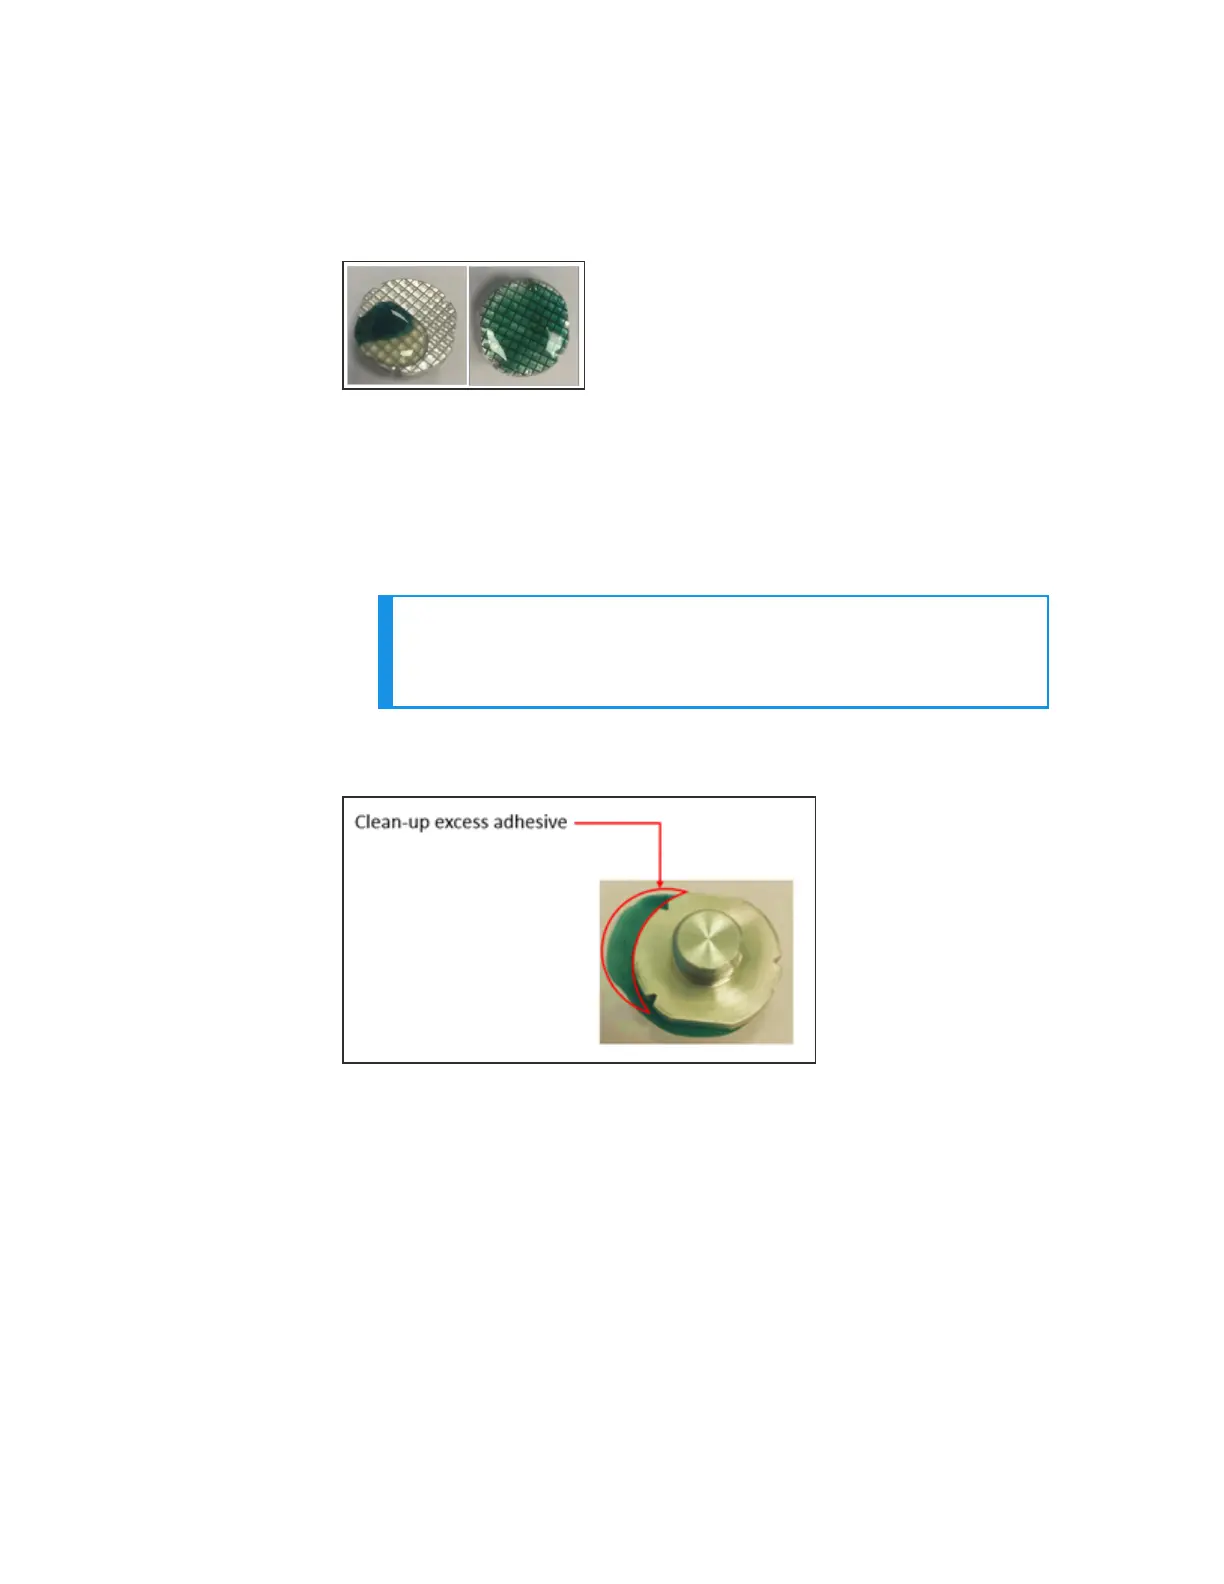
6. Remove the excessive epoxy-based adhesive around the adapter
to clean-up the surrounding surface.
Figure 5-6: Clean-up excess adhesive
7. Follow the below recommendation for proper curing of the epoxy-
based adhesive:
a. Ensure 10-minute work life and 20-minute set time @ 23°C.
b. Ensure 8 to 24-hours @ 23°C for full curing. In the case of heat
cure, the full cure can be attained by raising the bond line
temperature to 49°C for 30 minutes or to 66°C for 10 minutes.
Chapter 5 - Setting up the Honeywell Versatilis Signal Scout
 Loading...