22
Mercantile Premises Listing Guidelines
• T h e panel door mu st be su per vi sed. M ou n t t he cl i p-on tamper switch (supplied) to the cabinet's right side wall and
wi r e i t t o zon e 6.
• Assi gn zon e 6 t o a bur gl ar y par t i t i on. Pr ogr am i t for day t r ou bl e/n i gh t al ar m (zon e t ype 5) wh en on l y on e bur gl ar y
par t i t i on i s u sed. Pr ogr am i t for 24-h r . au di bl e al ar m (zone t ype 7) w h en m or e t han on e bur gl ar y par t i t i on i s u sed.
Enabl e f i el d 3* 17 so t h at t h e syst em r espon ds t o a gr ou n d f au l t i n accor dance wi t h i t s zon e t yp e r at her t han a
gr ou n d fau l t r espon se.
• Al l w i r i n g bet ween t h e t r an sf or m er and panel must be run in conduit. Remaining wires do not need to be run in
conduit.
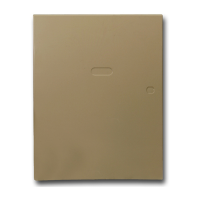
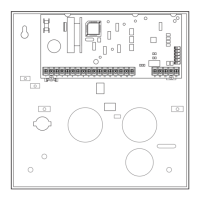
• All unused knockouts must be plugged using the disc plugs and carriage bolts (supplied), as indicated in F i gu r e 3-2.
• F ast en t h e cabi n et door t o t h e cabi n et back box u si n g t h e 15 on e-i nch -long Phillips-h ead scr ews (su ppl i ed) af t er al l
wi r i ng, pr ogrammi ng, and check ou t pr ocedu r es have been com pl et ed.
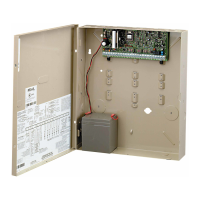
Figure 3-2: Cabinet Attack Resistance Considerations
Mercantile Safe and Vault Listing Guidelines
• F ol l ow t h e gu i del i n es gi ven above for M er can t i l e Pr em i ses l i st i n g.
• For safe and vault installations, a shock sensor (not supplied) that is Listed for protection of sheet metal enclosures,
as well as an additional Listed tamper switch, must be installed on the cabinet backbox to protect the cabinet from
being removed from the wall. These devices must also be connected to zone 6.
 Loading...
