210 Voyager XP User Guide
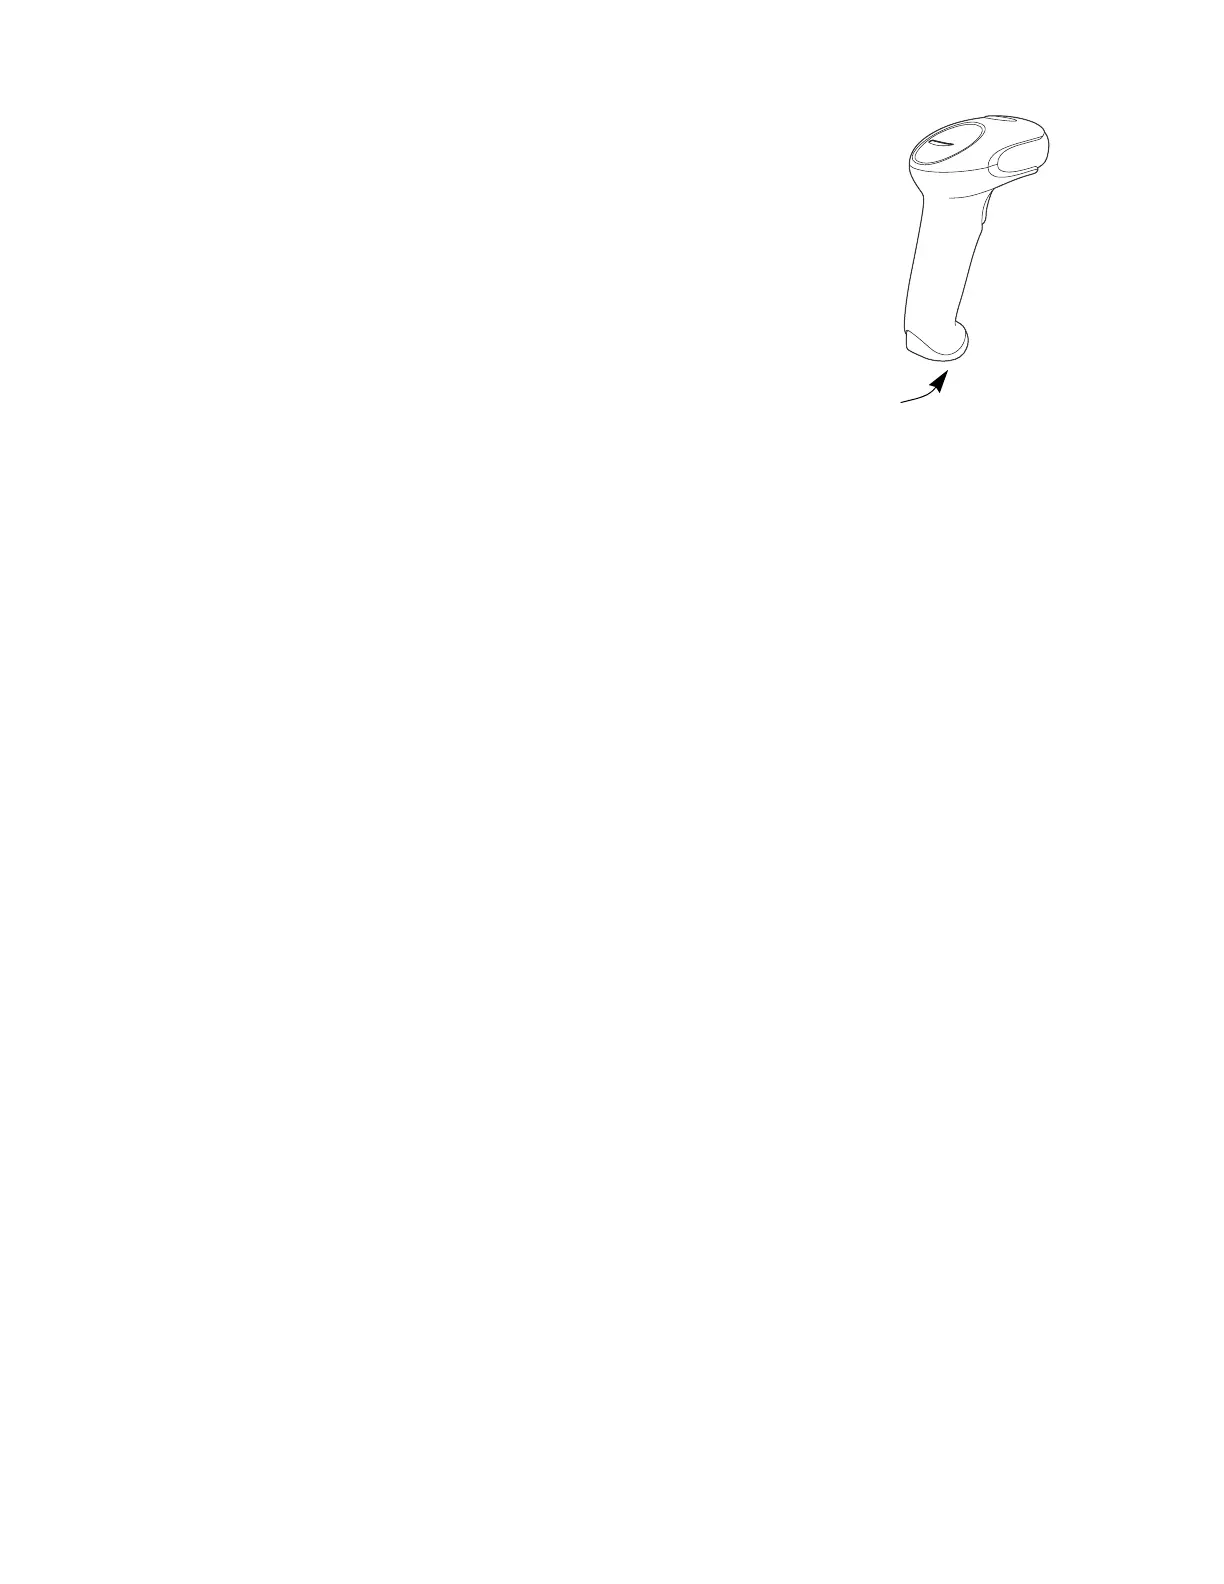
Change a Cordless Scanner Battery
1. Use the hinged wire or a flat head screwdriver to remove the screw from the end
cap.
2. Remove the end cap and remove the battery from the handle.
3. Insert replacement battery.
4. Replace end cap and screw it back on.
Troubleshoot a Corded Scanner
The scanner automatically performs self-tests whenever you turn it on. If your
scanner is not functioning properly, review the following Troubleshooting Guide to
try to isolate the problem.
Is the power on? Is the aimer on?
If the aimer isn’t illuminated, check that:
• The cable is connected properly.
• The host system power is on (if external power isn’t used).
• The trigger works.
Is the scanner having trouble reading your symbols?
If the scanner isn’t reading symbols well, check that the symbols:
• Aren’t smeared, rough, scratched, or exhibiting voids.
• Aren’t coated with frost or water droplets on the surface.
• Are enabled in the scanner or in the decoder to which the scanner connects.
Is the barcode displayed but not entered?
The barcode is displayed on the host device correctly, but you still have to press a
key to enter it (the Enter/Return key or the Tab key, for example).
• You need to program a suffix. Programming a suffix enables the scanner to
output the barcode data plus the key you need (such as “CR”) to enter the data
 Loading...