50 INSTALLATION MANUAL
STANDARD: FLUE-GAS ANALYSIS GUIDE
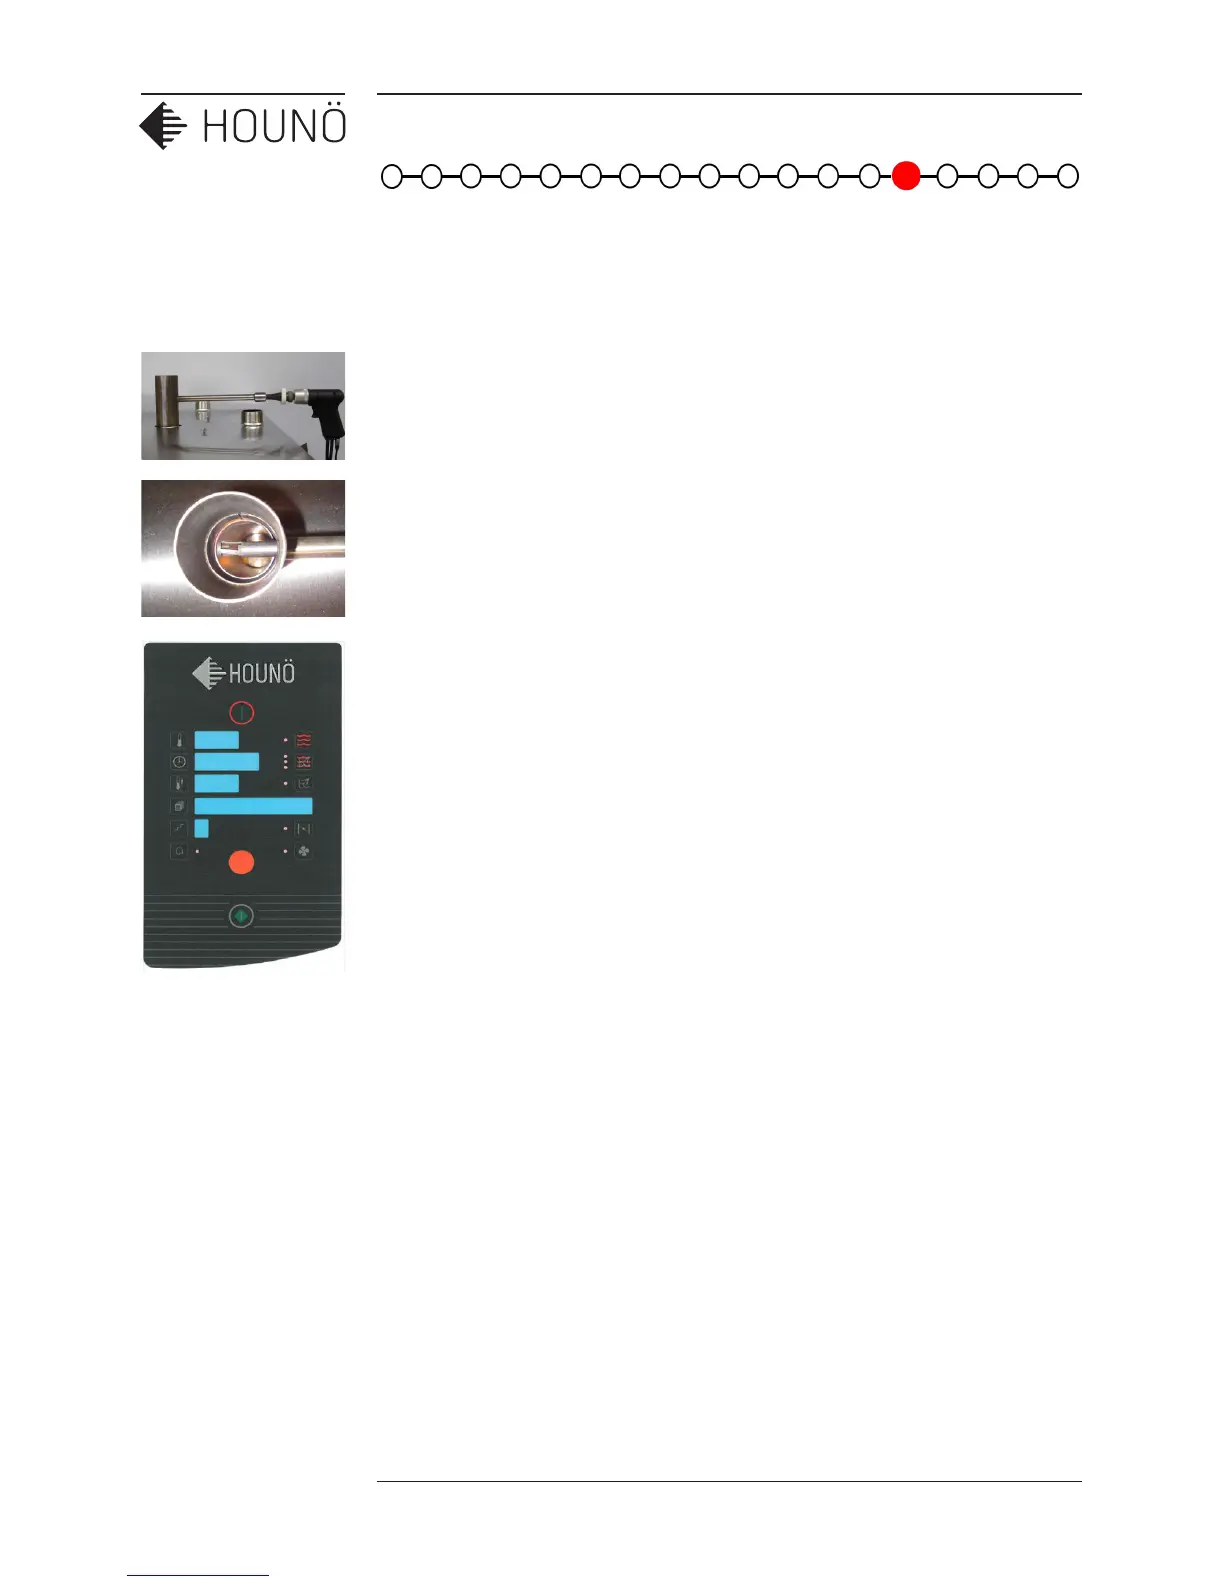
1. Place the adaptor for the flue gas meter at the top of the exhaust pipe from the
heat exchanger. Insert the probe from the flue gas meter into the 14 mm pipe on
the adaptor.
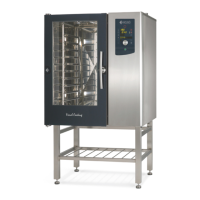
2. Make sure that the tip of the probe is exactly in the center of the 50 mm pipe on
the adaptor. This will insure a correct reading.
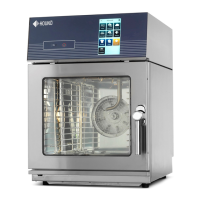
3. Open the oven door.
4. Enter the test function/mode (press and hold the HOT-AIR and COMBI buttons for
5 sec.)
5. Activate the main contactor in “d0” (press the step button, display shows 1 when
active)
6. Turn the knop clockwise to “d3” fan right
7. Turn the knop clockwise to “d50” gas burner 1
8. Activate the gas control box (press the step button, display shows 1 when active.
(wait 5 sec.)
9. Set the “start” RPM for gas-air unit according to table on page 46 in the time
display (press the clock button, display flash turn with the knop to the right RPM
and press the clock button to confirm)
10. Activate the gas fan (press the fan button)
11. When the RPM of the fan reach a specific speed the pressure switch activates. (see
the LED next to the exhaust button)
12. About 15 sec. after the pressure switch has been activated, the oven ignite and
open the gas valve to turn ON. Note if the oven has just been installed, you might
have to go through the process a couple of times before there will be a flame.
13. Touch the clock button and select Max RPM O
2
% setting, for more information, see
Gas Burner Settings (page 46)
14. Adjust the maximum setting on the gas air unit according to the O
2
% values in the
table, see Gas Burner Settings (page 46). Before you begin the adjustment,
ensure that the burner is running.