• Loose the ve screws with the
screwdriver. Untighten the nut shown as
picture and remove the extra cable.
• Slightly screw the nut back to the body,
plug in the 3P-AC bus end cap and tighten
the nut.
• Plug the upper cover back to the 3P-AC
bus connector.
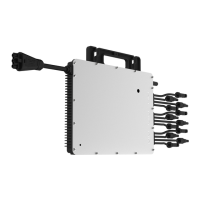
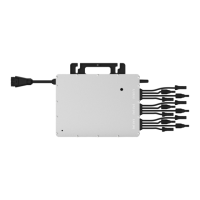
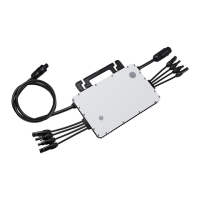
A) Attach the 3P-AC Bus Cable with the
mounting rail, and x the cable by tie
wraps.
Note: Minimize the distance between the
microinverter and the 3P-AC bus connector
for slack.
B ) Take the AC connector from the
microinverter and push it into the 3P-AC
bus connector until it clicks.
C ) If any bus port is vacant, please plug the
3P-AC sub cap into the port to protect it
from dust and walter.
Note: Under the circumstance that need to remove
the inverter AC cable from 3P-AC bus connector,
please use the 3P-AC connector unlock tool and
insert the tool into the side of AC port to remove.
5.3 Installation Steps
Note: The following installation steps are based on the 2*3 installation of PV modules, other installations may require the use of
more accessories.
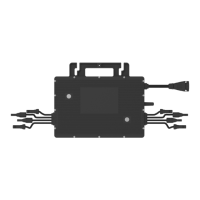
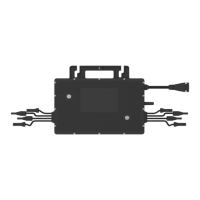
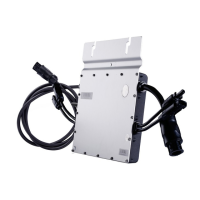
Step 1. Fix Microinverter on the Rail
A ) Mark the approximate center of each panel on the frame.
B ) Fix the screw on the rail.
Note: Install the microinverter with the silver side up and under the PV module. Allow a minimum of 2cm around the microin-
verter enclosure to ensure ventilation and heat dissipation.
Step 2. Complete the AC Connection
© 2020 Hoymiles Power Electronics Inc. All rights reserved.
10
Three-phase Microinverter HMT-1800/2250 About Installation
 Loading...