2-10
Installing the Switch
Installation Procedures
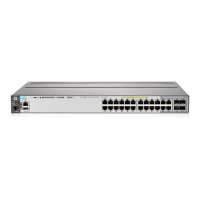
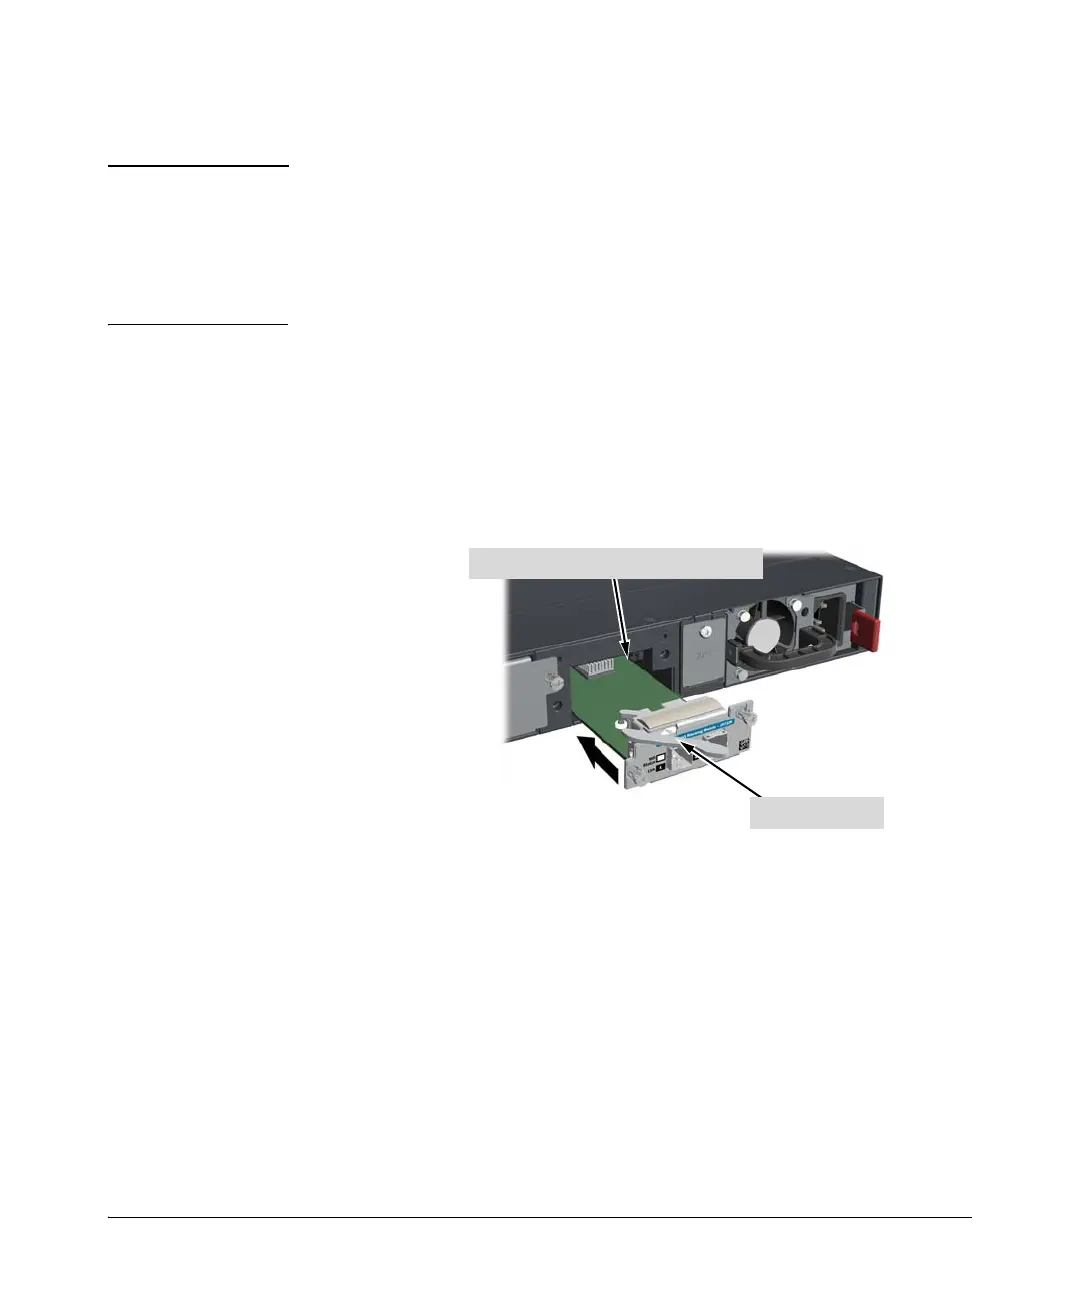
4. (Optional) Install the Stacking Module
Note Hot swapping the Stacking Module is not supported. If a module is installed
with the switch powered on, self-test of the module will not occur, the Mdl
LED on the front of the switch and the Module Status LED on the module will
blink orange. The switch must be reset or power cycled for the module to
function. Only insert or remove a module during scheduled downtime with
the switch powered off.
1. Remove the cover plate.
2. Insert the module aligning with the guides in the slot.
3. Once the contacts have engaged, use the extractor handle to seat the
module completely.
4. Tighten the captive screws until they are snug – do not overtighten them.
Figure 2-7. Installing the Stacking Module
Verifying the Module is Installed Correctly
Observe the Module Status (Mdl) and Fault LEDs on the front of the switch to
verify the module is installed properly.
Align the edges of the board with guides
Extractor handle