Madel
5528A
Appendix
B:
Measurement
Conside
r
at
ions
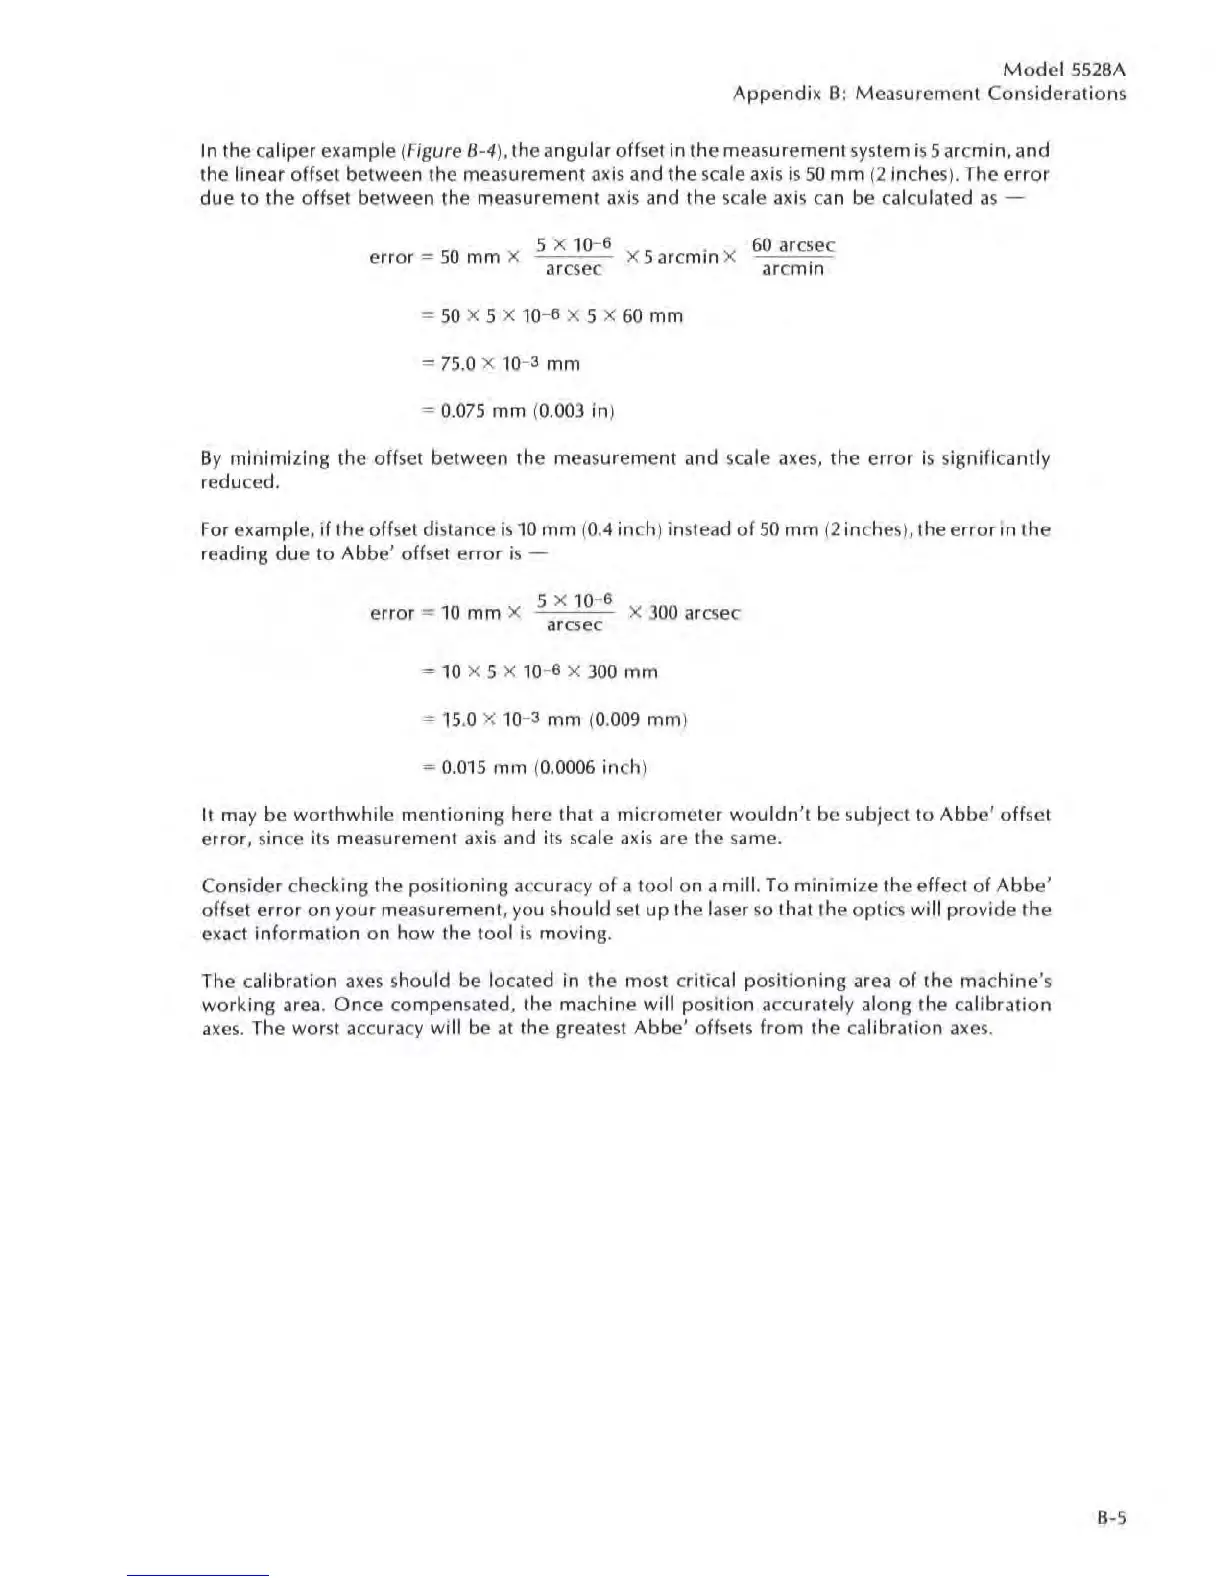
In the caliper example (Figure B-4), the angular offset in the measurement
sys
tem
is
5 arcmin, and
the
linear offset between the meas
urement
axis and the
sca
le
axis
is
50
mm
(2 inches). The
error
due
to the offset between the measuremenl
ax
is and the
sca
le axjs
ca
n be
ca
lculated
as
-
5 X 10⁻⁶ .
60
arcsec
error
= 50
mm
x x 5 arcmm x
arcsec arcmin
=
50
x 5 X
10
-6 X 5 x
60
mm
=
75.0
X 10-3
mm
=
0.075
mm
(0.003 in)
By
minimizing
the offset between the meas
urement
and
sc
ale axe
s,
the
error
is
s
ignifi
c
antly
reduced.
For
exampl
e,
if the offset distan
ce
is
10
mm
(0.4 inch) instead
of
50
mm
(2 inch
es
),
Iheerror
in
the
reading due 10 Abbe' offset e
rr
or
is -
5 X 10⁻⁶
error
=
10
mm
X X
300
arcsec
arcsec
=
10
X 5 X
10
-6 X 300
mm
=
15
.0 X 10-3
mm
(0.009
mm
)
=
0.015
mm
(0.0006 inch)
II m
ay
be
worthwhile
mentioning
here that a mi
cro
meter
would
n
't
be subjec
lt
o
Abbe'
offset
error,
sin
ce
its
measurement
axis
and its scale axis are the same.
Consider checking the positioning accuracy
of
a toof on a
mill.
To
minimi
ze the effeCI
of
Abbe'
offset
error
on
your
mea
su
rement, you should
set
up
the
la
se
r
so
that the
opt
i
cs
will
provide
the
exact
info
rmati on
on
how
the
too
l is
moving
.
The
ca
libr
at
ion
axes
shou ld be located in the most critical
positioning
area
of
the machine's
working
area.
Once
compensated. the mac
hin
e will
po
s
ition
accurately along the
ca
libration
axes.
The
wo
r
st
accuracy will be
at
the greatest
Abbe'
offsets
from
the c
alibration
axes.
8-5
 Loading...