6-2
Appendix
8
Calibration Factors
Entry Procedure
Enter Reference
Cal Factor
1.
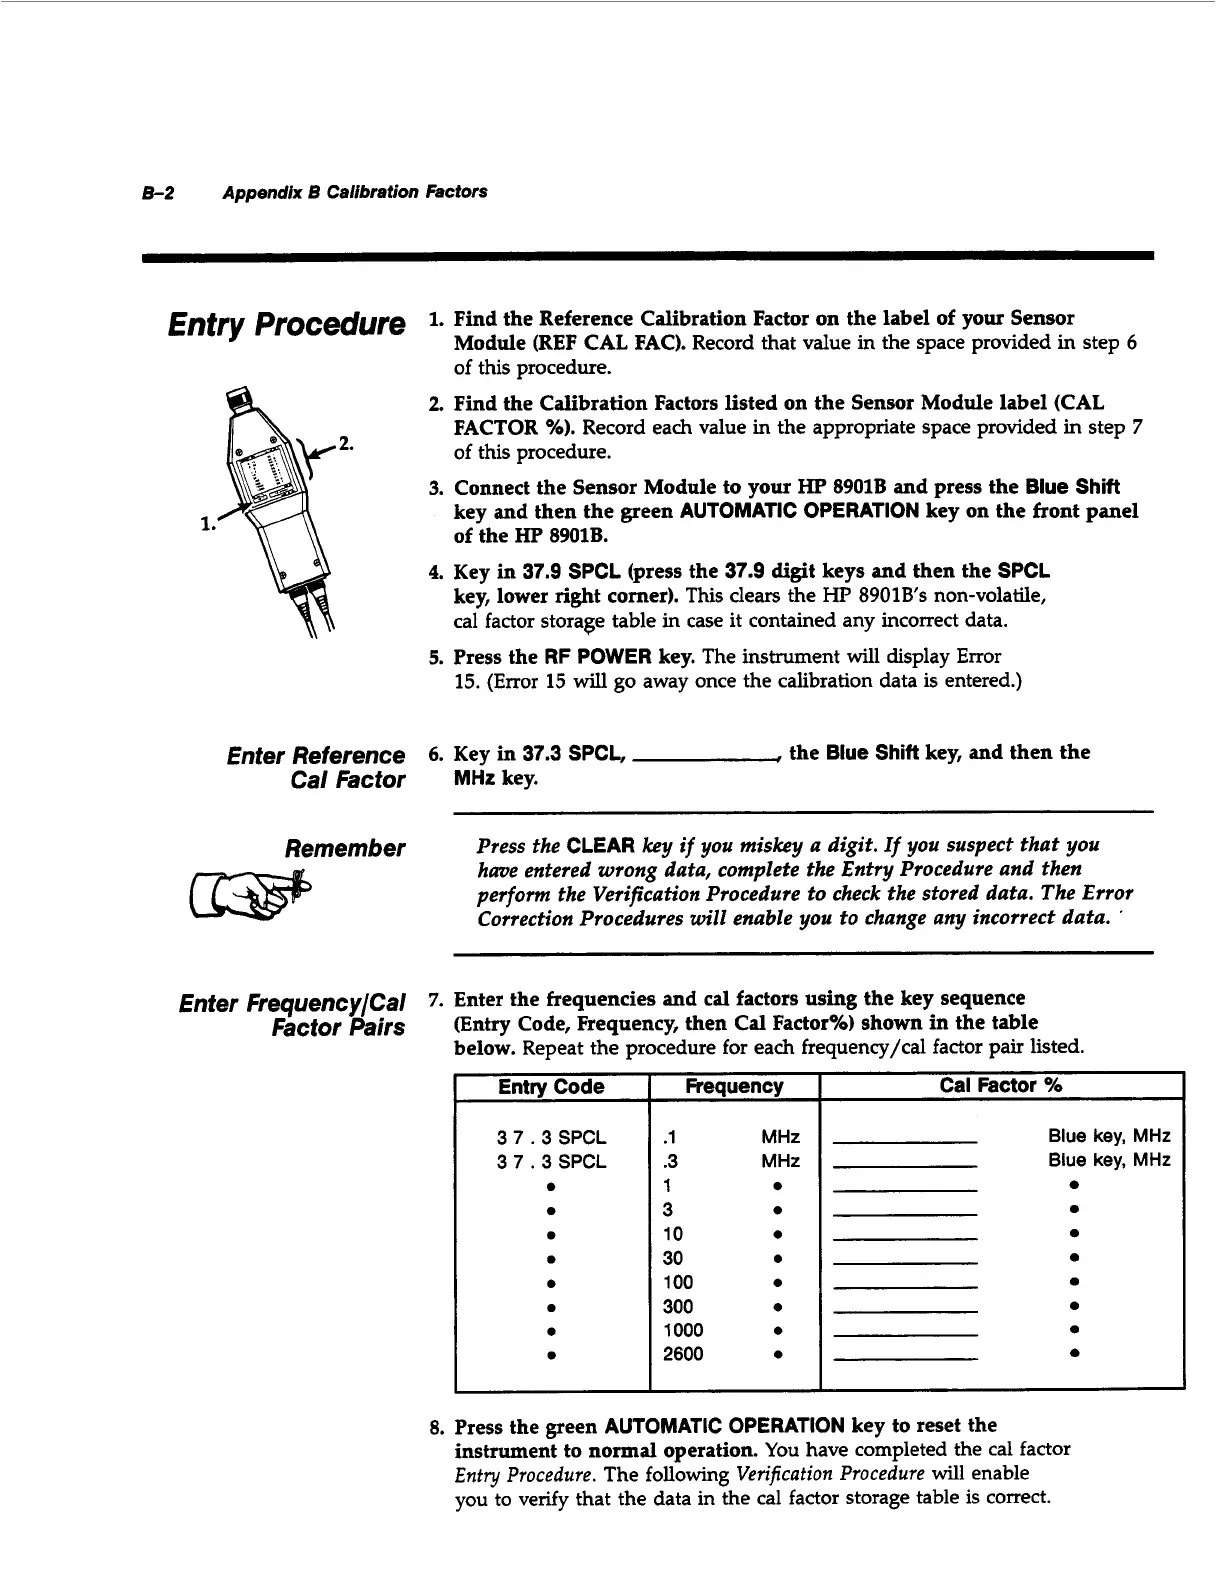
Find the Reference Calibration Factor on the label of your Sensor
Module (REF CAL FAC). Record that value in the space provided in step
6
of this procedure.
FACTOR
%).
Record each value in the appropriate space provided in step
7
of
this procedure.
key and then the green
AUTOMATIC OPERATION
key on the front panel
of the
HP
8901B.
4.
Key in
37.9 SPCL
(press the
37.9
digit keys and then the
SPCL
key, lower right corner). This clears the
HP
8901Bs
non-volatile,
cal factor storage table in case it contained any incorrect data.
5.
Press the
RF
POWER
key. The instrument will display Error
15.
(Error
15
will
go
away once the calibration data is entered.)
2.
Find the Calibration Factors listed on the Sensor Module label (CAL
3.
Connect the Sensor Module to your
HP
8901B
and press the
Blue Shift
6.
Key in
37.3 SPCL,
,
the
Blue Shift
key, and then the
MHz
key.
Remember
Press the
CLEAR
key
if
you miskey a digit.
If
you suspect that you
have entered
wrong
data, complete the Entry Procedure and then
perform the Verification Procedure to check the stored data. The
Error
Correction Procedures will enable you to change any incorrect data.
’
Enter FrequencylCal
Factor Pairs
7.
Enter the frequencies and
cal
factors
using
the key sequence
(Entry Code, Frequency, then Cal Factor%) shown in the table
below. Repeat the procedure for each frequency/cal factor pair listed.
Entry Code
I
Frequency
I
3
7.3
SPCL
3
7
.3
SPCL
0
0
0
0
0
0
0
0
.1
MHz
.3
MHz
1
0
3
0
10
0
30
0
100
0
300
0
1000
0
2600
0
Cal Factor
YO
Blue key,
MHt
Blue key,
MHt
8.
Press the green
AUTOMATIC OPERATION
key to reset the
instrument to normal operation.
You
have completed the cal factor
Entry
Procedure.
The following
Verificafion Procedure
will enable
you to verify that the data in the cal factor storage table is correct.

 Loading...


