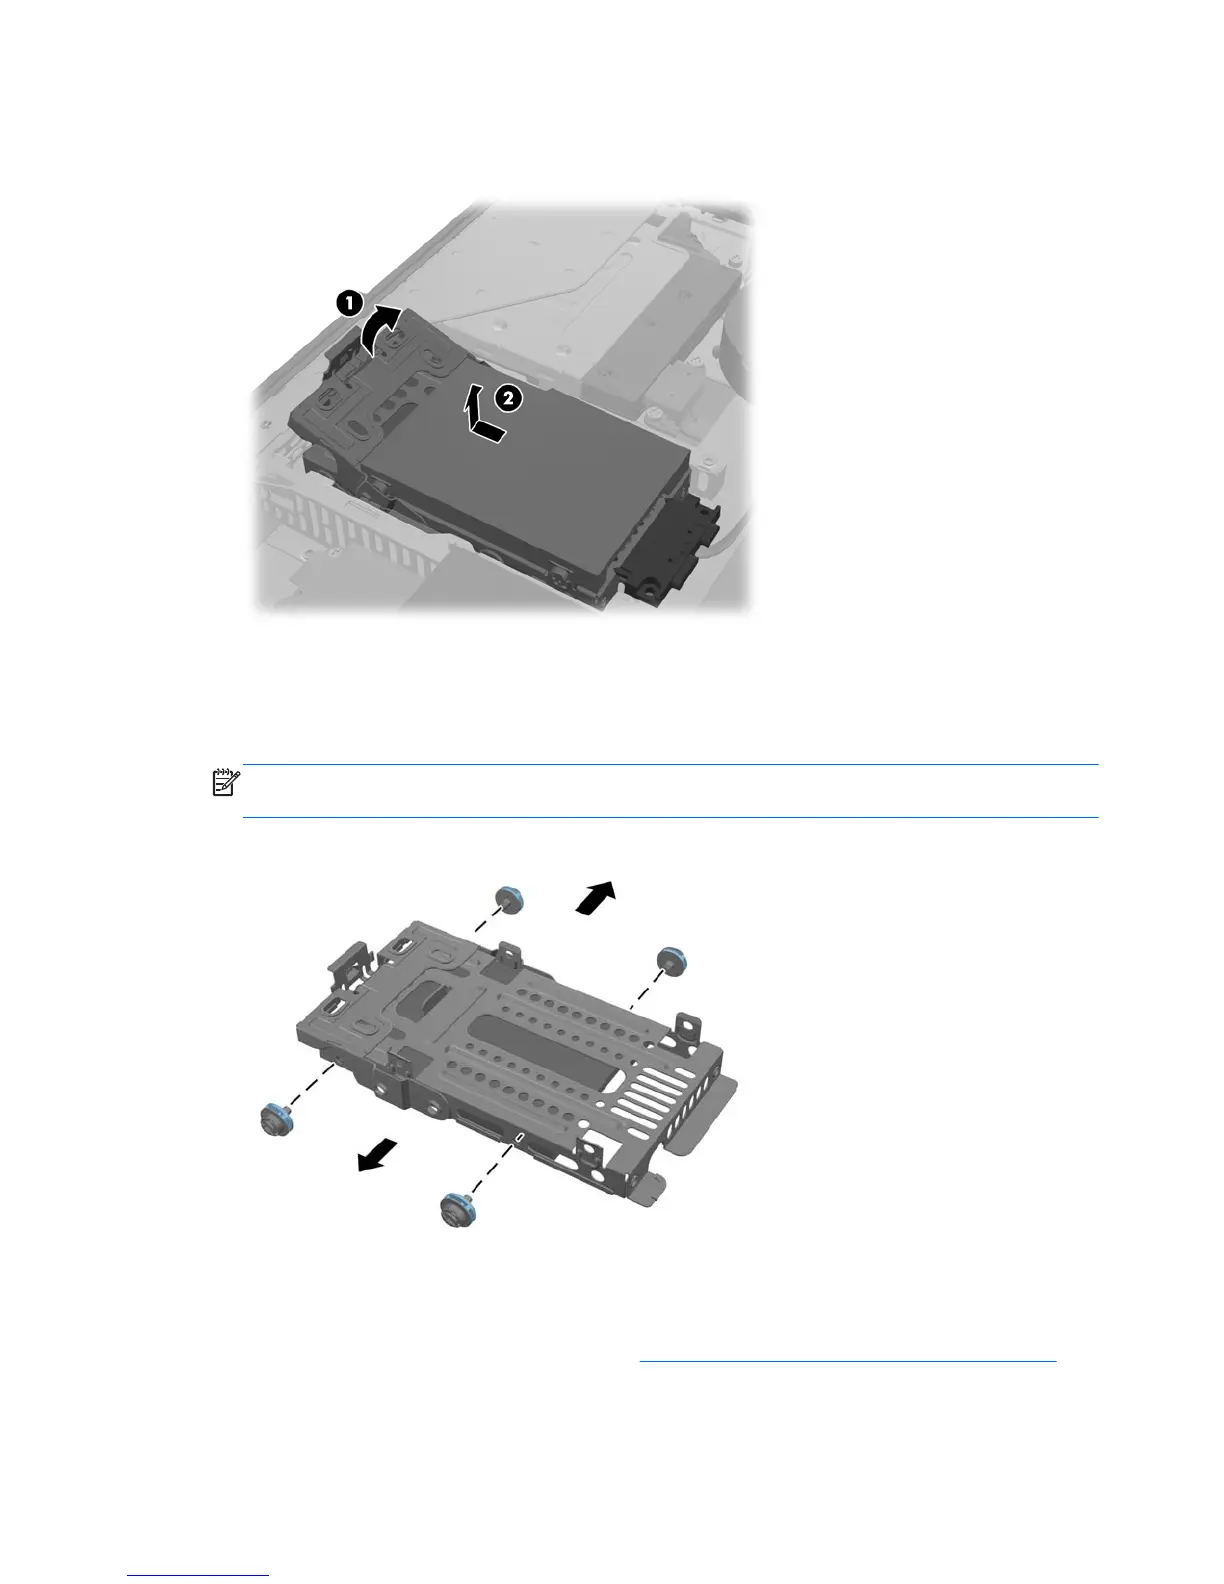
3. Pull the latch next to the lower side of the 2.5-inch hard disc drive cage away from the cage to
release it, then slide the cage toward the edge of the chassis and lift it out.
4. If there is a second disc drive in the 2.5-inch cage, disconnect both cables from it.
5. Remove the four mounting screws from each 2.5-inch hard disc drive to be removed. Be sure to
keep the screws together with the blue rubber grommets to use to install a replacement drive.
NOTE: The primary drive is the lower position in the drive cage. If only one drive is to be
installed, it must occupy this position.
6. Remove the 2.5-inch hard disc drive(s) from the cage.
For instructions on installing a hard disc drive, see
Installing a 2.5-inch hard disc drive on page 45.
44 Chapter 5 Removal and Replacement Procedures All-in One (AIO) Chassis
 Loading...