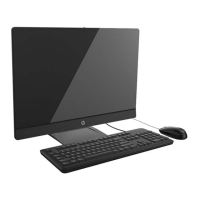
6. Remove the two black Torx screws (2) that secure the board to the computer.
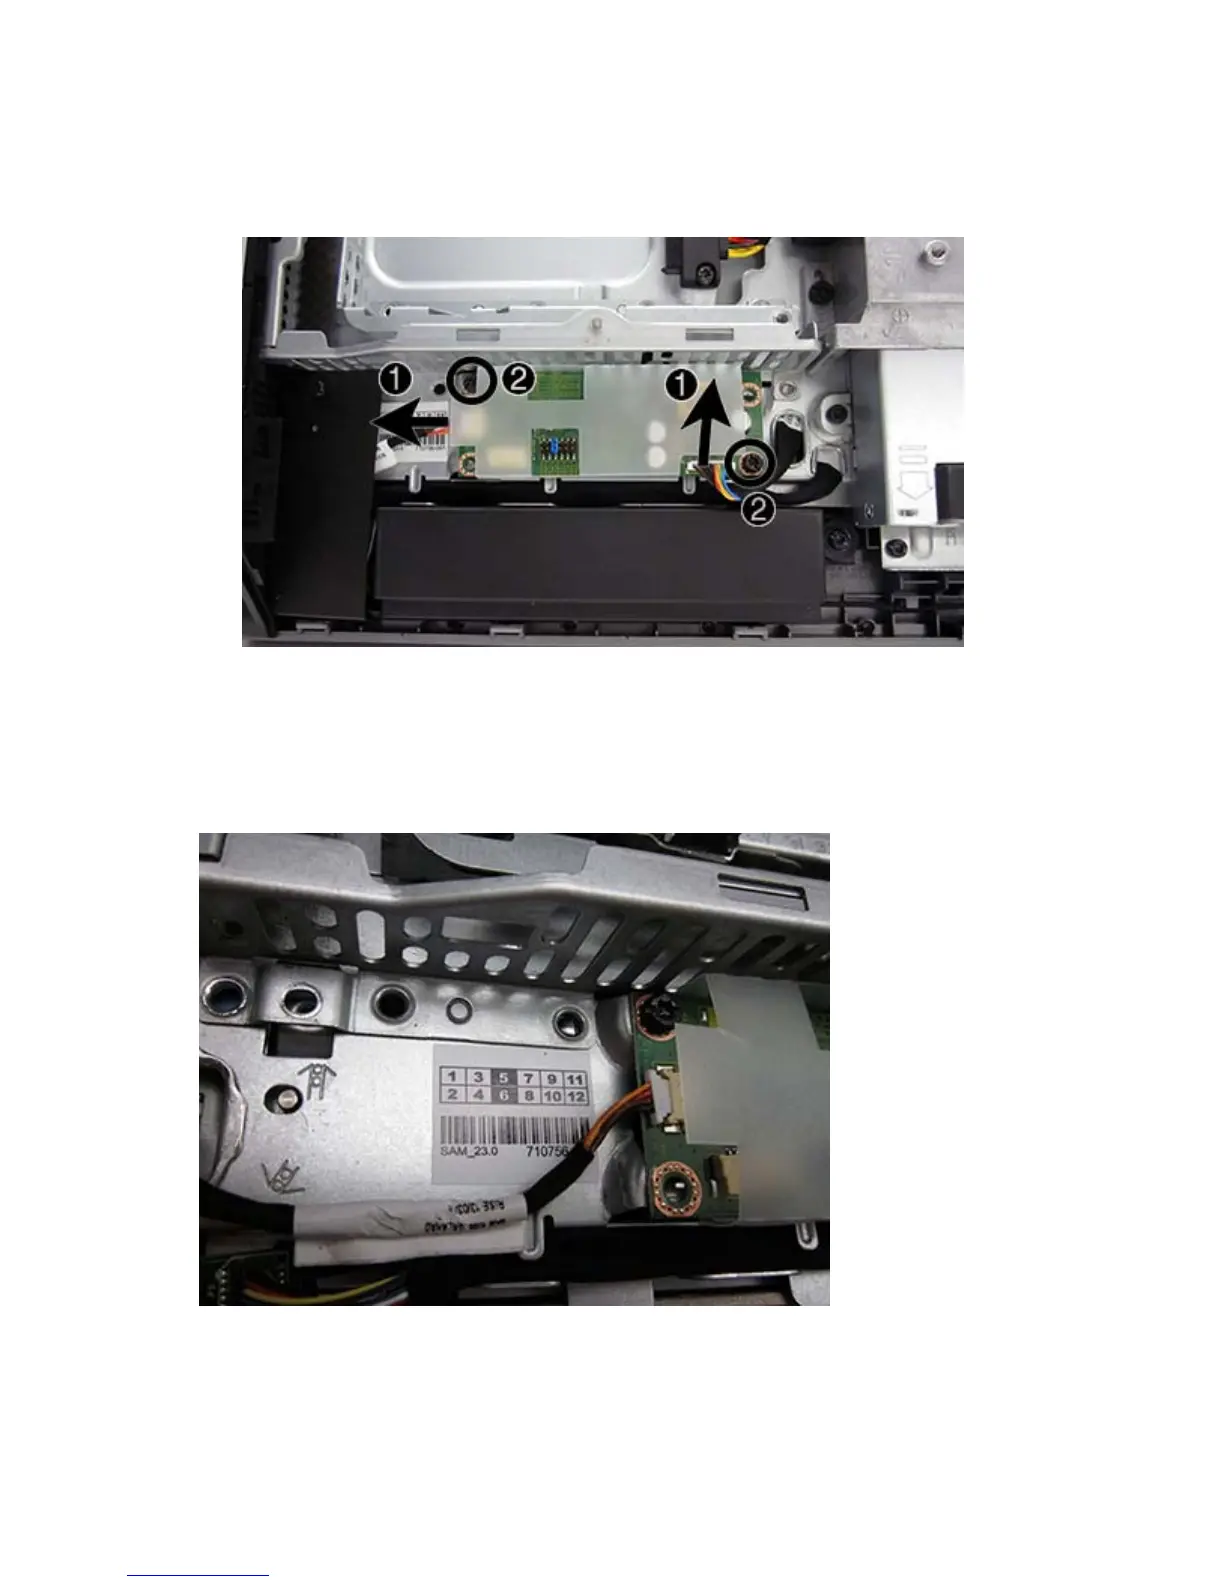
Be sure to correctly position the jumpers on the converter board for the installed display panel.
Refer to the label in the chassis for jumper settings.
7. Lift the converter board from the computer.
To install the converter board, reverse the removal procedures.
Be sure to correctly position the jumpers on the converter board for the installed display panel. The
jumper settings are shown on a label near the converter board.
80 Chapter 5 Removal and Replacement Procedures All-in One (AIO) Chassis
 Loading...