27
1. Plan IRF fabric setup
Plan the installation site and IRF fabric setup parameters:
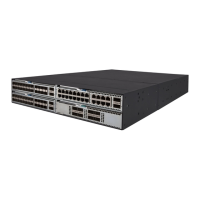
• Planning IRF fabric size and the installation site
• Identifying the master switch and planning IRF member IDs
• Planning IRF topology and connections
• Identifying physical IRF ports on the member switches
• Planning the cabling scheme
2. Install IRF member
switches
See "Installing the switch in a 19-inch rack" or "Mounting the switch on a
workbench."
3. Connect ground wires
and power cords
See "Grounding the switch" and "Connecting the power cord."
4. Power on the switches
N/A
5. Configure basic IRF
settings
See HPE FlexFabric 5901 Switch Series IRF Configuration Guide.
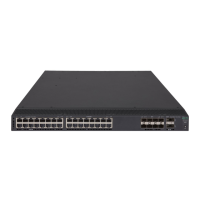
6. Connect the physical
IRF ports
Connect physical IRF ports on switches. Use SFP+/QSFP+ transceiver
modules and fibers over a long distance, or use SFP+/QSFP+ cables over a
short distance.
All switches except the master switch automatically reboot, and the IRF fabric
is established.
Planning IRF fabric setup
This section describes issues that an IRF fabric setup plan must cover.
Planning IRF fabric size and the installation site
Choose switch models and identify the number of required IRF member switches, depending on the
user density and upstream bandwidth requirements. The switching capacity of an IRF fabric equals
the total switching capacities of all member switches.
Plan the installation site depending on your network solution, as follows:
Place all IRF member switches in one rack for centralized high-density access.
Distribute the IRF member switches in different racks to implement the ToR access solution for
a data center.
Identifying the master switch and planning IRF member IDs
Determine which switch you want to use as the master for managing all member switches in the IRF
fabric.
An IRF fabric has only one master switch. You configure and manage all member switches in the IRF
fabric at the CLI of the master switch. IRF member switches automatically elect a master.
 Loading...