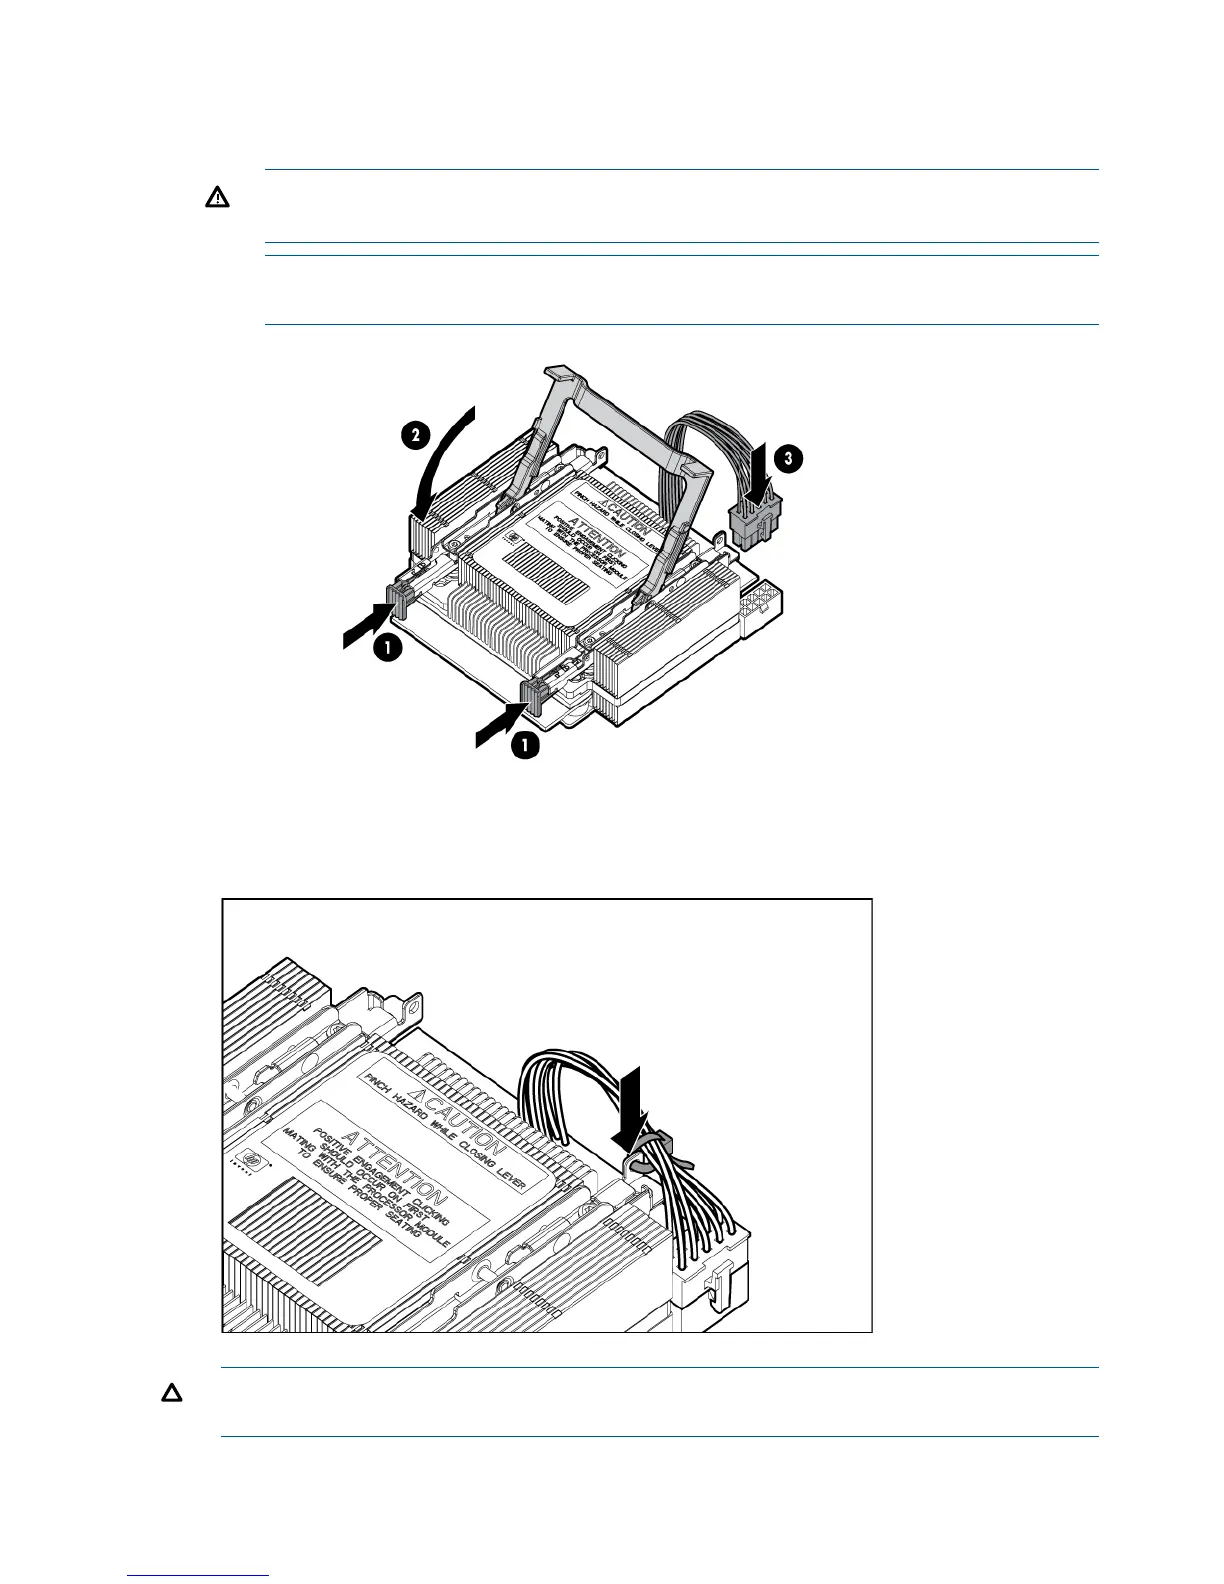
6. Secure the heatsink to the processor
a. Slide both plastic locking tabs into place. (See callout 1 in the following figure).
b. Grasp and rotate the latch downward. (See callout 2 in the following figure.)
WARNING! The heatsink locking lever can constitute a pinch hazard, keep your hands
on top of the lever during installation to avoid personal injury.
NOTE: Positive engagement clicking should occur during mating of the processor heat
sink and processor module onto the socket to ensure proper seating.
7. Connect the power cord. (See callout 3 in the previous figure).
8. Tie wrap the processor cable to the right tie point on the processor assembly.
CAUTION: When the CPU is installed, dress all slack in the power cable to the connector
end of the cable. Failure to do so could result in pinched or damaged CPU power cables.
48 Optional components