HP Omnibook 500 Removal and Replacement 2-19
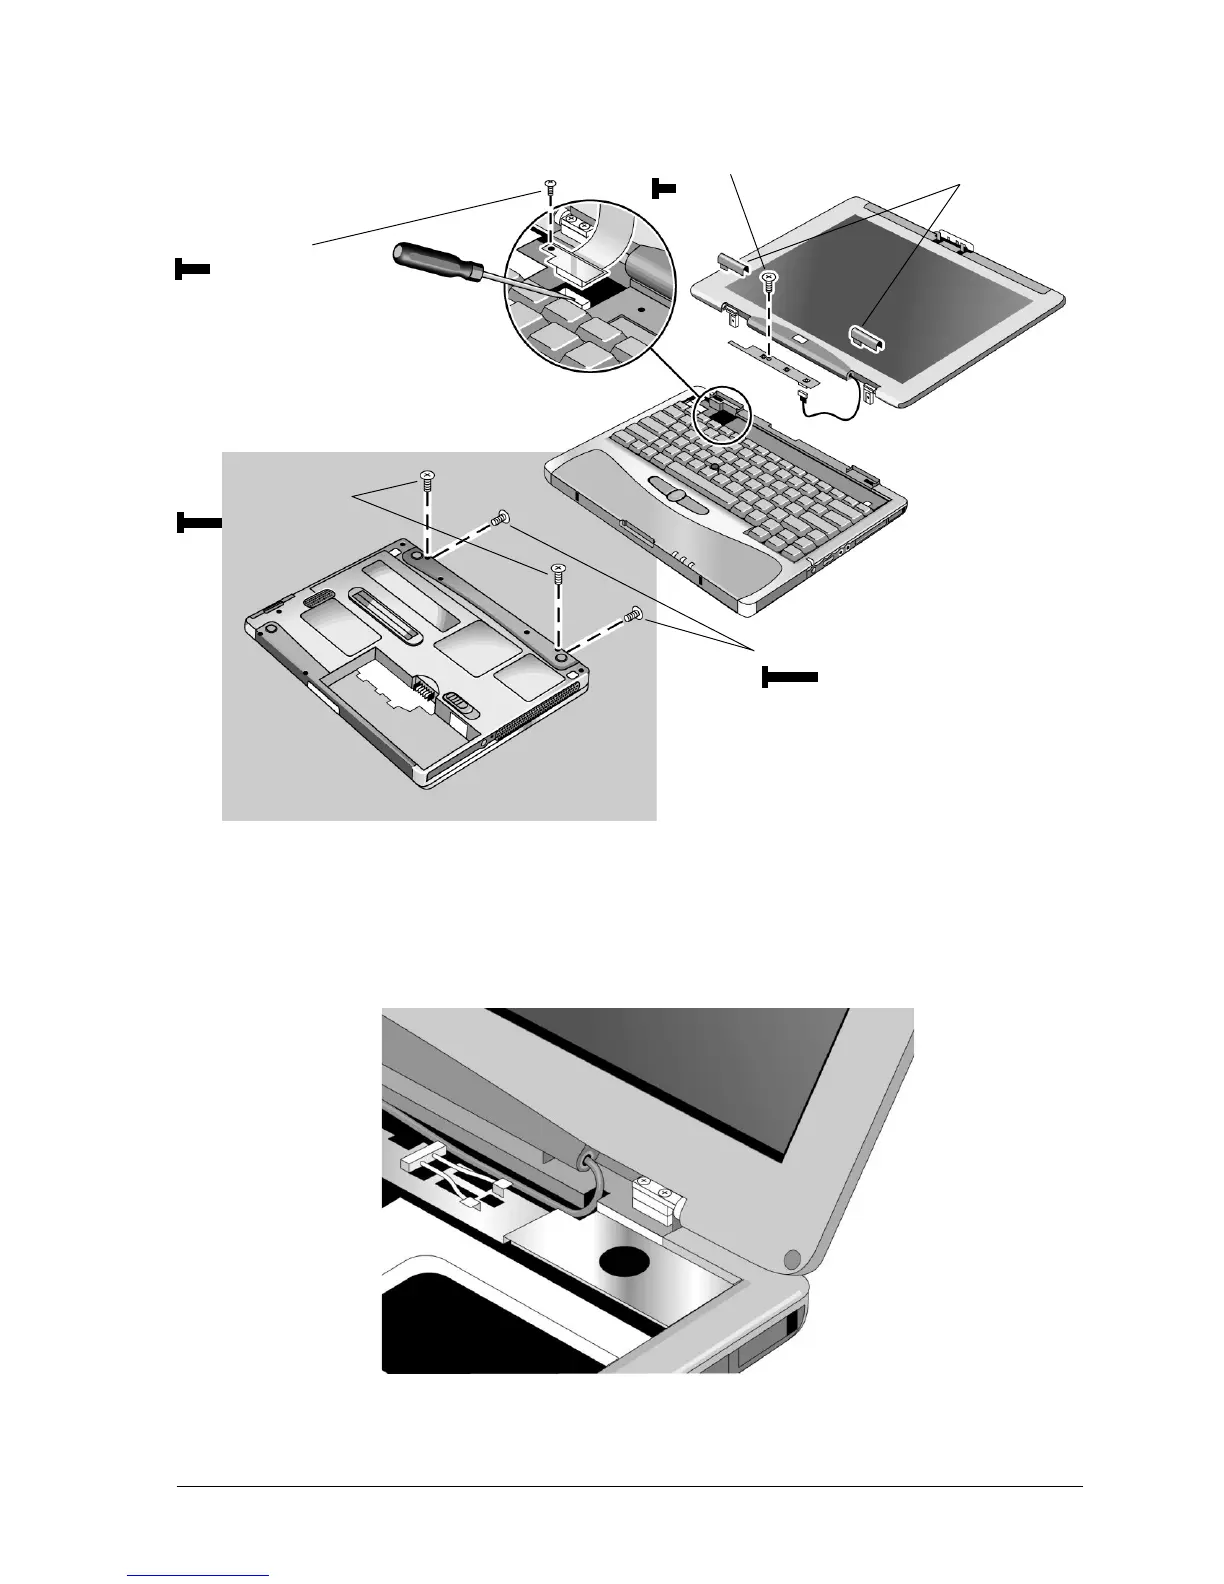
Figure 2-14. Removing the Display
Reassembly Notes
•
Make sure the display cable fits in its opening in the computer’s case, and lies behind the clip for
the power button panel, as shown in Figure 2-15, below. Press the cable back onto its connector.
Figure 2-15. Routing the Display Cable
Screw, M2×5mm
Screws, M2×7mm (2)
Screws, M2×9mm (2)
Hinge covers
Screw, M2×3mm
 Loading...


