2-16 Removal and Replacement HP OmniBook 900
Caution: OmniBook 900B
Follow these precautions while installing the CPU module to prevent damage to the CPU
connector:
• Place the CPU module on the connector carefully. Align the arrow on the upper right corner of
the CPU module with the matching arrow on the connector.
• Use only a 4.0-4.5 mm flat-blade screwdriver to lock the CPU module.
• Use only enough force to lock the CPU module. The CPU connector may be damaged if too
much force is used.
Install or replace thermal pads on the heatsink that are missing or damaged.
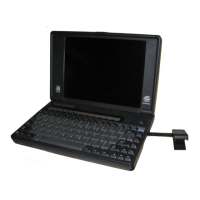
Removing the Display Assembly
(HP Authorized Service Providers Only)
Required Equipment
• Small Phillips screwdriver.
Removal Procedure
1. Unplug the ac adapter, if present, and remove the battery.
2. Remove the keyboard (page 2-12).
3. Open the display fully and remove the covers from the display hinges. Push in at the bottom-front
of the covers.
4. Unplug the display power wires from the motherboard near the right hinge. Free the wires from
the notch in the top case.
5. Remove the two screws from the end of the LCD flex cable and unplug the cable from the
motherboard.
6. Close the display and turn over the computer.
7. Remove the two screws from the back corners of the bottom case.
8. Open the display about 90°, then lift if off.

 Loading...