2-1
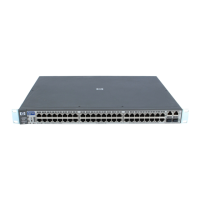
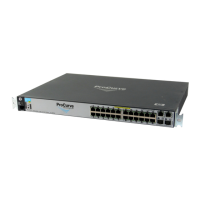
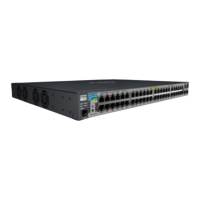
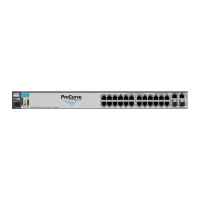
Installing the Switch 2650
2
Installing the Switch 2650
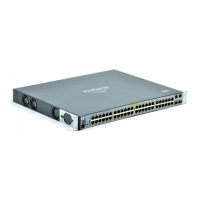
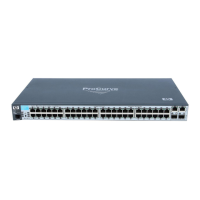
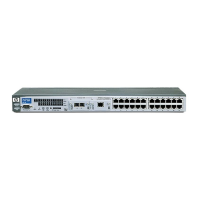
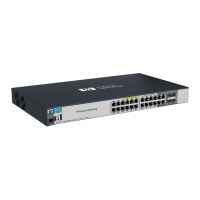
The HP Switch 2650 is easy to install. It comes with an accessory kit that
includes the brackets for mounting the switch in a standard 19-inch telco rack,
in an equipment cabinet, or on a wall, and with rubber feet that can be attached
so the switch can be securely located on a horizontal surface. The brackets
are designed to allow mounting the switch in a variety of locations and
orientations.
This chapter shows you how to install your Switch 2650.
Included Parts
The Switch 2650 has the following components shipped with it:
■ HP Procurve Switch 2650 Installation and Getting Started Guide
(J4899-90001), this manual
■ HP Procurve Product Documentation CD ROM
(contains PDF file copies of the documentation for the Switch 2650,
including the Management and Configuration Guide, and for most other
HP Procurve switches)
■ HP TopTools for Hubs & Switches - CD ROM and booklet
■ Console cable
■ Customer Support/Warranty booklet
■ Accessory kit (5064-2085)
• two mounting brackets
• four 8-mm M4 screws to attach the mounting brackets to the switch
• four 5/8-inch number 12-24 screws to attach the switch to a rack
• four rubber feet
■ Power cord, one of the following:
Australia/New Zealand
China
Continental Europe
Denmark
Japan
Switzerland
United Kingdom/Hong Kong/Singapore
United States/Canada/Mexico
8120-6803
8120-8377
8120-6802
8120-6806
8120-6804
8120-6807
8120-8709
8120-6805
 Loading...
