Removal and replacement procedures 46
a.
Disconnect each power cord from the power source.
b. Disconnect each power cord from the server.
3. Do one of the following:
o Extend the server from the rack (on page 27).
o Remove the server from the rack (on page 28).
4. Remove the access panel ("Access panel" on page 29).
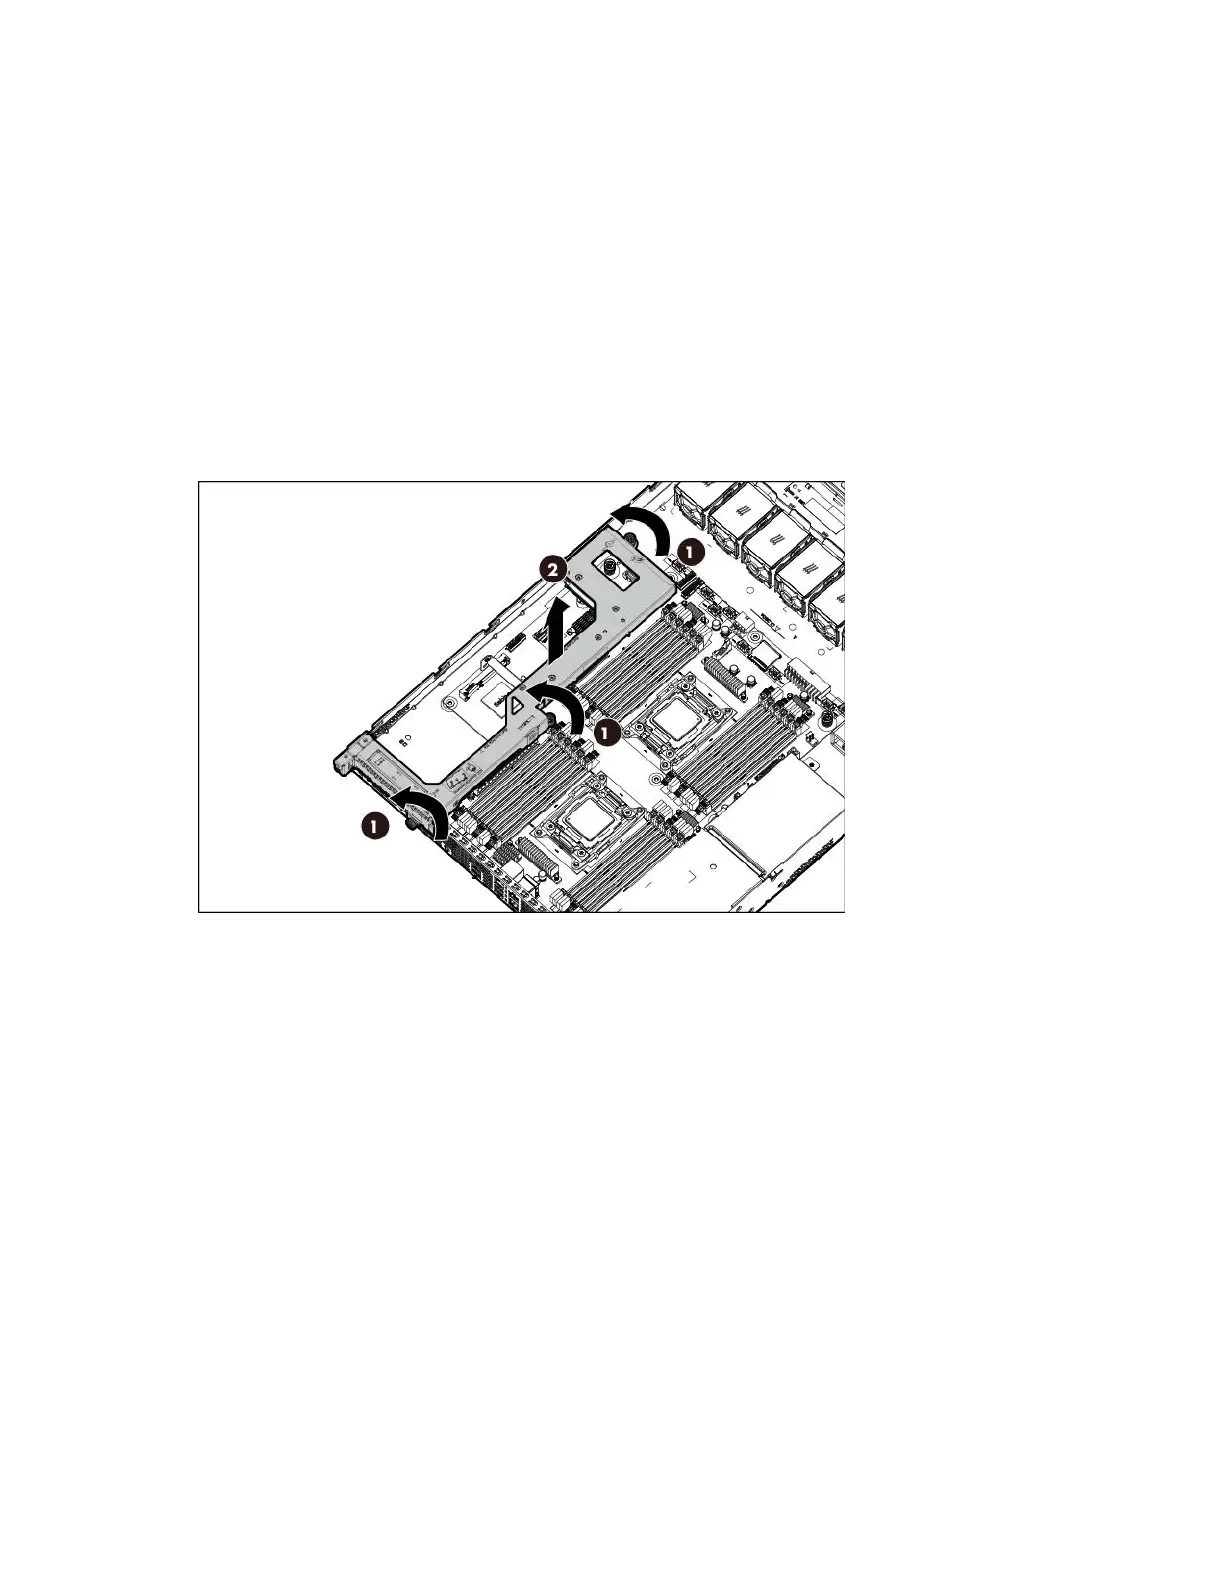
5. Remove the processor air baffle ("Processor air baffle" on page 30).
6. Disconnect all cables connected to any existing expansion boards.
7. Remove the PCI riser cage:
a. Unfasten the three screws in the PCI riser cage.
b. To unseat the PCI riser boards, lift the assembly, and then remove the cage.
To replace the component, reverse the removal procedure.
Expansion boards
To remove the component:
1. Power down the server (on page 27).
2. Remove all power:
a. Disconnect each power cord from the power source.
b. Disconnect each power cord from the server.
3. Extend the server from the rack (on page 27).
4. Remove the access panel ("Access panel" on page 29).
5. Remove the processor air baffle ("Processor air baffle" on page 30).
6. Remove the PCI riser cage ("PCI riser cage" on page 45).
7. Remove the expansion board:

 Loading...