Operations 15
IMPORTANT: The requirement of extending or removing the server from the rack when
performing installation and maintenance procedures depends on the rail system used:
• If using a ball-bearing rail system, you can perform most installations and maintenance by
simply extending the server from the rack.
• If using a friction rail system, to perform installations or maintenance that requires access panel
removal, remove the server from the rack.
1. Power down the server (on page 14).
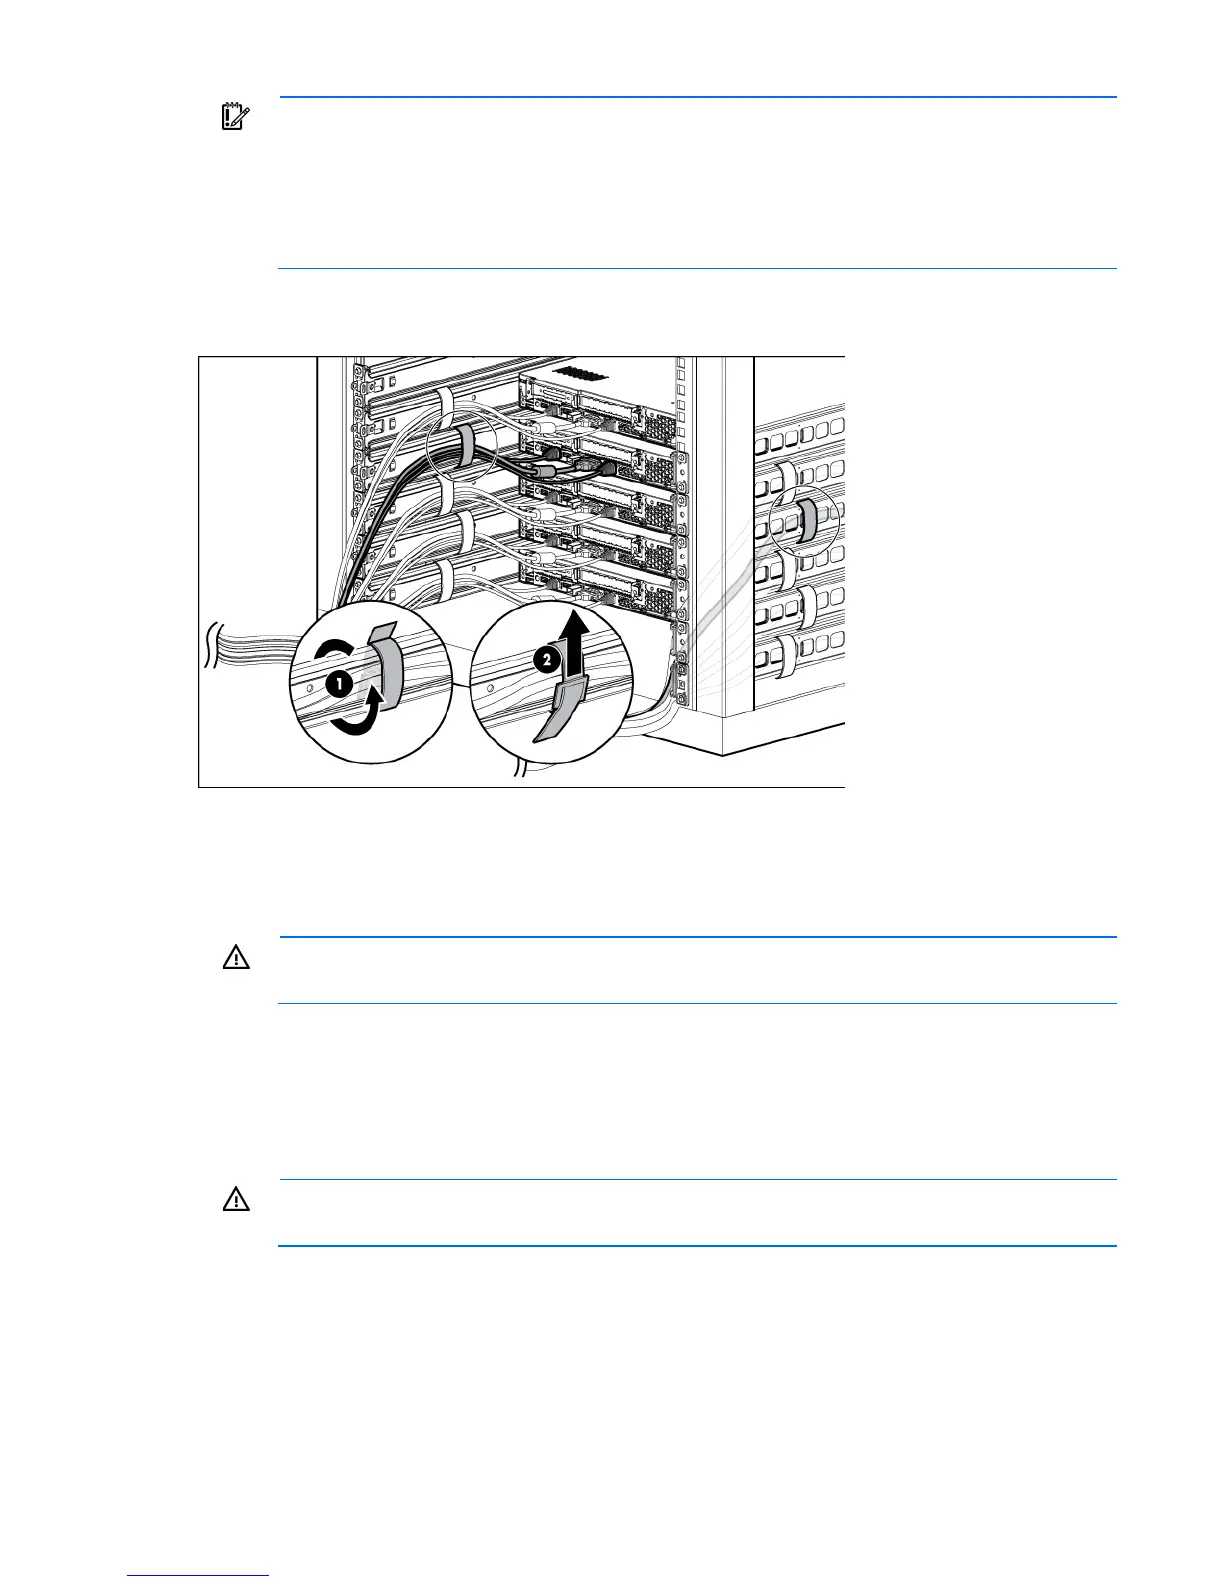
2. Release the peripheral cables and the power cord from the rack rail cable ties.
3. Remove the power from the server:
a. Disconnect the power cord from the power source.
b. Disconnect the power cord from the server.
4. Disconnect all peripheral cables from the server.
WARNING: To reduce the risk of personal injury or equipment damage, be sure that the rack is
adequately stabilized before extending a component from the rack.
5. Do one of the following:
o If the server is using a thumbscrew type rack ear, loosen the thumbscrews.
o If the server is using a quick-release lever type rack ear, use a T-25 Torx screwdriver to loosen the
screws located inside the lever housing.
6. Extend the server on the rack rails until the server rail-release latches engage.
WARNING: To reduce the risk of personal injury, be careful when pressing the server rail-release
latches and sliding the server into the rack. The sliding rails could pinch your fingers.
7. After performing the installation or maintenance procedure, press the rack rail-release latches, and then
slide the server into the rack. For more information, see the documentation that ships with the
rack-mounting option.
8. Connect the peripheral devices to the server.
9. Connect the power cord to the server.
10. Connect the power cord to the power source.

 Loading...