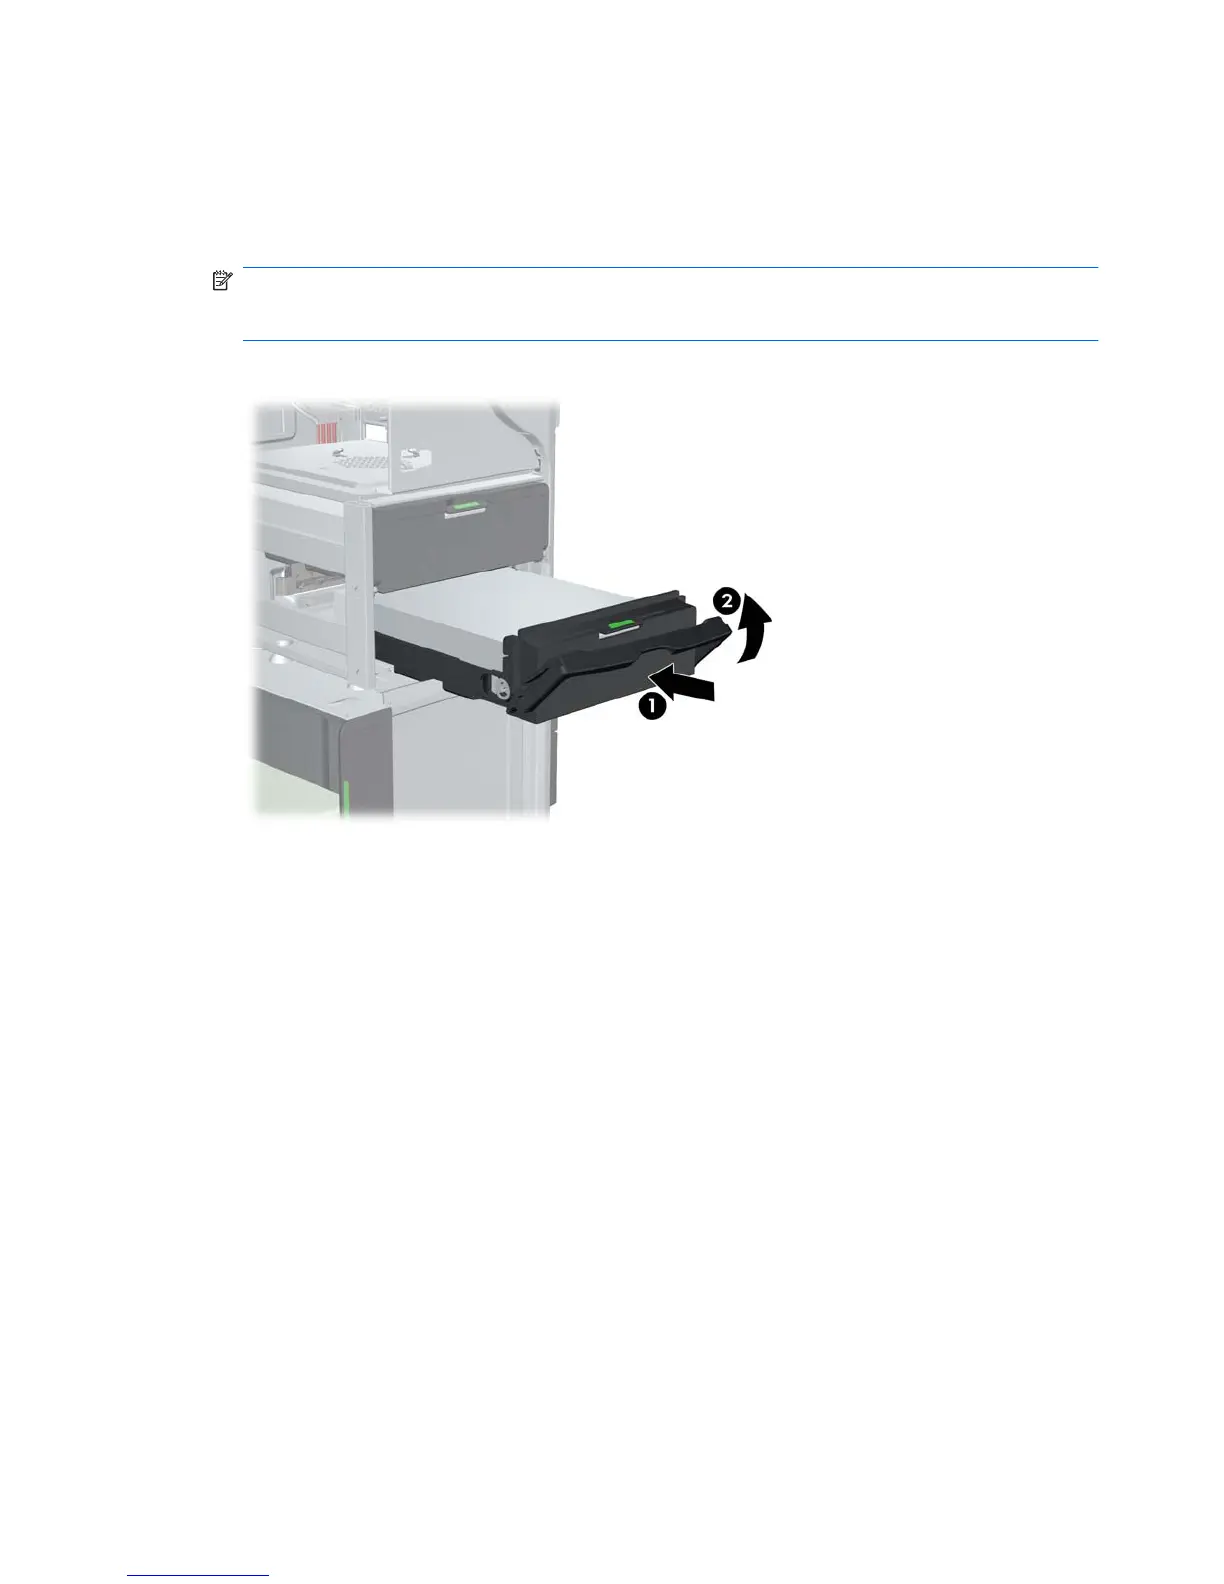
5. Rotate the hard disk drive handle down into its fully open position. Carefully push the drive into
its slot until comes to a hard stop (1) as shown in the following illustration. (An HP Z600
Workstation is shown for example.)
When the hard disk drive is installed, rotate the drive handle up until it snaps into place, fully
securing the drive (2).
NOTE: The hard disk drive carrier handle is used as a lever to properly seat the connectors
and to securely retain the drive. If the handle is closed prematurely, the proper connection is not
made and the drive is not retained properly.
Figure 9-6 Installing the HDD in the chassis
6. When installing a SAS hard disk drive in a Z600 Workstation, a SAS Controller card must be
installed. Move the drive data cable from the system board SATA connector to the SAS
Controller card connector.
When installing a SAS hard disk drive in the Z800, move the drive data cable from the system
board SATA connector to a system board SAS connector.
See the workstation Maintenance and Service Guide for connector locations and installation
details.
7. Replace all components that were removed in preparation for component installation.
60 Chapter 9 Installing hard disk drives ENWW
 Loading...