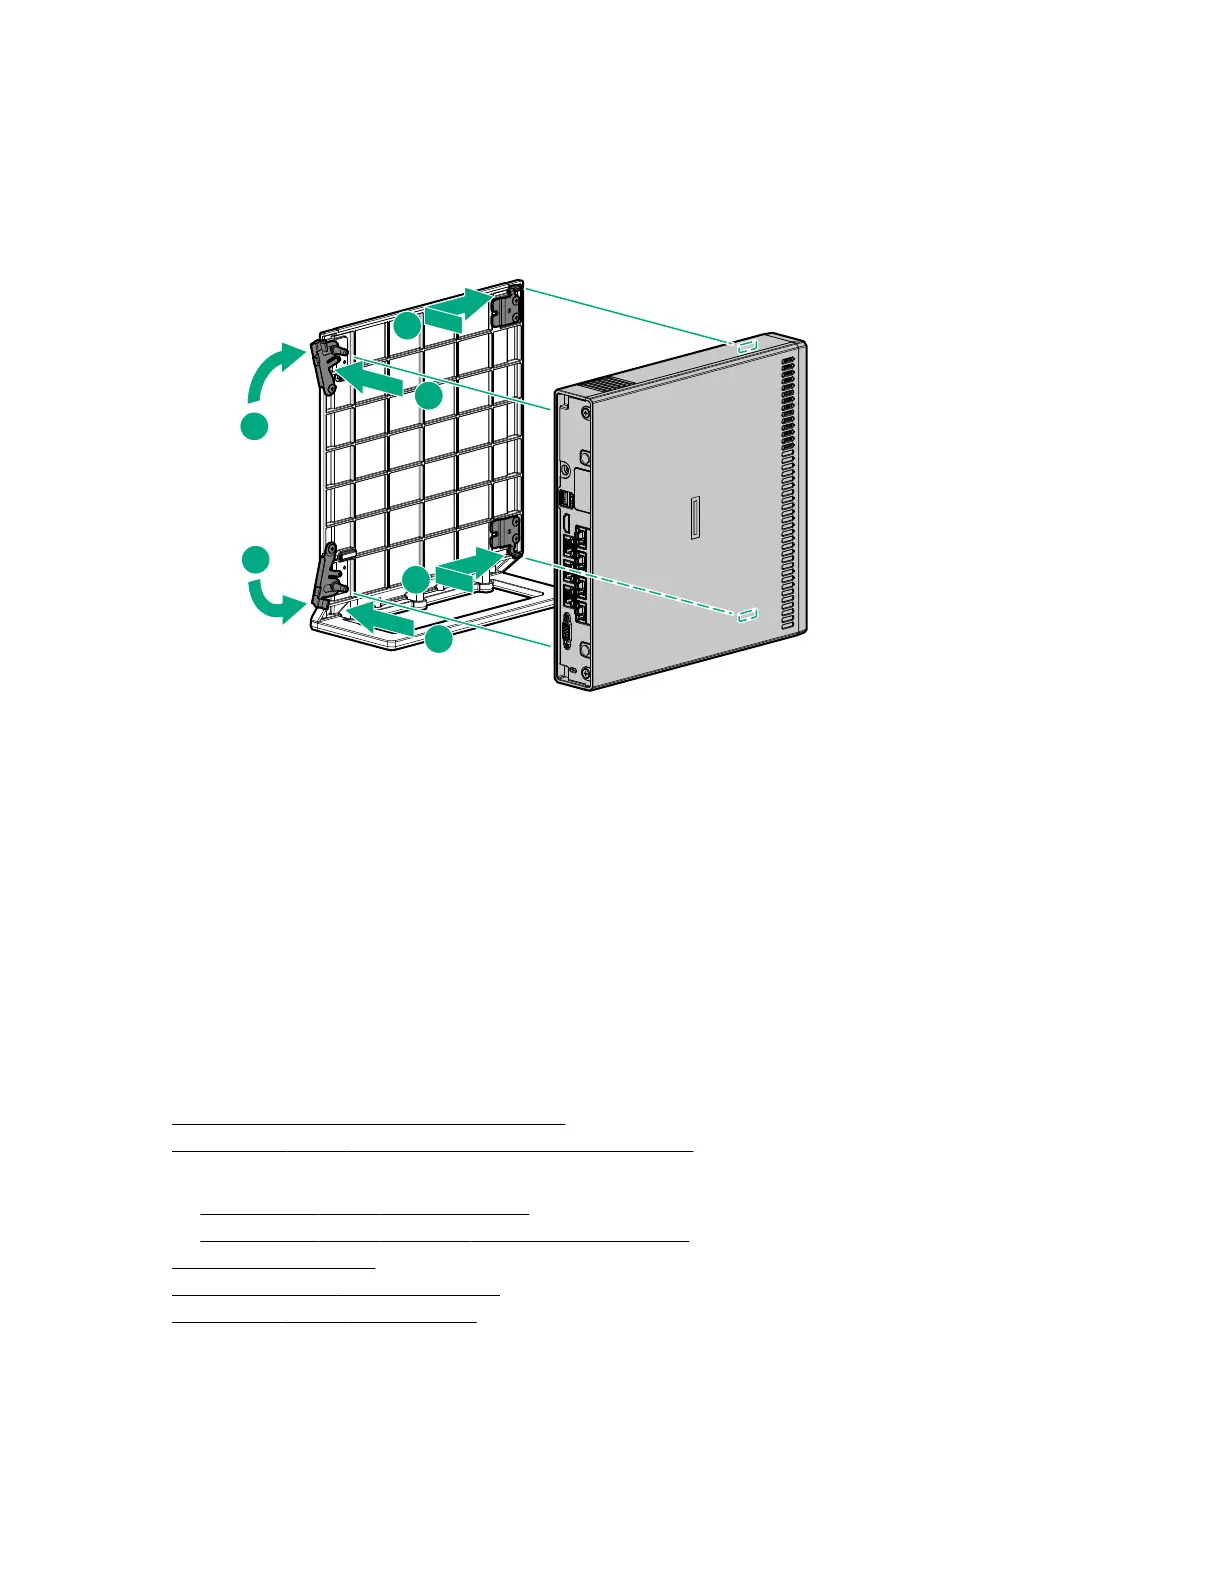
3. Orient the server in a vertical position with the rear panel facing the cradle latches.
4. Install the server in the cradle:
a. Insert the two hooks on the right side of the cradle into the corresponding openings on the bottom of
the server.
b. Align and insert the two posts on the cradle into the corresponding openings on the bottom of the
server.
c. Close the latches on the cradle.
Installing the server in the wall mount
Prerequisites
Before you perform this procedure, make sure that you have the following tools available:
• Stud finder (if installing the wall mount on a hollow wall)
• Wall marker
• Level
• Electric drill
• Small wire brush (for cleaning the pilot holes)
• No. 2 Phillips screwdriver
• Hammer
Procedure
1. Determine the location for the wall mount.
2. Prepare the server for hardware installation or removal.
3. If the server is installed in a cradle or on a storage expansion unit:
• Remove the server from the cradle.
• Remove the server from the storage expansion unit.
4. Install the wall mount.
5. Install the server in the wall mount.
6. Prepare the server for operation.
36 Installing the server in the wall mount
 Loading...