64
14. Press once to scroll to Function 6 - “MAX SUPPLY TEMP”. This function is the second step to
setting your outdoor reset curve. Enter your system’s hydronic heating module maximum supply
temperature value. To adjust the value, press ENTER and the factory default of 140 °F will start to blink.
Use ▲ and ▼ to adjust to your designed temperature. To store the new value press ENTER. NOTE: This
should be the same value entered in step 5.
15. Press once to scroll to Function 7 - “MAX OUTDOOR TEMP”. This function is the third step to
setting your outdoor reset curve. Enter your system’s maximum outdoor temperature value. To adjust the
value, press ENTER and the factory default of 68 °F will start to blink. Use ▲ and ▼ to adjust to your
designed temperature. To store the new value press ENTER.
16. Press once to scroll to Function 8 - “MIN SUPPLY TEMP”. This function is the final step to setting
your outdoor reset curve. Enter your system’s hydronic heating module minimum supply temperature
value. To adjust the value, press ENTER and the factory default of 120 °F will start to blink. Use ▲ and ▼
to adjust to your designed temperature. To store the new value press ENTER.
17. The major Total System Control values are now programmed. Press RESET to return to the main
screen. To adjust other system values, refer to Control Overview, Part 9.
18. Insure that there is no air lock or blockage in the tank side loop of the hydronic heating module. To do
this, press and hold ▼ and ENTER. This will bring you into the pump service mode. Press ▲ 3 times until
“SERVICE PUMP RS 5” is on the screen. This puts the hydronic heating module pump at 5 volts (50%).
Press until the value is increased to 10, putting the pump at full speed. Once flow is confirmed, press
▲ and ▼ at the same time to return you to the main screen.
19. Allow the temperature in the tank to reach its value. Once the tank is up to temperature the burner
will shut off.
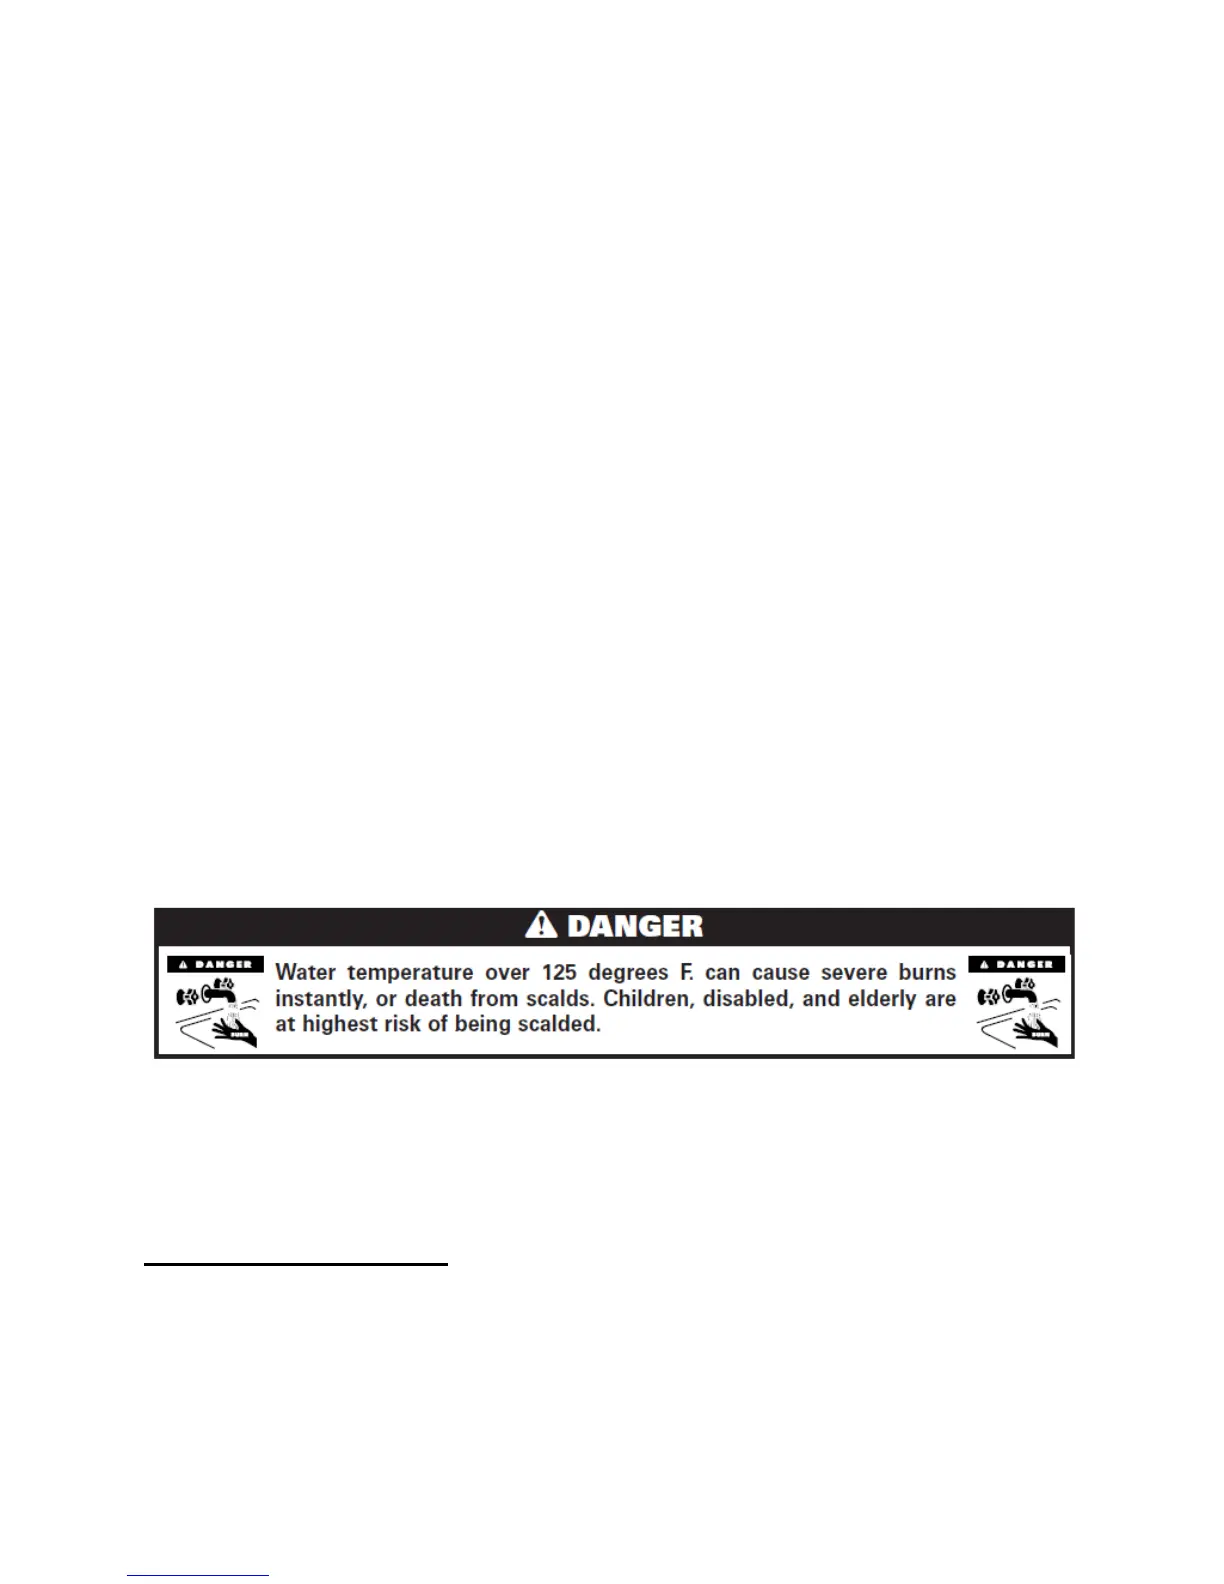
20. Once the temperature in the tank is up to its set point, the DHW mixing valve must be set correctly.
Turn on the hot water faucet at a nearby source. Use a temperature measuring device to measure the
water temperature. DO NOT USE YOUR HANDS! Any skin contact at this point could cause serious
injury. Adjust mixing valve to desired hot water outlet following Mixing Valve Instructions in Part 4.
21. Once a safe DHW outlet temperature is set with the supplied mixing valve, the system is ready to run.
Adjust thermostats to the desired value. Total System Control will now modulate and control the system.
PART 11: SHUTDOWN AND MAINTENANCE
A. SHUTDOWN PROCEDURE
If the burner is operating, lower the set point value to 70
o
F and wait for the burner to shut off. Then, wait
for the combustion blower to stop so all latent combustion gases are purged from the system. This should
take 40 to 90 seconds. After the combustion blower and burner have stopped operating, disconnect the
electrical supply.