Installation Manual
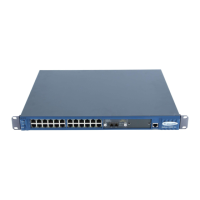
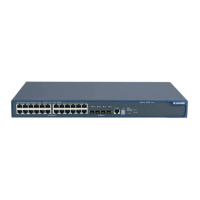
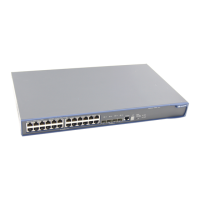
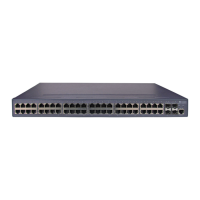
Quidway S3000-EI Series Ethernet Switches
Chapter 3 Installation
3-2
Note:
The angle irons are used for fixing rather than bearing. When the switch is mounted in a 19-inch
standard rack, it should be borne by rails (fixed on the rack).
3.1.2 Mounting the Switch on a Workbench
If you are not equipped with 19-inch standard cabinet, you may have to place the
switch on a clean workbench, which is a relatively easy way to operate. Users need
only pay attention to the following during such operation:
Make sure that the workbench is stable and well grounded.
Leave about 10 centimeters of space around the switch for heat dissipation.
Do not place heavy objects on top of the switch.
3.2 Connection of Power Cord and Ground Wire
3.2.1 Connecting AC power cord
I. AC power socket (Recommended)
A monophase 3-wire power socket with a neutral point connector, or a multi-functional
power socket for the computer is recommended. The neutral point of the power in a
building must be reliably grounded. Normally, the neutral point of the power supply
system in a building is buried in the ground during the construction and wiring. The
user must make sure that the power supply for the building is grounded.
Neutral point
Zero line
Live line
Figure 3-2 Recommended AC power socket
II. Connecting AC power cord
Step 1: Connect one end of the ground wire of the chassis that is shipped with the
switch to the grounding screw, and properly ground the other end as near as
possible.
Step 2: Connect one end of the power cord that is shipped with the switch to the
power socket, and plug the other end to the DC power socket for external power
supply.
 Loading...