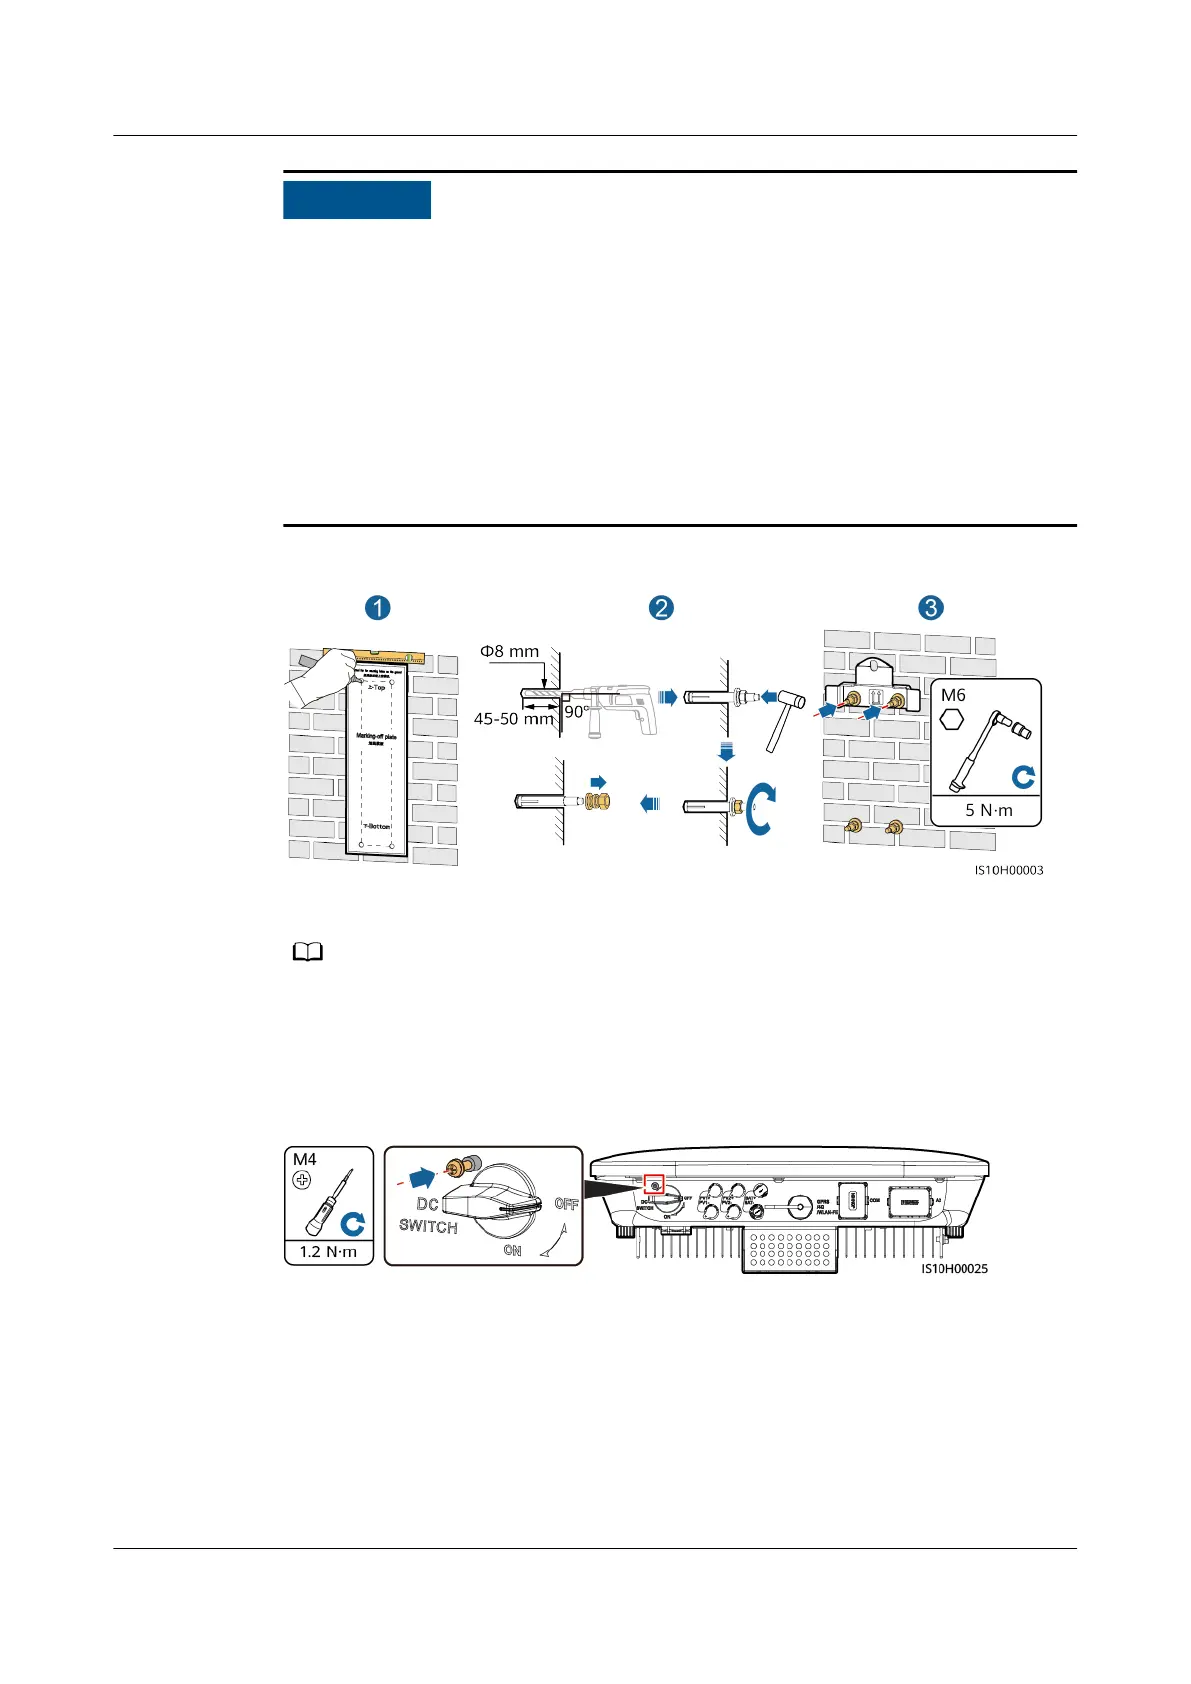
● To prevent dust inhalation or contact with eyes, wear safety goggles and a dust
mask when drilling holes.
● Clean up any dust in and around the holes using a vacuum cleaner and
measure the distance between holes. If the holes are inaccurately positioned,
drill holes again.
● Level the top of the expansion sleeve with the concrete wall after removing the
bolt, spring washer, and at washer. Otherwise, the mounting bracket will not
be securely installed on the concrete wall.
● Loosen the nuts, at washers, and spring washers of the two expansion bolts
below.
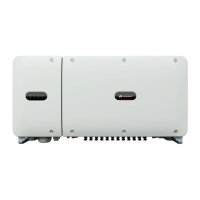
Figure 4-9 Installing the mounting bracket
Step 3 (Optional) Install the locking screw for the DC switch.
● The locking screw for the DC switch is delivered with the SUN2000. According to the
Australian standard, the locking screw is used to secure the DC switch to prevent the
SUN2000 from being started by mistake.
● For the model used in Australia, perform this step based on the local standards.
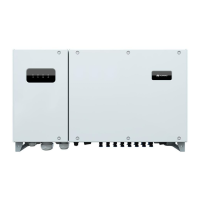
Figure 4-10 Installing the locking screw for the DC switch
Step 4 Install the SUN2000 onto the mounting bracket.
Step 5 Tighten the nut.
SUN2000-(3KTL-10KTL)-M1 Series
User Manual 4 Installation
Issue 17 (2024-01-12) Copyright © Huawei Technologies Co., Ltd. 33
 Loading...