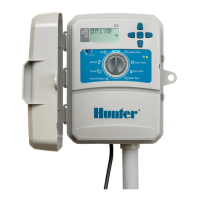
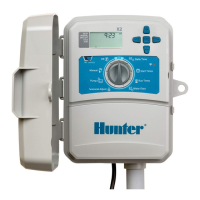
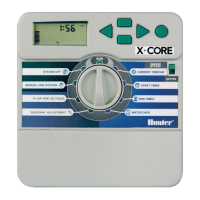
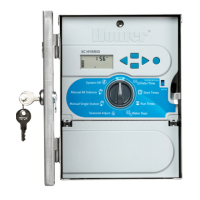
energy lithium battery is included with your
XC controller. The battery allows the user to remotely
program the controller without connecting AC power. It
is also used to keep the current time and day during
power outage conditions. To replace the battery:
1. Remove the screw from the battery holder.
3. Slide the battery holder down to
access the battery.
4. Remove and replace the new battery
into the battery holder and reinstall the
battery holder.
Battery type: CR2032 3V
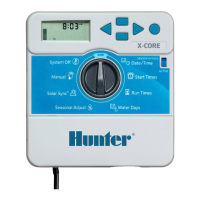
COnnECTInG A MAsTER VALVE
1. At the Master Valve,
attach the common wire
to either solenoid wire of
the valve. Attach a
separate control wire to
the remaining solenoid
wire.
2. The common wire should be attached to the
controller. The other wire coming from the master valve should be
attached to the P terminal inside the controller. Tighten each terminal
screw.
COnnECTInG A PUMP sTART RELA
y
The controller should be mounted at least a 15 ft (4.5 m) away from
both the pump start relay and pump to minimize any potential electrical
interference.
1. Route a pair of wires from the pump relay into the controller.
2. Connect a common wire to the C (Common) terminal inside the
controller and connect the remaining wire from the pump start
relay to the P terminal.
Relay holding current draw must not exceed .30 amps. Do not connect
the controller directly to the pump or damage to the controller will result.
PSR S er ies Pu mp Star t R el ay
NOTE: This positive(+) side of the battery should face
the inside of the battery holder.
NOTE: Complete this section only if you have a master
valve installed in your irrigation system. A master valve
is a "normally closed" valve installed at the supply point
of the main line that opens only when the controller
initiates a watering program.
NOTE: Complete this section only if you have a pump
start relay installed. A pump start relay is a device that
uses a signal from the controller to actuate a separate
electrical circuit to energize a pump to provide water to
your system.