G
A
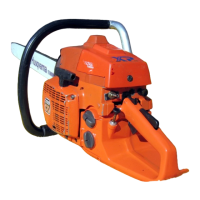
Fuelsystem
Fig 4:10
Check that the needlevalve lever is not worn,
neither at the connection to the valve, nor to the
metering diaphragm.
Check that the filter screennear the main jet is
not dirty or damaged.
C. Mixing section
Clean all fuel linesand jets with compressedair.
D. Speed governor
The speedgovernor iseasily checked by meansof
the pressuregaugeNo. 5025038-01.
Fig 4:1 1
Connect the pressuregaugeasshown in fig. 4:11.
Check that the hosedoesnot cover the two holes
near the thread.
The valveshould be tight, which meansno “hiss
sound” at a pressurebelow 0.10 MPa (1 kp/cm2 ).
In caseof leakage,the valveshould be replaced.
4
I
The carburetor sparepart kit hasgot No.
5015467-01.
I
Assembly
A. Pumping section
Locate the fuel screencarefully in its seating(see
fig. 4:5). Locate the pump diaphragm next to the
carburetor housingand then add gasketand cover.
Tighten the screwsof the cover diagonally and
evenly.
fi—
B. Metering section
Fit new welch plugs. Install them with a suitable
drift:
for the big plug:
drift 08 mm
for the small plug: drift @ 4 mm
NOTE!
Do not press in the plugs so that they bulge inwards!
Fig 4:13
Mount the needlevalve, lever, springand shaft.
Locate the springproperly!
4;3
For Husqvarna Parts Call 606-678-9623 or 606-561-4983
www.mymowerparts.com
 Loading...