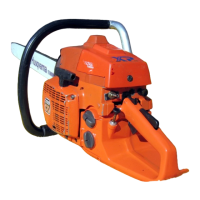
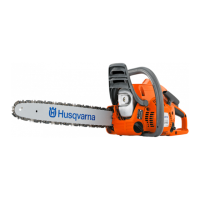
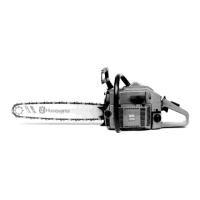
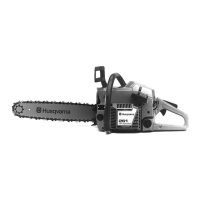
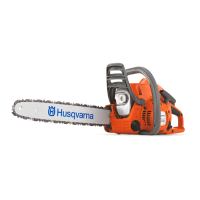
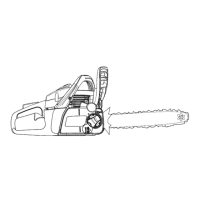
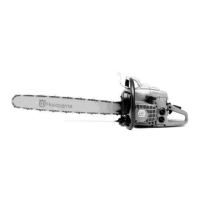
D
Starter 0
Removal
Remove the screwsthat retain the starter. Set the
return springto zero by pulling out the starting
cord by abt 30 cm,
Fig 9:1
put it into the grooveof the pulley rim and let the
pulley turn slowly backwards(slow it down with
your thumb). Loosenthe screwand remove the
washerin the centre of the pulley.
Fig 9:2
Lift off the pulley.
Remove the screwsthat retain the plastic cover
over the return spring.
Remove the cover and the spring.
Assembly
Put the return spring,a new one if necessary,into
the starter housing. Lubricate the centre tap with
a few drops of ordinary engine oil.
Put the plasticcover back and tighten the screws.
Fig 9:3
If necessary,changethe starting cord and fit it on
the pulley.
Make surethat the stop “cube” fits properly in
the recessin the pulley and that the screw in the
cube hasits headfacing the pulley (the end of the
screwpoints outwards).
Wind up the cord abt 3 turns on the pulley. (Note!
right direction) and fit it in the starter housing.
Check that the springgripsthe pulley, then fit the
washerand the screw. Make surethat the pulley
can move freely.
NOTE!
It should be possible to turn the pulley a further 1/2
of a turn approx. with the cord pulled out entirely.
Fig 9:4
Pull the cord through the cord sleeveof the starter
housingand through the starter handle. Make a knot
in the cord and pull the knot completely into the
insert and handle.
Put the cord into the woove of the ~ullev rim and
tension the springeno;gh to get 1/2 spareround.
Fit the starter.
9:1
For Husqvarna Parts Call 606-678-9623 or 606-561-4983
www.mymowerparts.com
 Loading...