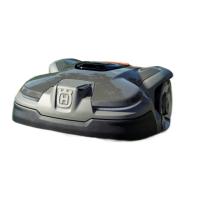
12. Remove the upper handle from the bracket.
13. Install in opposite sequence.
5.5.2 To remove and install the link arm
1. Remove the rear unit. Refer to
To remove and install
the rear unit on page 24
.
2. Remove the front top cover. Refer to
To remove and
install the front body on page 14
.
3. Remove the front bumper tail. Refer to
To remove
and install the front bumper tail on page 14
.
4. Remove the front body. Refer to
To remove and
install the front body on page 14
.
5. Turn the product upside down.
6. Remove the 4 screws (Torx 27) on the link arm.
7. Remove the link arm.
8. Install in opposite sequence.
5.5.3 To remove and install the switch plate
1. Remove the rear unit. Refer to
To remove and install
the rear unit on page 24
.
2. Remove the front top cover. Refer to
To remove and
install the front top cover on page 13
.
3. Remove the front bumper tail. Refer to
To remove
and install the front bumper tail on page 14
.
4. Remove the front body. Refer to
To remove and
install the front body on page 14
.
5. Pull out the switch cord grommet.
6. Disconnect the switch cord.
7. Turn the product upside down.
1061 - 001 - Repair instructions - 33

 Loading...


