1-12 I
NSTALLATION
P/N 0501930_A WWW
.HUSSMANN.COM
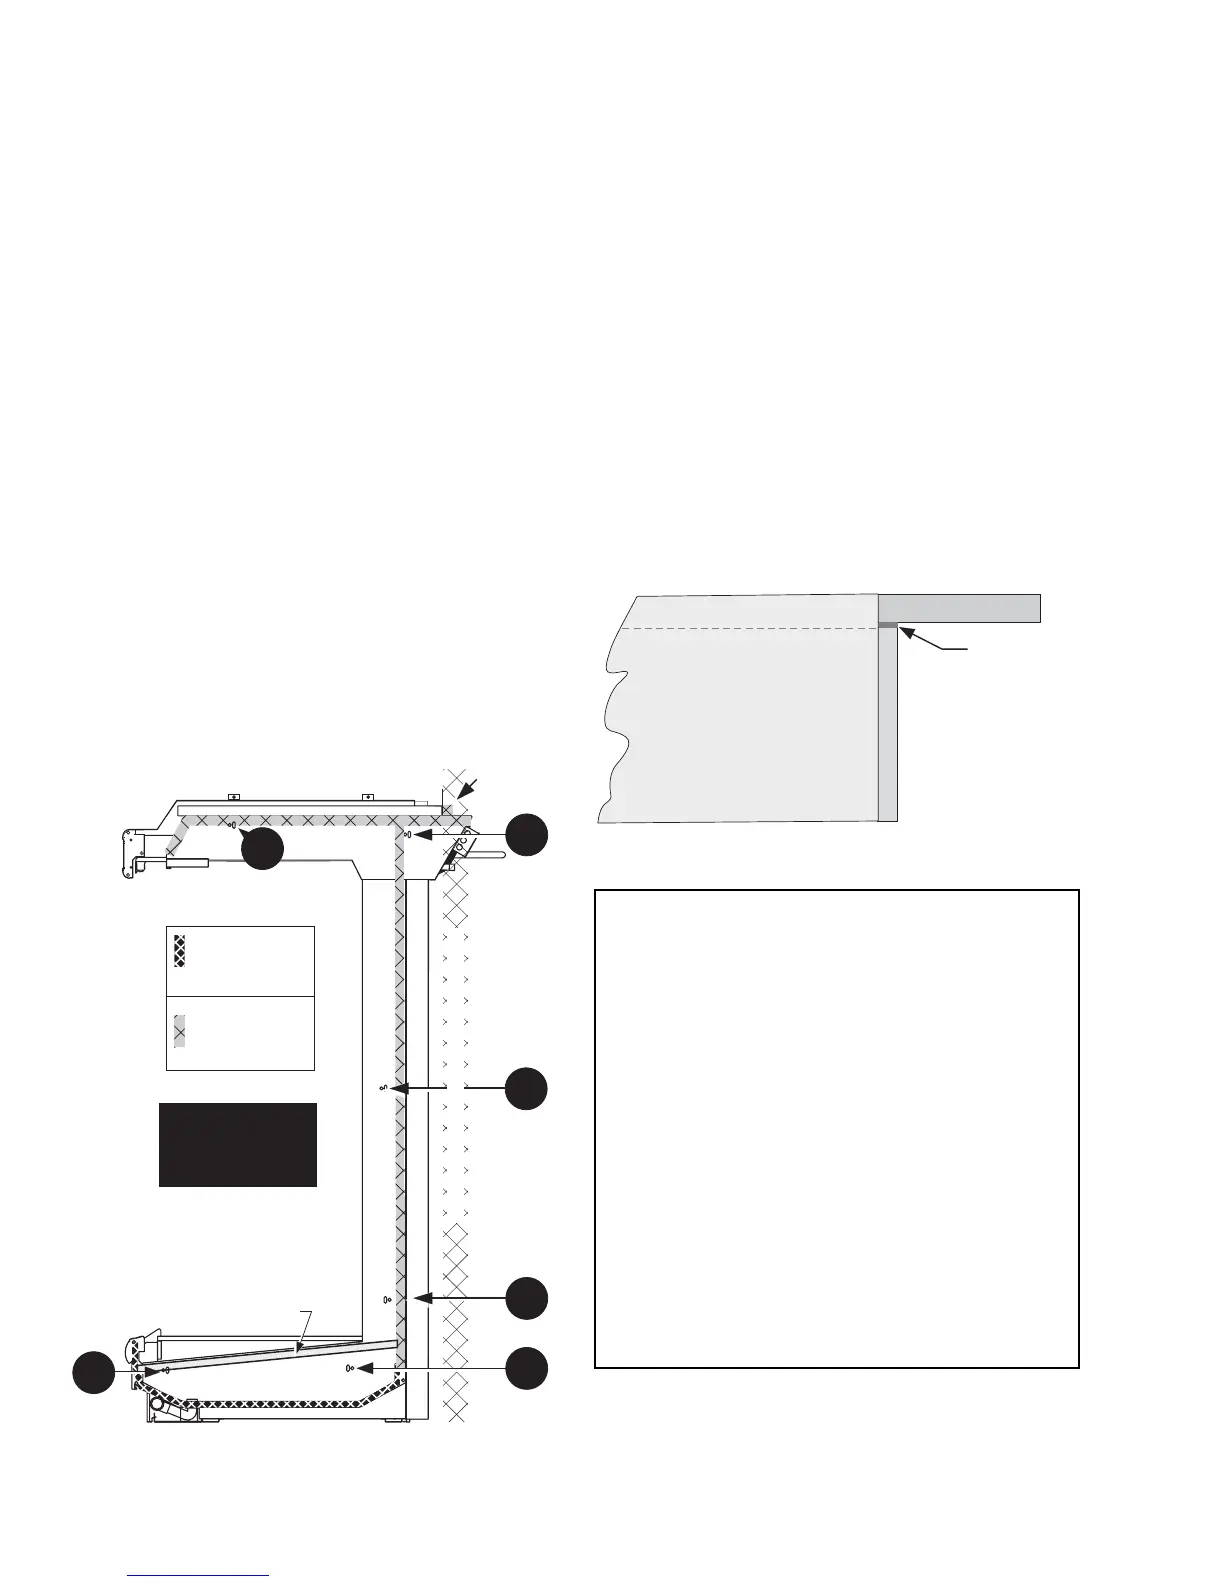
2. Apply Gaskets to End Frame as Follows:
a. Apply the 1
5
/8-inch gasket around the top
of the case as shown. It must be at the edge.
Check to be sure that there are no gaps
between gasket and merchandiser.
b. Apply the 1
5
/8 in. (41 mm) gasket on
the metal frame upright as shown. Check
to be sure that there are no gaps between
merchandiser and gasket.
c. Apply the 1 inch (25 mm) gasket on
the metal case frame as shown across the
bottom. Check to be sure that there are no
gaps between merchandiser and gasket.
d. Apply the 1
5
/8 in. (41 mm) gasket on
the metal case frame as shown the rear.
Check to be sure that there are no gaps
between merchandiser and gaskets.
3. Apply Gaskets to End Assembly
d. Apply the 1 inch (25 mm) gasket to the
back edge of the end assembly from top to
bottom, where the end assembly meets the
cooler wall. Lap gasket if necessary — do
not butt ends. The gasket must fill any gap at
the cooler wall.
in. Gasket
in. (41 mm)
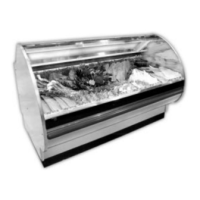
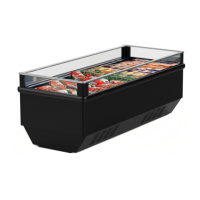
Ultra Low Front
Rear Load
IMPORTANT
• Do not stretch gasket,
especially around corners.
• Do not butt gaskets;
always overlap them as shown.
• Remove paper backing
after gasket has been applied.
• Perimeter gasket required by NSF.
• End caps required for rail light.
1-in. Gasket