LITHIUM SERIES® Electric Torque Tool (BTM-DOC Models) Operations Manual
29
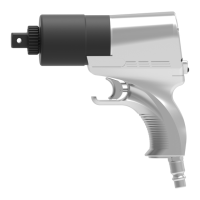
INSTALL SOCKET
CONVENTIONAL TORQUE SETUP
• Set the Torque Value is set by simply pushing the left button
f to increase the torque or by pushing the right button i
to decrease the torque.
• Torque may be set to any value from the minimum to the maximum capability of the tool (or MAX MIN Torque Limits set
in the ADMIN menu).
• Output units may be displayed in lb-ft, N-m, kgf-m or %. (See output unit settings under the ADMIN menu)
• The Torque rotational direction arrow and the rotating nut icon reflect the fastener clockwise or counter clockwise
rotation associate with the specific fastener type. (The fastener type may be set under the Operation – Fastener Type
menu: Right-Hand, Left-Hand, HYTORC NUT and HYTORC Washer).
• Power on the tool, adjust the settings and select
fastener. For conventional torque applications the
fastener will be right or left hand.
• If necessary set the speed switch to RUN DOWN to
quickly run down the nuts until they are flush against
the flange.
• Prior to applying torque, position a back wrench to
prevent the back nut from turning during tightening.
• Place the socket on the nut, making sure to fully
engage the nut.
• Make sure the reaction arm is firmly abutted against a
stationary object before applying torque.
 Loading...