Procedure
To remove the front handles, complete the following steps.
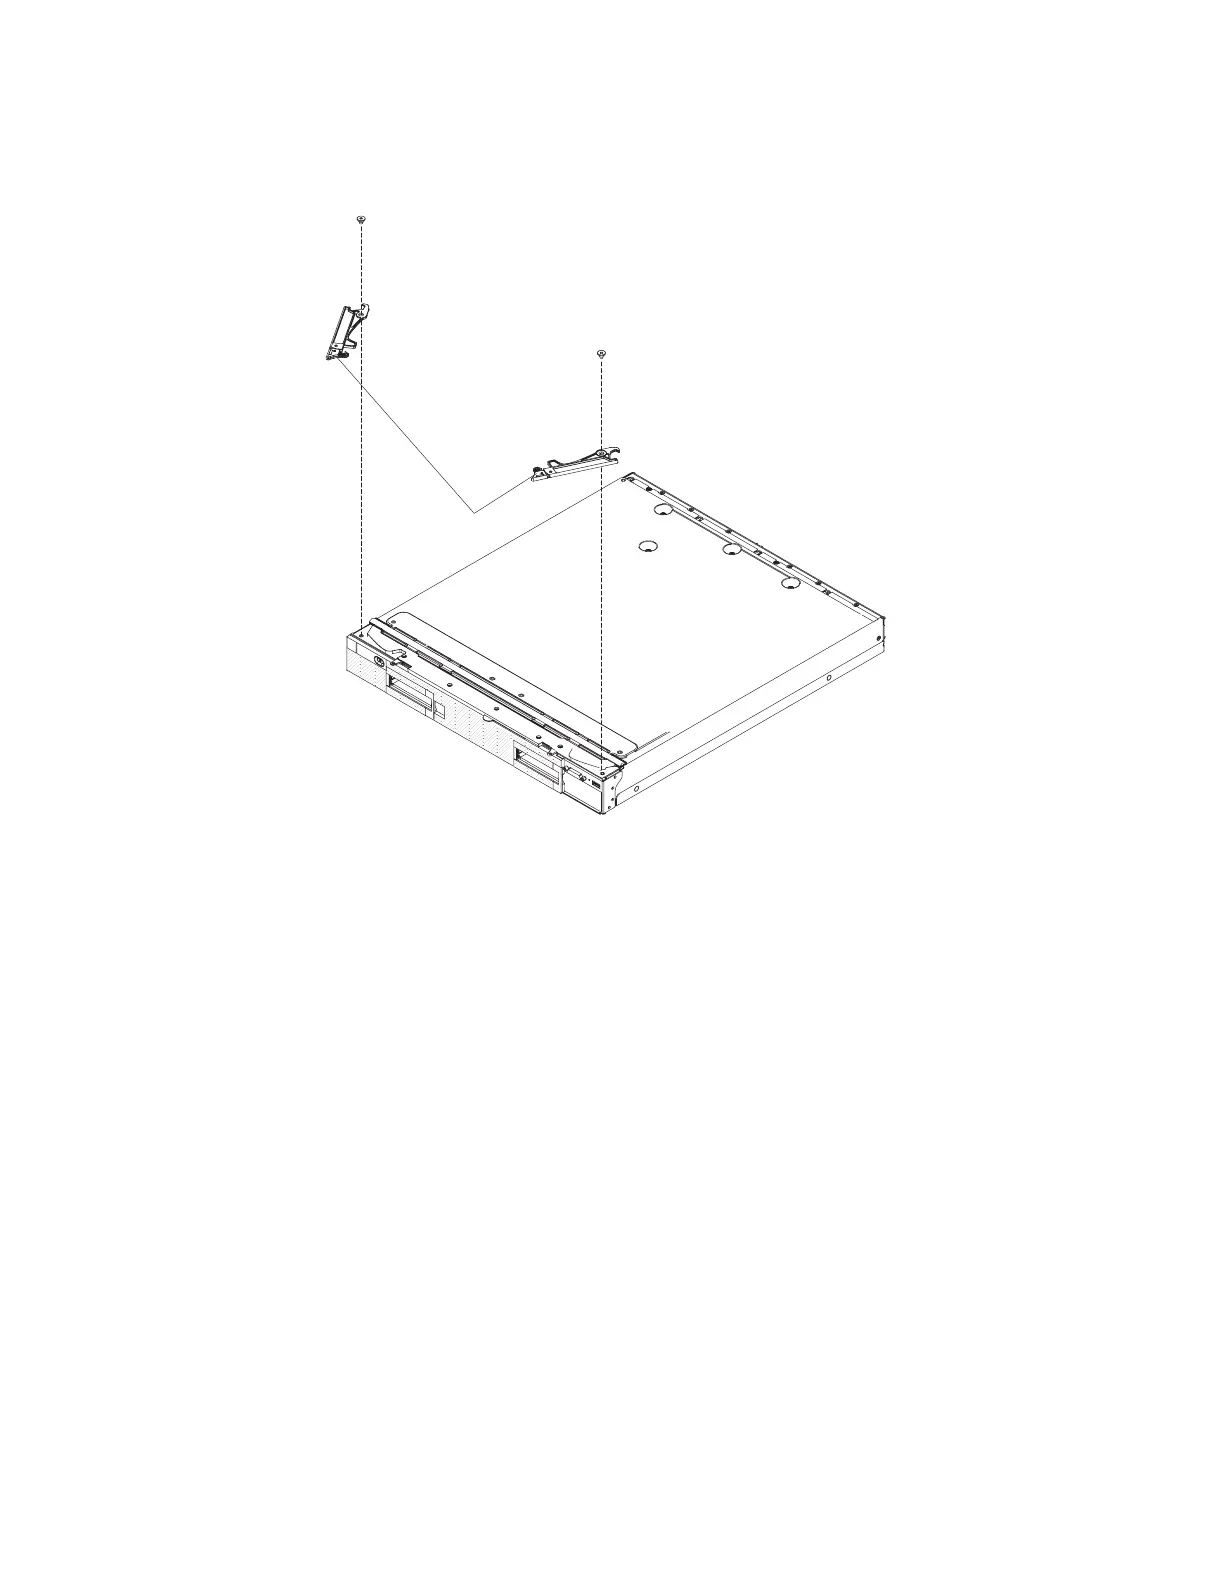
Front handles
1. Locate the screws that attache the handles to the compute node.
2. Using a T8 Torx screwdriver, remove the screw from each front handle and
save the screw in a safe place. Use the same screws when you install the front
handles.
What to do next
If you are instructed to return the front handles, follow all packaging instructions,
and use any packaging materials for shipping that are supplied to you.
Installing the front handles
Use this information to install the front handle.
Before you begin
Before you install the front handles, complete the following steps:
1. Read “Safety” on page v and “Installation guidelines” on page 487.
2. If the compute node is installed in an IBM Flex System chassis, remove it (see
“Removing a compute node from a chassis” on page 489 for instructions).
3. Carefully lay the compute node on a flat, static-protective surface with the
cover side down, orienting the compute node with the bezel pointing toward
you.
518 IBM Flex System x440 Compute Node Types 7917 and 2584: Installation and Service Guide