Procedure
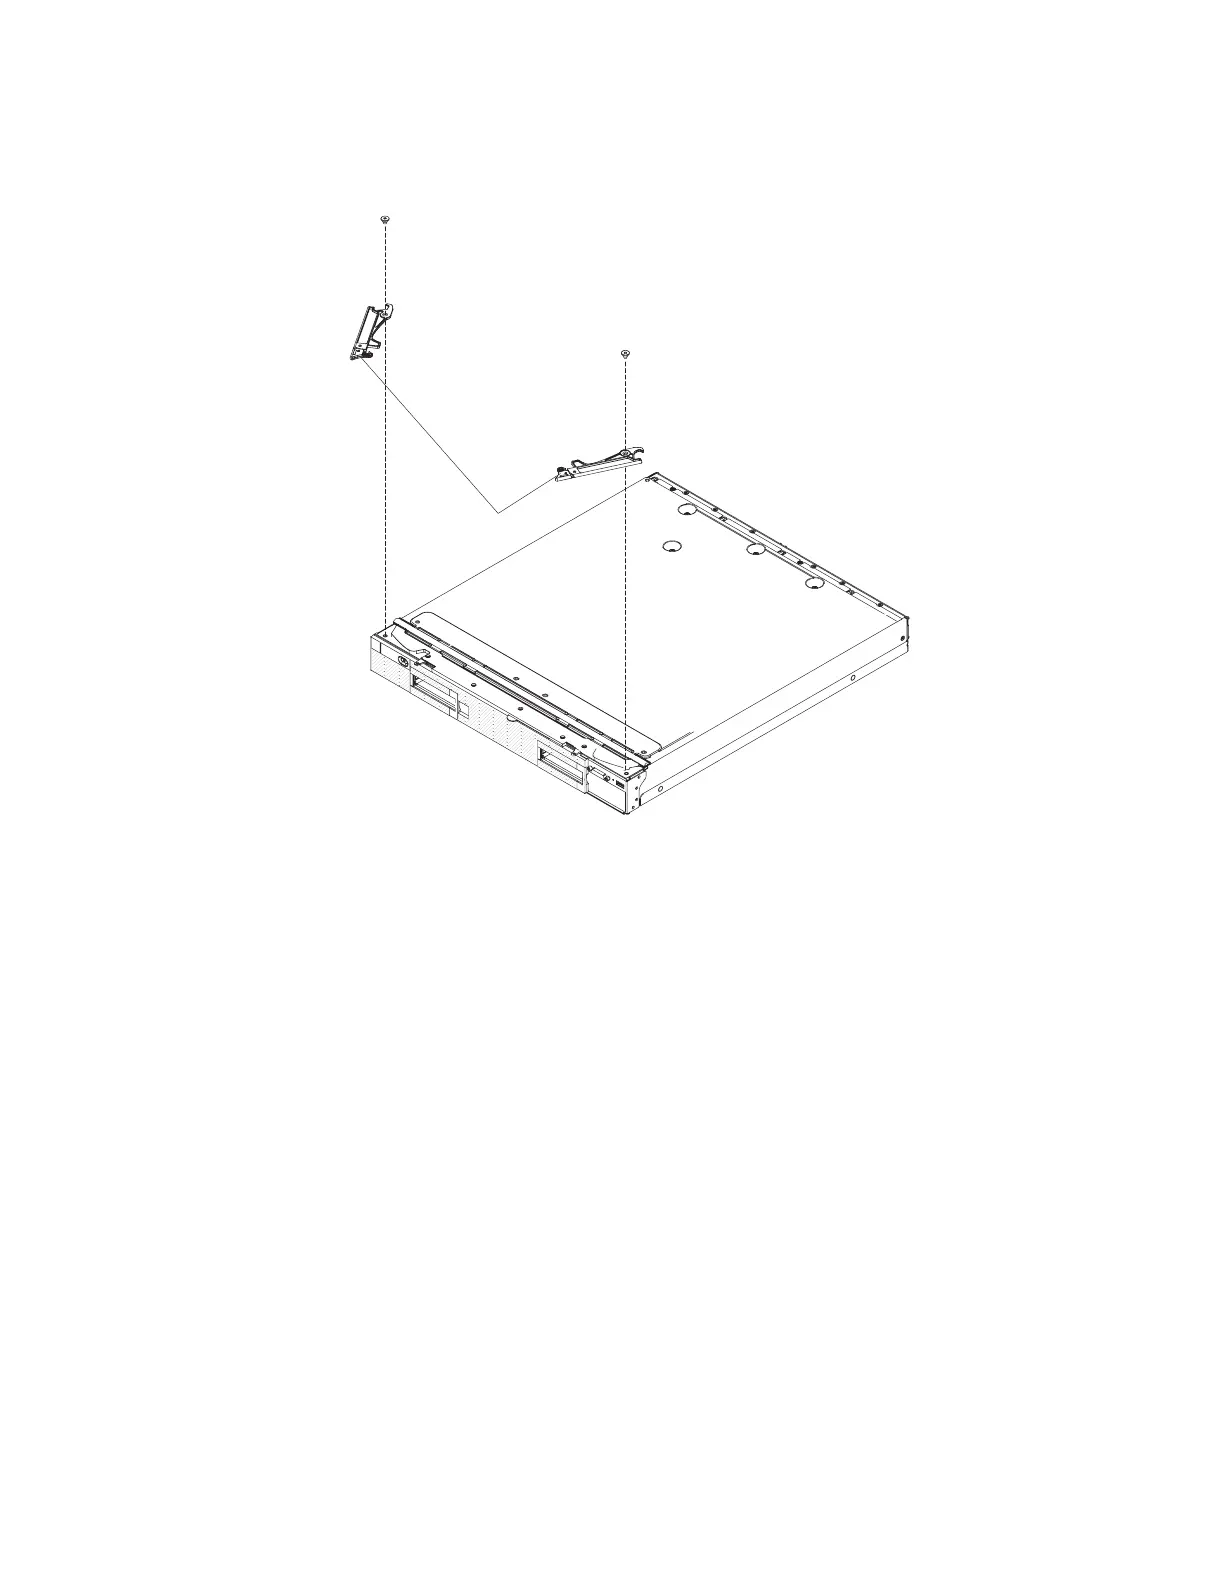
To install the front handles, complete the following steps.
Front handles
1. Orient the front handles so that the blue release latches are toward the middle
of the compute node.
2. Align the hole in the handles with the holes on the compute node where the
handles are installed.
3. Using a T8 Torx screwdriver, install the screw that secures each handle. Use the
screws that you removed when you removed the handles.
What to do next
After you install the front handles, install the compute node into the chassis (see
“Installing a compute node in a chassis” on page 490 for instructions).
Removing the hard disk drive backplane
Use this information to remove the hard disk drive backplane.
Before you begin
Note: This procedure should be performed only by trained service technicians.
Before you remove the hard disk drive backplane, complete the following steps:
1. Read “Safety” on page v and “Installation guidelines” on page 487.
2. If the compute node is installed in an IBM Flex System chassis, remove it (see
“Removing a compute node from a chassis” on page 489 for instructions).
3. Carefully lay the compute node on a flat, static-protective surface, orienting the
compute node with the bezel pointing toward you.
Chapter 7. Installing, removing, and replacing compute node components 519