I Single Package Heat Pumps
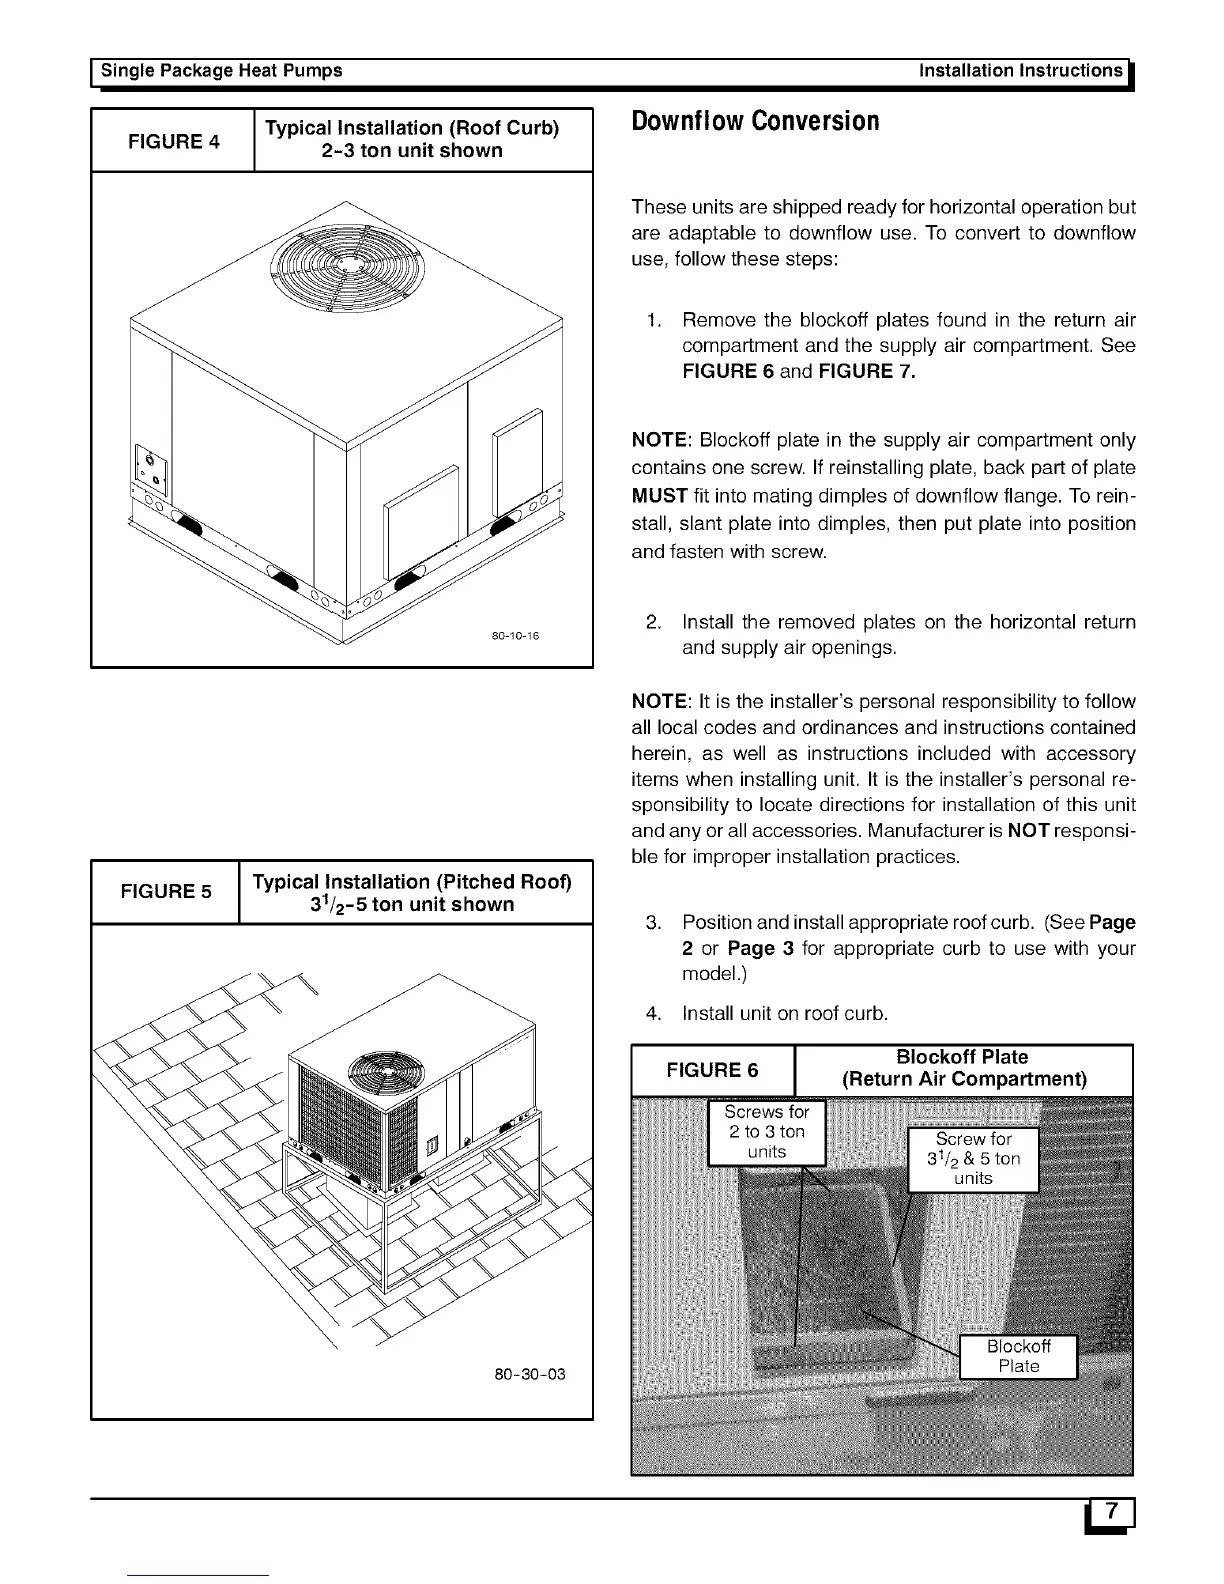
FIGURE 4 / Typical Installation (Roof Curb)
2-3 ton unit shown
1
80-10-16
/
FIGURE 5 | Typical Installation (Pitched Roof)
I
31/2-5 ton unit shown
80-30-03
Downflow Conversion
Installation Instructions
These units are shipped ready for horizontal operation but
are adaptable to downflow use. To convert to downflow
use, follow these steps:
1. Remove the blockoff plates found in the return air
compartment and the supply air compartment. See
FIGURE 6 and FIGURE 7.
NOTE: Blockoff plate in the supply air compartment only
contains one screw. If reinstalling plate, back part of plate
MUST fit into mating dimples of downflow flange. To rein-
stall, slant plate into dimples, then put plate into position
and fasten with screw.
2. Install the removed plates on the horizontal return
and supply air openings.
NOTE: It is the installer's personal responsibility to follow
all local codes and ordinances and instructions contained
herein, as well as instructions included with accessory
items when installing unit. It is the installer's personal re-
sponsibility to locate directions for installation of this unit
and any or all accessories. Manufacturer is NOT responsi-
ble for improper installation practices.
.
Position and install appropriate roof curb. (See Page
2 or Page 3 for appropriate curb to use with your
model.)
4. Install unit on roof curb.
FIGURE 6
Blockoff Plate
(Return Air Compartment)
 Loading...