OPERATION
Power-Up Sequence
6 LDC-3900 Series
CHAPTER 2
To avoid electrical shock hazard, connect the instrument to properly earth-grounded
electical supply only. Failure to observe this precaution can result in severe injury or
death.
Tilt-Foot Adjustment
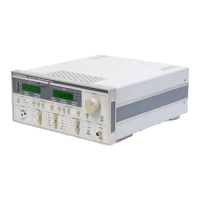
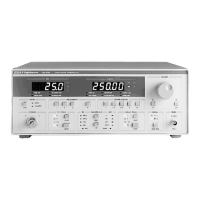
The LDC-3900 Modular Laser Diode Controller has front legs that extend to make
it easier to view the LED displays. To use them, place the unit on a stable base
and rotate the legs downward until they lock into position.
Rack Mounting
The LDC-3900 Modular Laser Diode Controller may be rack mounted by installing
a rack mount flange on either side of the enclosure. All rack mount accessory kits
contain detailed mounting instructions. Refer to Table 1.2 on page 2 for applicable
rack mount accessory part numbers.
Power-Up Sequence
With the LDC-3900 Modular Laser Diode Controller connected to an AC power
source, pressing the top side of the Power Rocker switch will supply power to the
instrument and start the power-up sequence.
Note: All LDC-3900 modules that contain a laser current source, have remote interlock
capability. This allows you to connect the interlock circuit to an external switch for safety. If
the interlock is removed, the laser current output is disabled. Refer to the laser module
manual for details about the interlock function.
The LDC-3900 is also equipped with a laser enable key switch. This ensures that the laser
current can be turned on only if the key is inserted and in the On position.
During the power-up sequence, a lamp test is conducted, all indicators illuminate
for 3 seconds, and the 7-segment displays indicate "8".
Next, all of the LED's are turned off for about two seconds. After this, the firmware
version number is displayed on the Laser display for about two seconds. With v3.1
(and higher) the TEC display shows the firmware checksum value during the
same time that the firmware version is displayed. During this two-second interval,
a self-test is performed to ensure that the unit's hardware and software are
communicating. If the unit cannot successfully complete this test, an error
message of E-512 or E-513 will be displayed. See Table 5.2 in Chapter 5 for a
description of the error messages.

 Loading...