Page 29
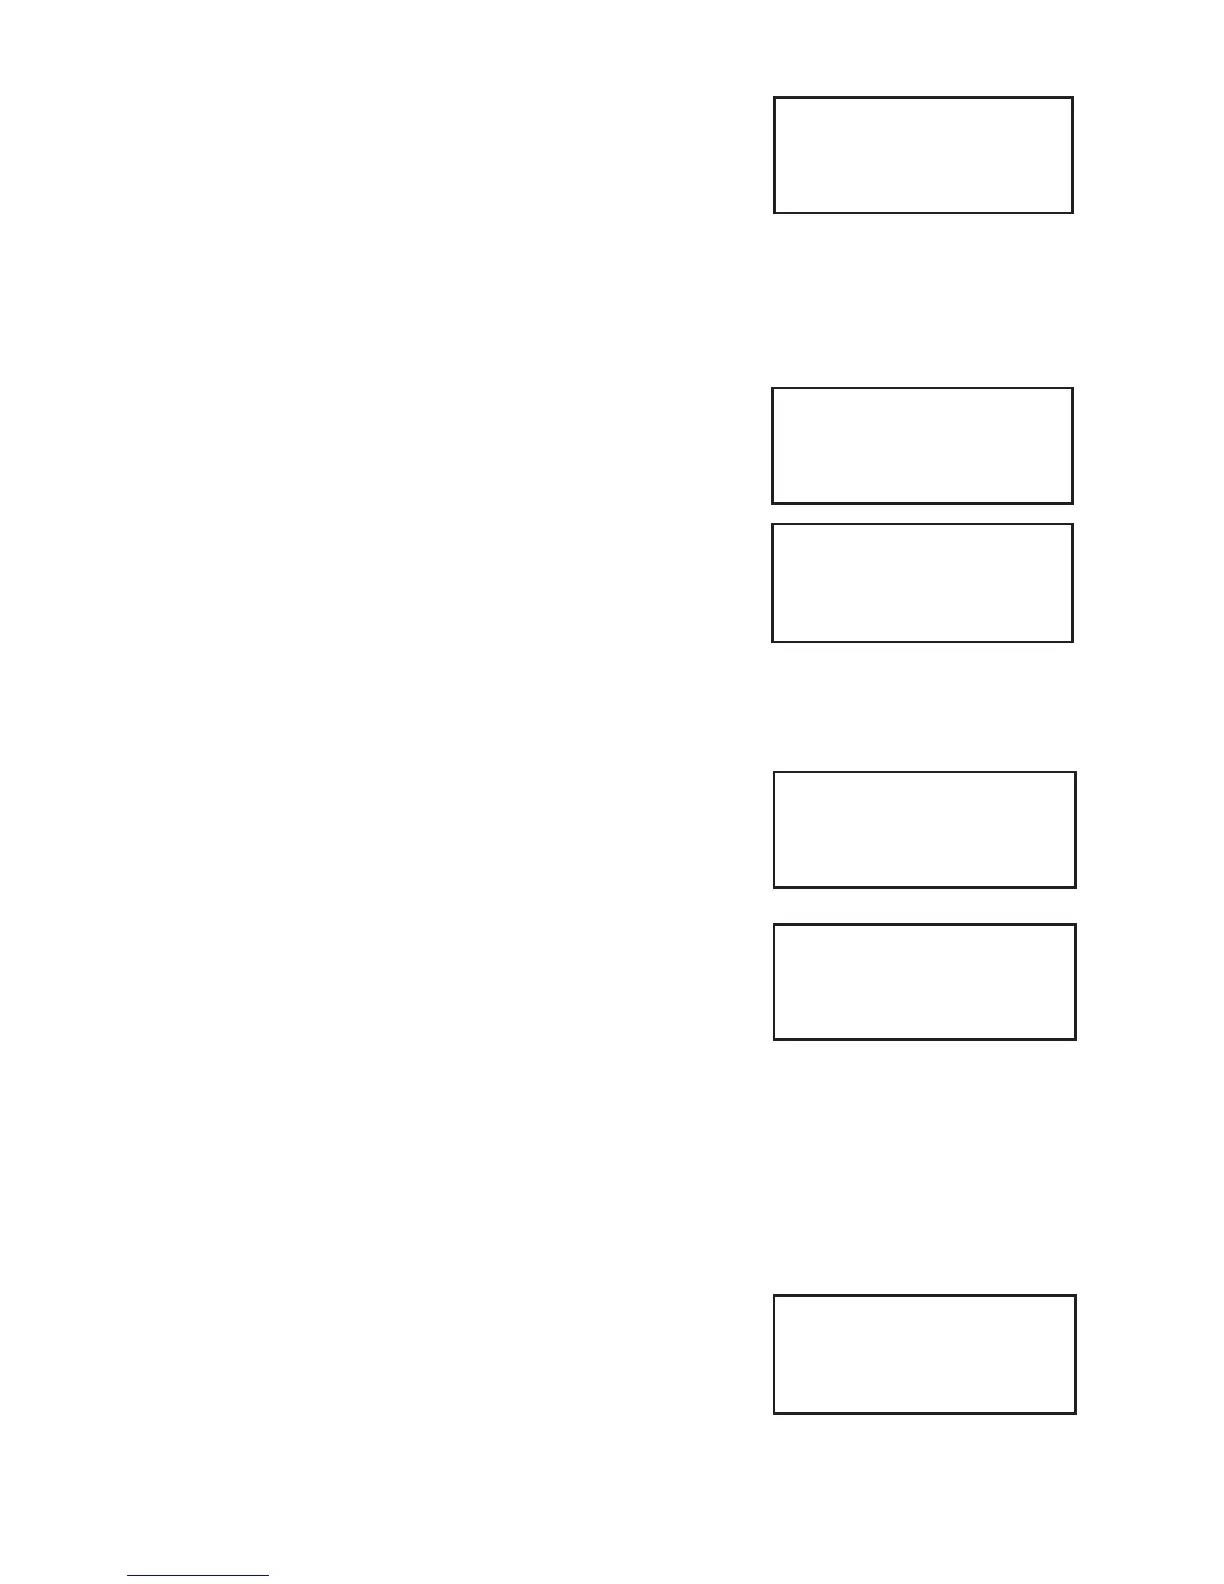
ADD WAITER Code nn
Key in Waiter’s Name
aaaaaaaaa
and then press ENTER
DELETE Waiter
Key in Code to Delete
nn
and then press ENTER
DELETE Waiter nn
<name>
Enter=YES Clear=NO
CHANGE Name
Key in Code to Change
nn
and then press ENTER
CHANGE Name
Key in Waiter’s Name
<existing name>
and then press ENTER
7. Your terminal will automatically allocate the next
available Waiter ID. Key in the text/name description and
press the GREEN button (this field is limited to 10
characters).
(Please refer to Section 8 of this guide for instructions on
how to enter letters).
Deleting a Waiter ID
Follow steps one to six above and select Delete from the
WAITER SETUP menu, now proceed as follows:
1. Key in the Waiter ID code that is to be deleted and then
press the GREEN button.
2. If you want to proceed to delete the Waiter, press the
GREEN button.
If not, press the YELLOW button.
Changing a Waiter ID
Follow steps one to six of Waiter ID’s (Restaurants) and select Change Name from the WAITER SETUP
menu. Now proceed as follows:
1. To change a Waiter Name, key in the Code of the Waiter
that requires change and then press the GREEN button.
2. Amend the Waiter Name by using the RED and YELLOW
buttons to erase letters. (Please refer to Section 8 of this
guide for instructions on how to enter letters). Press the
GREEN button and the terminal will return to the Waiter
Setup Menu.
Creating Default ID’s
When using the Create Defaults option, the terminal automatically creates numbered Waiters from
1-99 instead of named Waiters.
Follow steps one to six of Waiter ID (Restaurants) and select Create Defaults
from the WAITER SETUP menu.
If Waiters Do not yet Exist
When asked whether you would like to create defaults on
your terminal, press the GREEN button to accept. To decline,
press the YELLOW button.
CREATE Defaults
Are You Sure?
Enter=YES Clear=NO