52
First Time Setup
—Continued
Notes:
• Only FRONT can be assigned to the AUX 2 input
selector.
• The TUNER input selector cannot be assigned and is
fixed at the “- - -” option.
• When an HDMI IN is assigned to an input selector in
“HDMI Video Setup” on page 49, this input assign-
ment is automatically set to the same HDMI IN. And
in addition to the usual inputs (e.g., COAX1, COAX2,
etc.), you can also select HDMI inputs.
• This procedure can also be performed on the AV con-
troller by using its [Setup], [Enter], and arrow buttons.
If you connect a component to the AV controller’s analog
multichannel input, you must assign that input to an
input selector. For example, if you connect your DVD
player to the MULTI CH input, you must assign it to the
DVD input selector.
If you connect a component to the AV controller’s bal-
anced input, you must assign that input to an input
selector. For example, if you connect your CD player to
the BALANCED input, you must assign it to the CD
input selector.
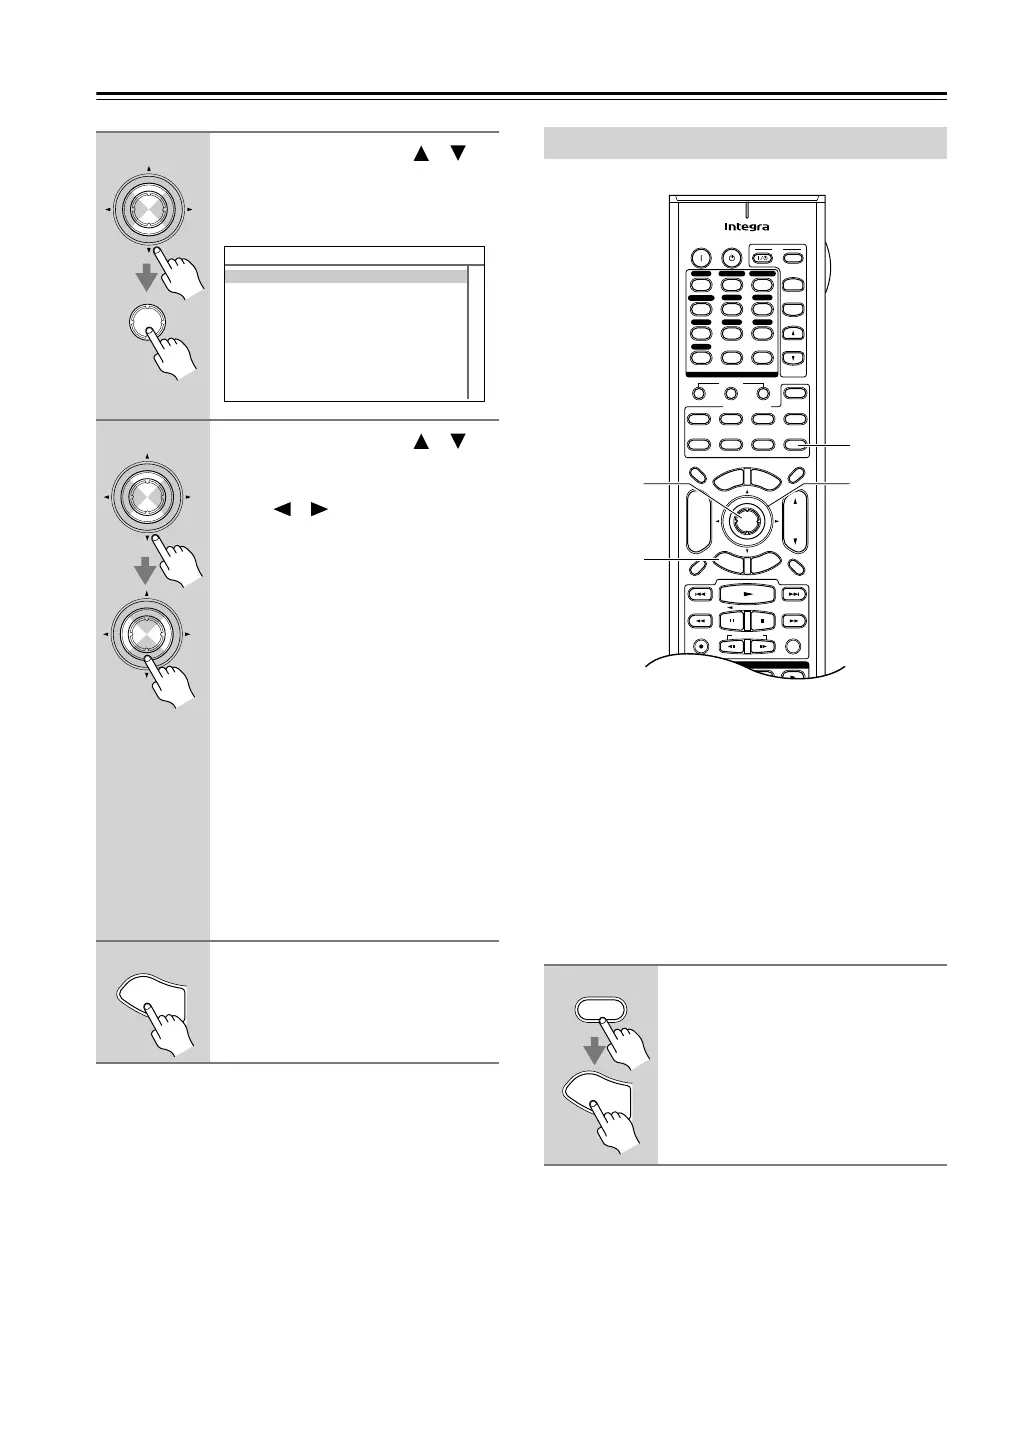
3
Use the Up and Down [ ]/[ ]
buttons to select “4. Digital
Input,” and then press [Enter].
The Digital Input menu appears.
4
Use the Up and Down [ ]/[ ]
buttons to select an input selec-
tor, and then use the Left and
Right [ ]/[ ] buttons to select:
COAX1
: Select if the component is
connected to DIGITAL
COAXIAL IN 1.
COAX2
: Select if the component is
connected to DIGITAL
COAXIAL IN 2.
COAX3
: Select if the component is
connected to DIGITAL
COAXIAL IN 3.
OPT1
: Select if the component is
connected to DIGITAL
OPTICAL IN 1.
OPT2
: Select if the component is
connected to DIGITAL
OPTICAL IN 2.
- - -:
Select if the component is
connected to an analog
input.
5
Press the [Setup] button.
Setup closes.
Enter
Enter
1-4.Digital Input
DVD
COAX1
VCR/DVR COAX2
CBL/SAT COAX3
GAME/TV OPT1
AUX1 ---
AUX2 FRONT
TAPE ---
TUNER ---
CD OPT2
PHONO ---
Enter
Enter
S
e
t
u
p
Analog Input Setup
1
Press the [Receiver] button, fol-
lowed by the [Setup] button.
The main menu appears onscreen.
+
-
On Standby
TV
Input
TV CH
TV VOL
--
/
---
10 11 12
D.TUN
+10
0
Clear
123
456
789
Input Selector
VCR
/
DVR CBL
/
SAT
DVD
Tape
Tuner
CD
Phono
Game
/
TV
Macro
12
3
VCRDVD
CDR/MD
CD
Zone
2
Remote Mode
Dimmer
Tape/AMP
Sleep
Receiver
TV Dock
Cable
VOL
CH
Disc
Album
+
-
Enter
T
o
p
M
e
n
u
M
e
n
u
Display Muting
E
x
i
t
G
u
i
d
e
Prev
CH
R
e
t
u
r
n
S
e
t
u
p
Audio
Repeat
Play Mode
Listening Mode
Playlist
RandomRec
Direct
Stereo
THX All ST
Subtitle
Surround
SAT
Zone
3
AUX 1 AUX 2
2, 3
2–4
1
1, 5
Receiver
S
e
t
u
p
DTC-9.8En.book Page 52 Friday, February 15, 2008 1:23 PM