8
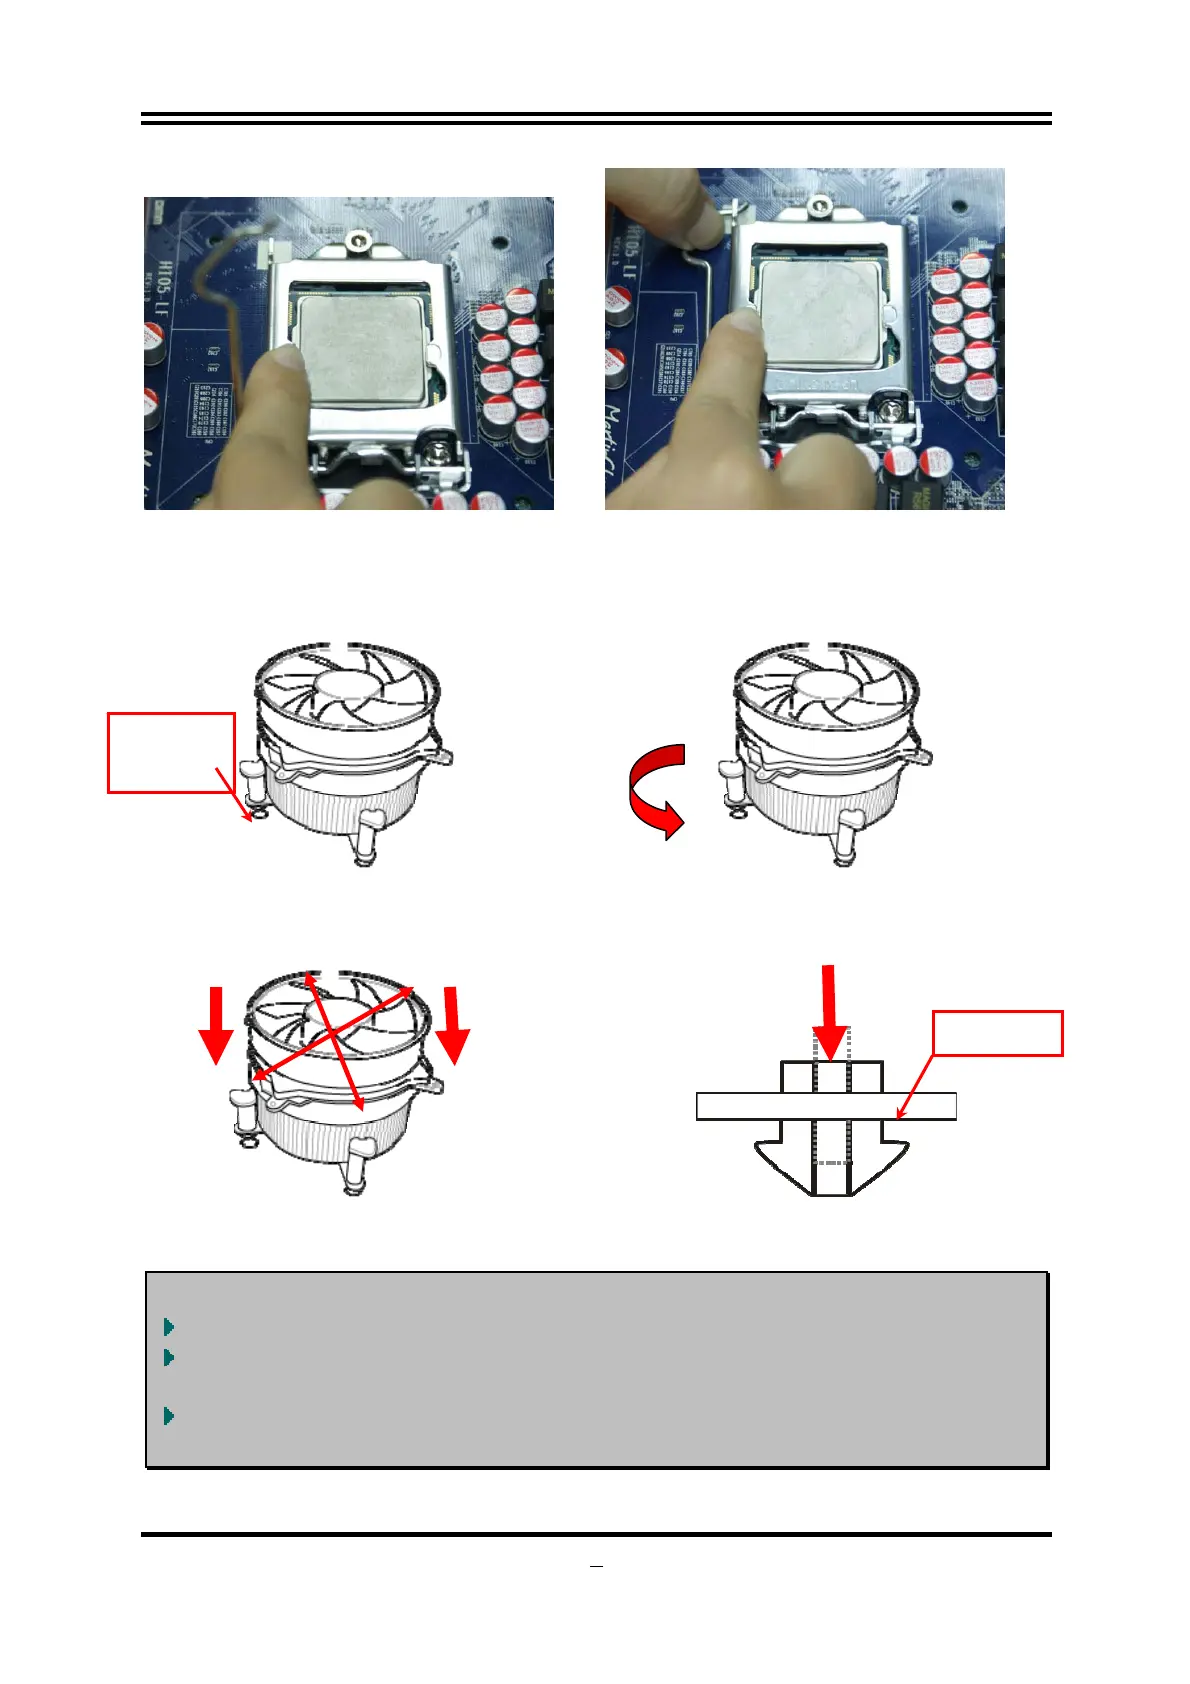
6.Put down the load plate in the direction shown
above.
7.
Press down the load level and move it rightwards
make sure it is locked under the notch.
2-3-3 Intel Reference Thermal Solution Assembly
1. Put the heat sink vertically above the
CP-installed socket and make sure to align
the four fasteners with four holes around
the socket.
2. Revolve the four fasteners in the
counter-clockwise direction.
3. Press down two fasteners down in the
oblique crossing direction as shown above.
4. Turn over the motherboard carefully to
make sure the fastener insert in the right
direction.
Notice
:
Please apply thermal interface material to the CPU HIS surface.
The heat sink and installation steps are for reference use only; Installation
steps might differ depending on different heat sink models.
Please use Intel original heat sink for better heat dissipation or other heat sinks
that has pass Intel certification.
Align the
fastener with
the hole
Motherboard