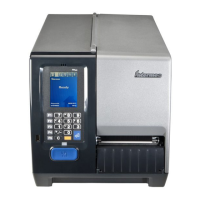
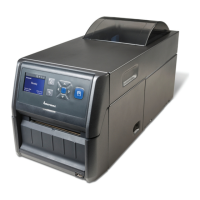
6 Intermec EasyLAN Wireless Interface Kit—Installation Instructions
Chapter 1—Physical Installation
• From the outside, insert the thin end of the light guide through the
small hole next to the antenna on the rear plate. Press the clear plastic
“lamp” in place. Connect the other end to the black plastic socket
(D1) at the top of the EasyLAN adapter board. Secure it with the
cable tie through the hole at the upper edge of the CPU board.
• Put back the front/left-hand cover. Route the cable from the display
unit above the ribbon motor. Connect the cable to connector J50 at
the upper front corner of the CPU board.
• Connect the power cord and switch on the power.
• Enter the Setup Mode and print the test label “Hardware Info” in
Fingerprint or “HW” in IPL to see if the printer detects the EasyLAN
Wireless interface board. For information on how to enter the Setup
Mode and print test labels, refer to the User’s Guide for the printer in
question.
• Set up the network parameters. There are several methods:
- Connect the printer and a PC and run the EasyLAN Network
Setup wizard, which can be found on the attched CD-ROM.
Requires a PC running Windows 98 or later.
- Insert a CompactFlash Card containing a confi guration fi le in the
printer and start it up. Confi guration Compact Flash cards can be
created using the EasyLAN Network Setup wizard on the attached
CD-ROM.
- Fingerprint:
Establish an RS-232 communication with the printer and set it up
using Fingerprint setup strings or setup fi les. IP address, netmask,
default router, and name server can also be set using the printer’s
built-in keyboard. See Chapter 3. Only requirement on the PC
side is a terminal program that can transmit and receive ASCII
characters on an RS-232 line.
- IPL:
Establish an RS-232 communication with the printer and set it
up using IPL commands. Only requirement on the PC side is a
terminal program that can transmit and receive ASCII characters
on an RS-232 line. Select the method of obtaining IP address,
netmask, default router, and name server automatically from the
server using the printer’s built-in keyboard. This requires a server
that supports DHCP and/or BOOTP. See Chapter 4.