21
Version 2.1 (08/2013) en
Translation of the original instructions
RollerDrive EC310
Assembly
Inserting the idler shaft The type of axis dictates how the idler shaft is inserted in the conveyor frame.
The spring-loaded shaft is simplest to install.
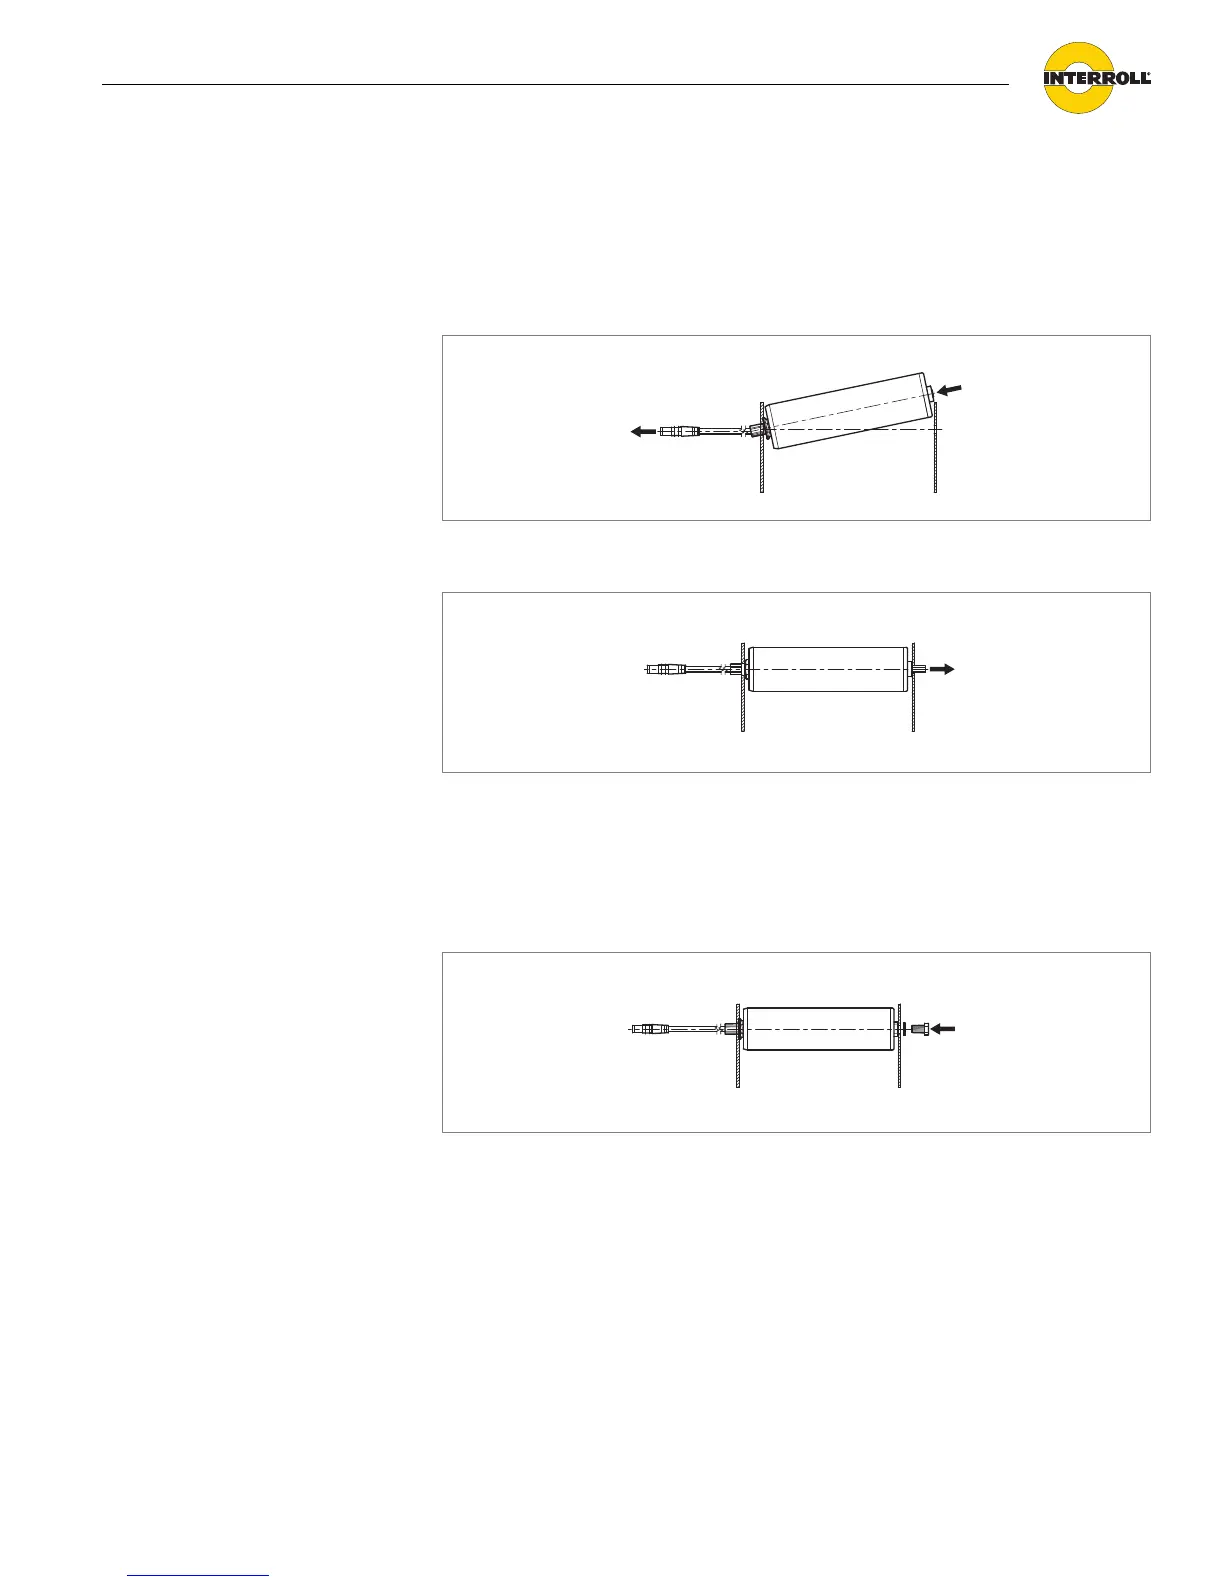
Inserting the spring-loaded hexagonal shaft
Push the spring-loaded shaft inwards and align the shaft with the hole in the
conveyor frame.
Release the spring-loaded hexagonal shaft and allow it to pop into the hole in
the frame.
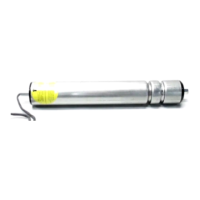
Inserting the female thread shaft pin
Place a split washer onto a M8 x 20 bolt.
Align the RollerDrive with the hole in the conveyor frame and insert the M8
bolt and split washer into the shaft. Use a wrench to prevent the shaft pin from
turning (width across flats AF 13 mm or AF 19 mm, depending on the shaft pin
type, see "Arrangement of Round Belt Grooves", page 16).
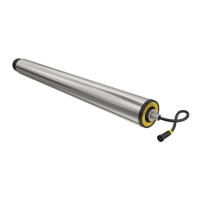
Use a torque wrench to tighten the bolt with 20 Nm (177 in/lbf) until the split
washer is completely compressed.