25
OPERATION AND SET-UP ON THE CONTROLLER
inVENTer Connect controller platform | Operating instructions
► Mark the rst paired component (in this case the
Connect inner cover) with the supplied number
sticker.
Number 1 for the rst paired device.
TIP:
For a better overview, management and later
assignment to ventilation zones, it is useful to
identify the sequence of the paired
components with the supplied numbers.
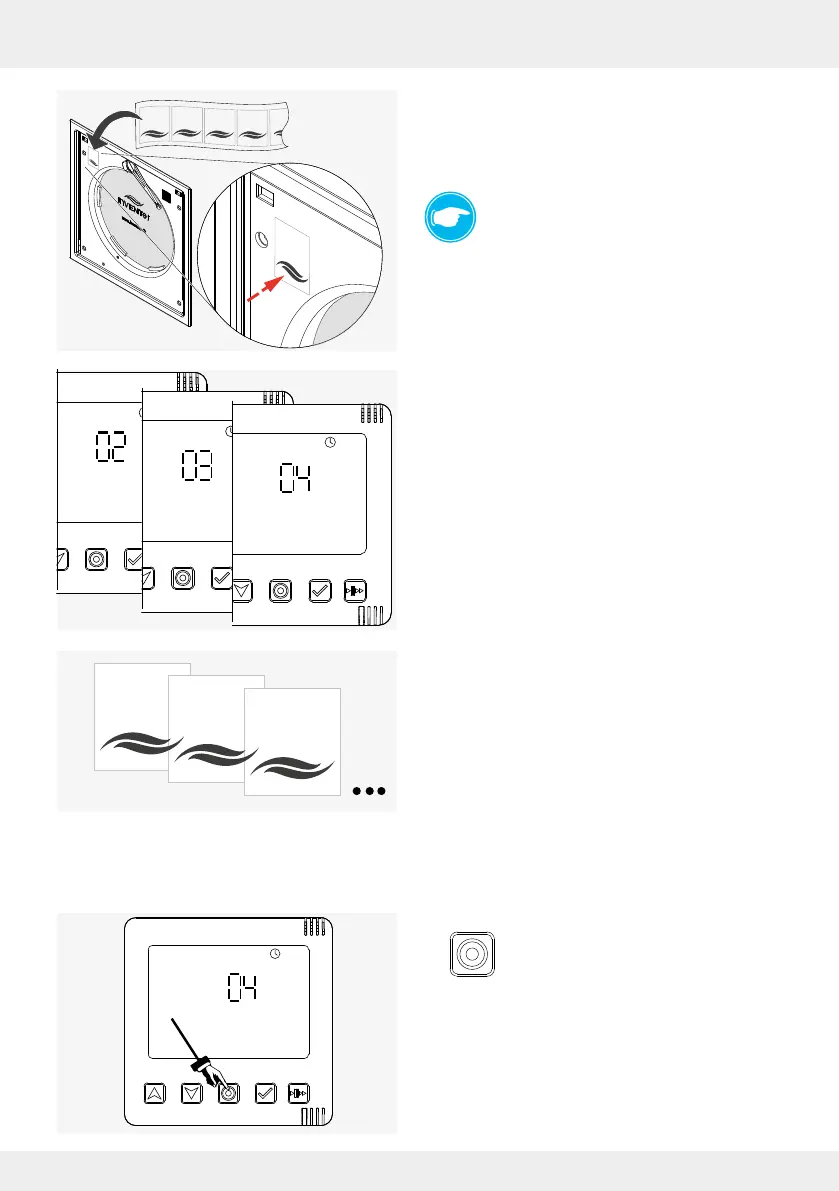
► Continue with the activation of further Connect inner
covers and their pairing.
On the controller's display screen, the number
shown increases with each paired Connect inner
cover.
► Mark the paired Connect inner covers consecutive-
ly.
After pairing all Connect inner covers, the closing aps must be retted. If other components
(sensors, switching contact) are paired to the controller, this step can also be performed at the
end of the pairing process.
► Press the mode key to conrm the paired
components.
The display screen shows the information that the
paired Connect inner covers send to the controller.
1
2
3
4
1
2
3
4