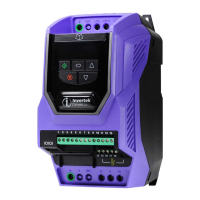
5.5. Terminal Control
When delivered, the Optidrive is in the factory default state, meaning that it is set to operate in terminal control mode and
default values as indicated in section 6 Parameters
•
Connect the drive to the supply, ensuring the correct voltage and fusing / circuit breaker prote
•
Connect the motor to the drive, ensuring the correct star/delta connection for the voltage rating
•
Enter the motor data from motor nameplate; P1
•
Connect a control switch between the control termina
• Connect a potentiometer (1k
Ω min to 10 kΩ max) between terminals 5 and 7, and the wiper to terminal 6.
•
With the potentiometer set to zero, switch on the supply to the drive. The display will s
• Close the control switch, terminals 1-
2. The drive is now ‘enabled’ and the output frequency/speed are controlled by the potentiometer.
•
On first enable from factory default parameters, the Optidrive will carry out an Autotune, and the display sho
control switch closed an allow this to complete.
•
Following completion of the Autotune, the display shows zero speed in Hz (
•
Turn the potentiometer to maximum. The motor will accelerate t
control of the acceleration ramp time P1
•
If the potentiometer is turned to minimum, the motor will decelerate to 0Hz, the default mini
of the deceleration ramp P1-
04. The output speed can be adjusted anywhere between minimum and maximum speed using the
potentiometer.
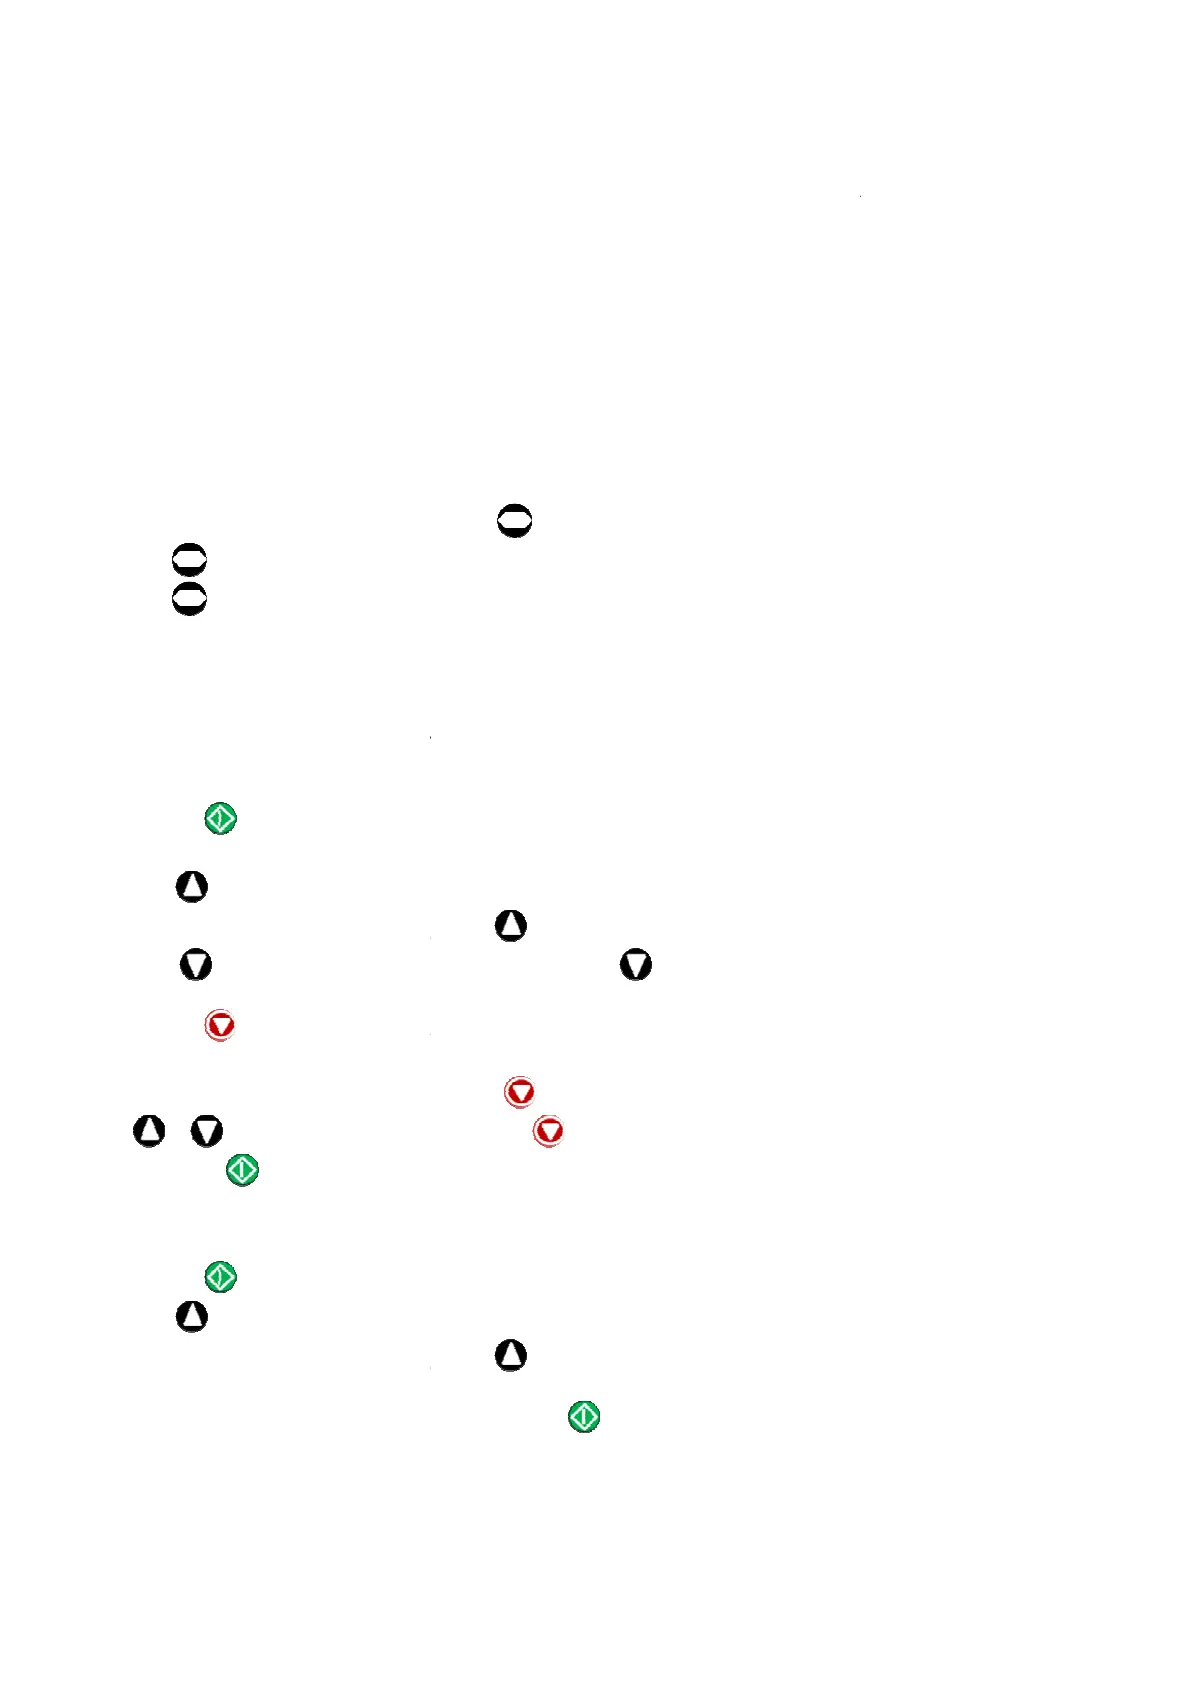
•
To display motor current (Amps), briefly press the
• Press
again to display the motor power.
• Press
again to return to speed display.
•
To stop the motor, disable the drive by opening the control switch (terminals 1
•
If the enable/disable switch is opened the drive will decelerate to stop at which time the dis
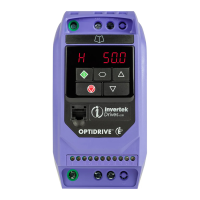
5.6. Keypad Control
To allow the Optidrive to be controlled from the keypad in a forward direction only, set P1
•
Connect the supply and motor as for terminal control above.
•
Enable the drive by closing the switch between control terminals 1 & 2. The display will show
• Press the
key. If this is the first enable from factory default parameters, the drive will carry out an Autotune as described above. On
completion of the
Autotune, the display shows
• Press to increase speed.
•
The drive will run forward, increasing speed until
• Press
to decrease speed. The drive will decrease speed until
P1-04
• Press the
key. The drive will decelerate to rest at the rate set in P1
• The display will finally show
StoP
StoPStoP
StoP
at which point the drive is disabled
•
To preset a target speed prior to enable, press the
&
keys to adjust as required then press the
• Pressing the
key will start the drive accelerating to the target speed.
•
To allow the Optidrive to be controlled from the keypa
• Operation is the same as when P1-
12=1 for start, stop and changing speed.
• Press the
key. The display changes to
• Press to increase speed
•
The drive will run forward, increasing speed until
the speed set in P1-01.
•
To reverse the direction of rotation of the motor, press the
Optidrive Plus 3
GV
Compact - User Guide
www.invertek.co.uk
When delivered, the Optidrive is in the factory default state, meaning that it is set to operate in terminal control mode and
Connect the drive to the supply, ensuring the correct voltage and fusing / circuit breaker prote
ction
Connect the motor to the drive, ensuring the correct star/delta connection for the voltage rating
-
Enter the motor data from motor nameplate; P1
-07 = motor rated voltage, P1-
08 = motor rated current, P1
Connect a control switch between the control termina
ls 1 and 2 ensuring that the contact is open (drive disabled).
Ω min to 10 kΩ max) between terminals 5 and 7, and the wiper to terminal 6.
With the potentiometer set to zero, switch on the supply to the drive. The display will s
how
StoP
StoPStoP
StoP
.
2. The drive is now ‘enabled’ and the output frequency/speed are controlled by the potentiometer.
On first enable from factory default parameters, the Optidrive will carry out an Autotune, and the display sho
control switch closed an allow this to complete.
Following completion of the Autotune, the display shows zero speed in Hz (
H
HH
H 0
0 0
0.0
00
0
) with the potentiometer turned to minimum.
Turn the potentiometer to maximum. The motor will accelerate t
o 50Hz, (60Hz for USA drives), the default value of P1
03. The display shows 50Hz (
H
HH
H
5
55
50
00
0.0
00
0
) at max speed.
If the potentiometer is turned to minimum, the motor will decelerate to 0Hz, the default mini
04. The output speed can be adjusted anywhere between minimum and maximum speed using the
To display motor current (Amps), briefly press the
(Navigate) key.
again to display the motor power.
again to return to speed display.
To stop the motor, disable the drive by opening the control switch (terminals 1
-2).
If the enable/disable switch is opened the drive will decelerate to stop at which time the dis
To allow the Optidrive to be controlled from the keypad in a forward direction only, set P1
-12 =1:
Connect the supply and motor as for terminal control above.
Enable the drive by closing the switch between control terminals 1 & 2. The display will show
StoP
StoPStoP
StoP
key. If this is the first enable from factory default parameters, the drive will carry out an Autotune as described above. On
Autotune, the display shows
H
HH
H 0
0 0
0.0
00
0
.
The drive will run forward, increasing speed until
is released.
to decrease speed. The drive will decrease speed until
is released. The rate of deceleration is limited by the setti
key. The drive will decelerate to rest at the rate set in P1
-04.
at which point the drive is disabled
To preset a target speed prior to enable, press the
key whilst the drive is stopped. The disp
lay will show the target speed, use the
keys to adjust as required then press the
key to return the display to
StoP
StoPStoP
StoP
.
key will start the drive accelerating to the target speed.
To allow the Optidrive to be controlled from the keypa
d in a forward and reverse direction, set P1-
12=1 for start, stop and changing speed.
key. The display changes to
H
HH
H 0
0 0
0.0
00
0
.
The drive will run forward, increasing speed until
is
released. Acceleration is limited by the setting in P1
To reverse the direction of rotation of the motor, press the
key again.
11
When delivered, the Optidrive is in the factory default state, meaning that it is set to operate in terminal control mode and
all parameters have the
see section 2.2 on page 5.
0 on page 8.
08 = motor rated current, P1
-09 = motor rated frequency.
ls 1 and 2 ensuring that the contact is open (drive disabled).
Ω min to 10 kΩ max) between terminals 5 and 7, and the wiper to terminal 6.
2. The drive is now ‘enabled’ and the output frequency/speed are controlled by the potentiometer.
On first enable from factory default parameters, the Optidrive will carry out an Autotune, and the display sho
ws
Auto-t
Auto-tAuto-t
Auto-t
. Leave the
) with the potentiometer turned to minimum.
o 50Hz, (60Hz for USA drives), the default value of P1
-01, under the
-02, under the control
04. The output speed can be adjusted anywhere between minimum and maximum speed using the
StoP
StoPStoP
StoP
.
key. If this is the first enable from factory default parameters, the drive will carry out an Autotune as described above. On
is released. The rate of deceleration is limited by the setti
ng in
lay will show the target speed, use the
released. Acceleration is limited by the setting in P1
-03. The maximum speed is
 Loading...